How to use the “describe-regions” command in AWS CLI?
Quick Outline,
This article covers the following aspects:
- What is the “describe-regions” Command in AWS CLI?
- How to use the “describe-regions” Command in AWS CLI?
- Bottom Line
What is the “describe-regions” Command in AWS CLI?
The “describe-regions” command in AWS CLI is used for listing and displaying all the regions for a given account. This command supports pagination and is commonly used with the EC2 instance. In the previous AWS documentation, the “list-regions” command was used to display all the AWS regions. However, the “describe-regions” command is supported in the updated AWS CLI v2 (version 2) and also in the revised documentation of AWS.
Read more: An overview of AWS global infrastructure
How to use the “describe-regions” Command in AWS CLI?
The “describe-regions” command is used with multiple optional arguments for performing various functionalities. These actions include filtering the regions or displaying data in different formats. There are no required parameters for this command.
Syntax
The syntax for the “describe-regions” command is given below:
Options
A brief description of the various options that can be used with the above command is given below:
| Options | Descriptions |
| –filters | The –filters option is used to extract specific details from the data. Three different filters can be used with the “describe-regions” command:
|
| –dry-run | This option verifies the permission for the desired action. The response is generated in the error format. If the user is equipped with the required permissions, the output will display the “DryRunOperation”. Otherwise, the response will contain an “UnauthorizedOperation” value. |
| –all-regions | This option is used to display all the AWS regions for the given account. It includes those regions that are disabled for your account. To disable this option, use the –no-all-regions option. |
| –cli-input-json | The –cli-input-json option is used to provide the instruction at once in the JSON format to CLI. The values of these options will be overwritten if the other options are specified within the command. |
| –generate-cli-skeleton | This option accepts string values and is used to create a JSON template. This template will be then used by the –cli-input-json option. |
Global options are also provided that are used with every command for AWS CLI. They are not required fields. However, a user can control the output of the command by using the global option. To read about the global options, refer to the AWS documentation.
Examples
In this section of the article, we will implement the following examples:
- Example 1: List all the Enables Regions in AWS CLI
- Example 2: List all the Regions in AWS CLI
- Example 3: Filter the Regions in AWS CLI
- Example 4: List the Regions in Different Output Formats
- Example 5: Query the Regions in AWS CLI
- Example 6: Determine Permissions for the “describe-regions” Command in AWS CLI
- Example 7: List Specific Regions with the “–regions-name” Option
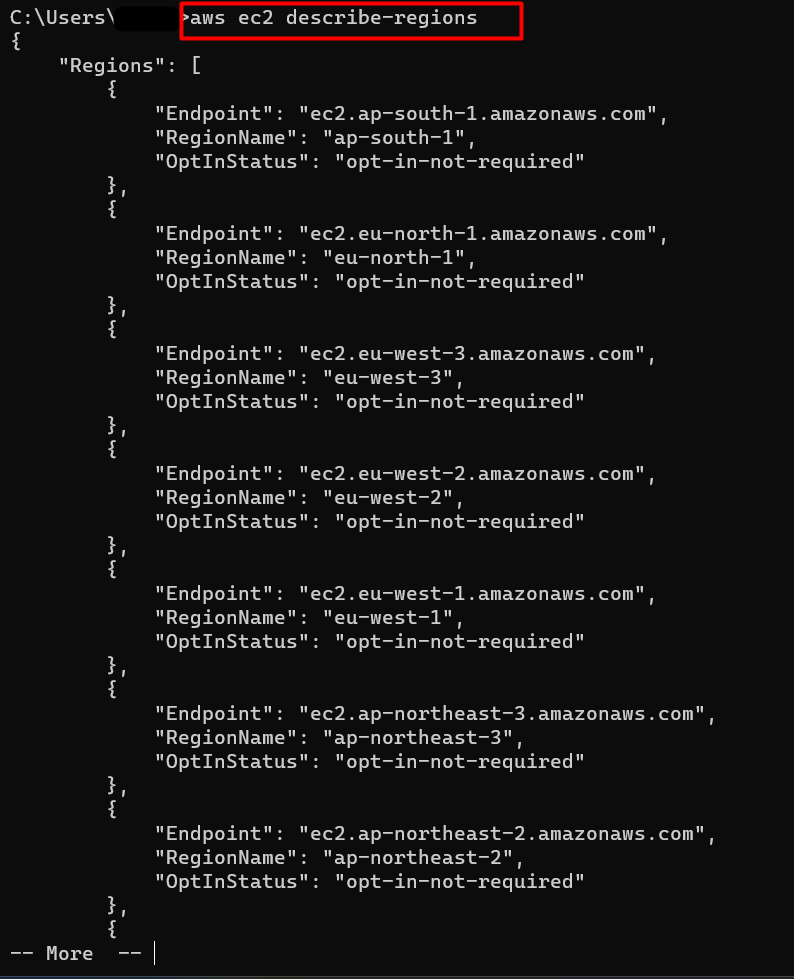
Example 1: How to List all the Enabled Regions in AWS CLI?
The command given below lists all the enabled regions for your account:
Output
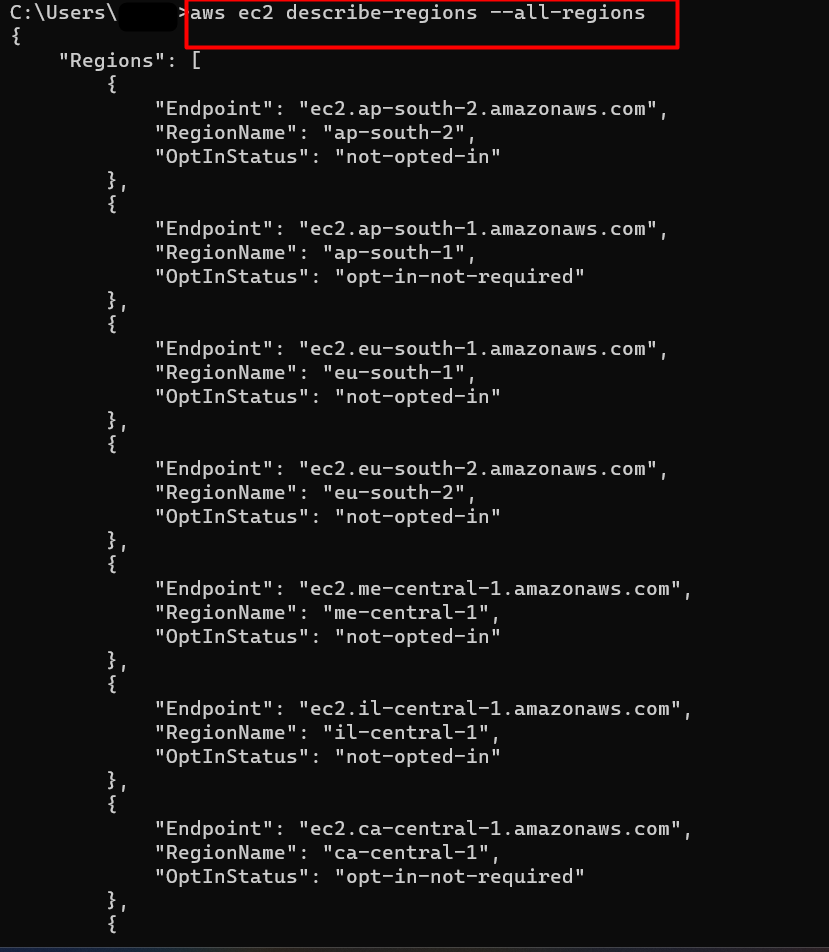
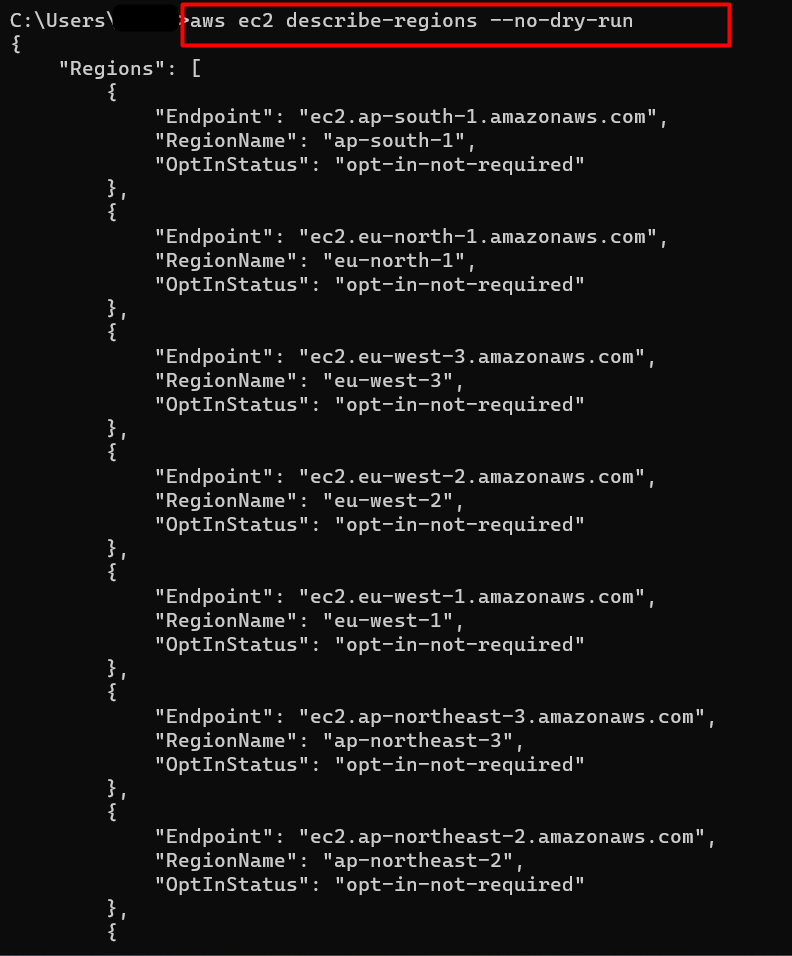
Example 2: How to List all the Regions in AWS CLI?
The following command is used to list all the regions for a given account. By all regions, it refers to the inclusion of all enabled, disabled, or global regions across the AWS platform:
Output
To disable the “–all-regions” parameter, use the following command:
Output

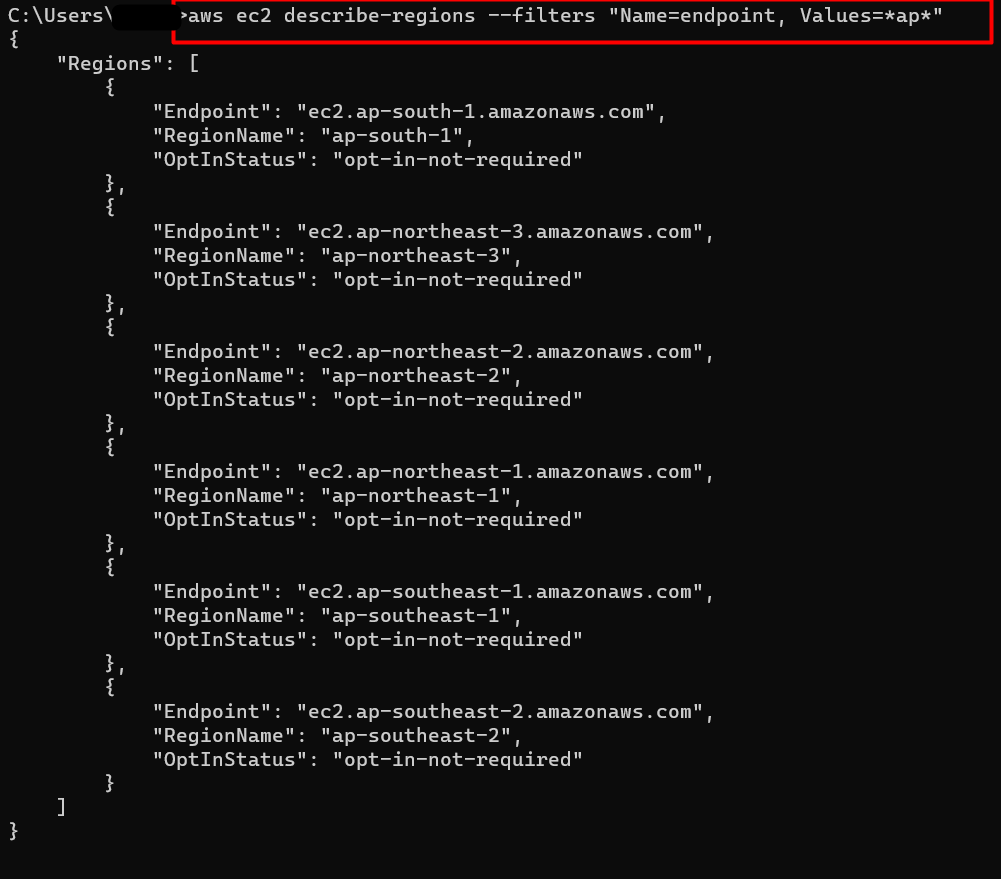
Example 3: How to Filter the Regions in AWS CLI?
In AWS CLI, we can filter the regions by endpoints, tags, opt-in status, etc via the following command:
Output
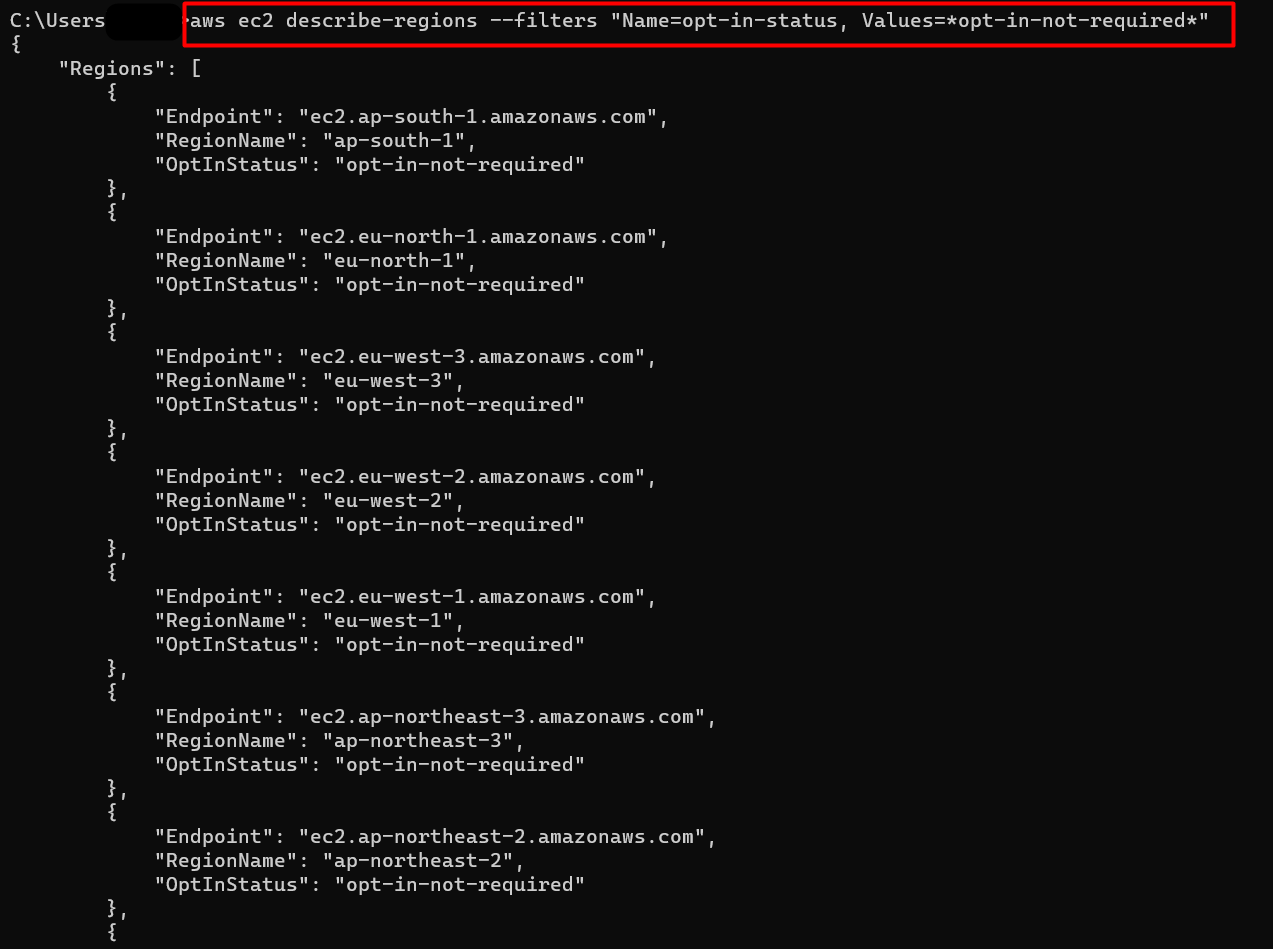
How to Filter Regions by using the “opt-in-status” Parameter
The output of this command will only display regions with the opt-in-not-required value:
Note: The user can also specify other options in the Name field such as opted-in or not-opted-in options.
Output
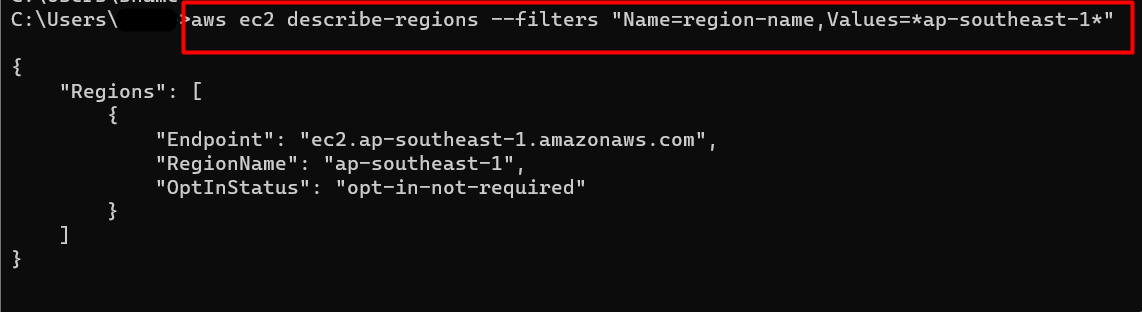
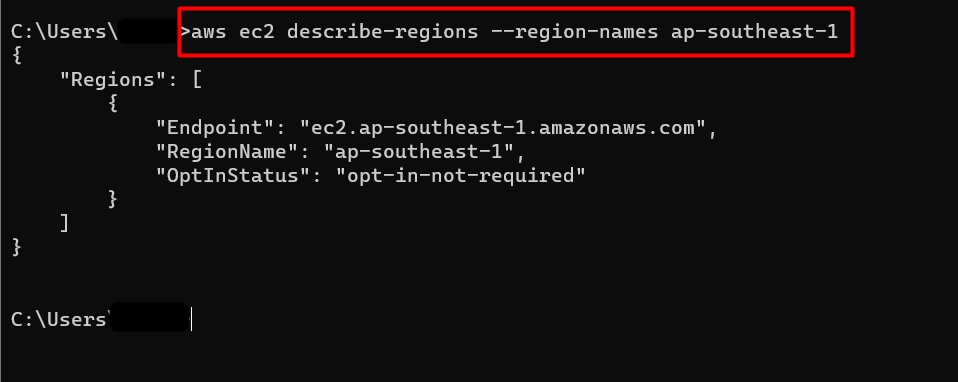
How to Filter region by using the “regions-name” parameter
The command to filter the regions via the region-name filter is given below:
Note: Replace the value ap-southeast-1 with any AWS region’s name. However, the asterisk remains the same.
Output
The output of the command will only list that specific region that matches the value mentioned in the “Values” parameter. The user can also specify the regions e.g., “eu” in the *ap* format as specified in the prior section of this example:
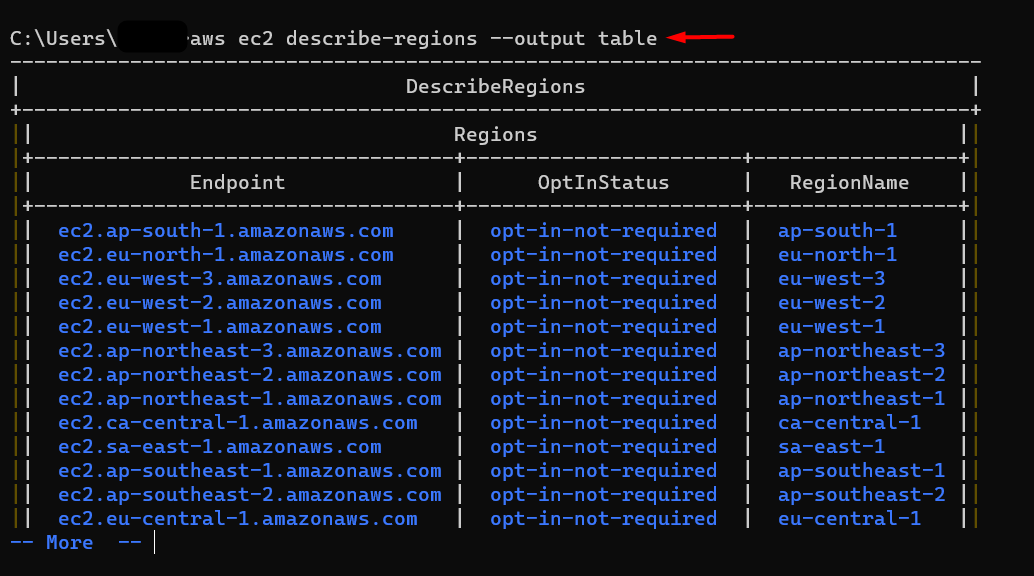
Example 4: How to List the Regions in Different Output Formats?
In the “describe-regions” command, there are multiple output formats available such as table, JSON, text, or YAML. The command to list the regions in tabular format is given below:
Note: Replace the value of the –output parameter with JSON, YAML, or text to obtain value in different formats.
Output:
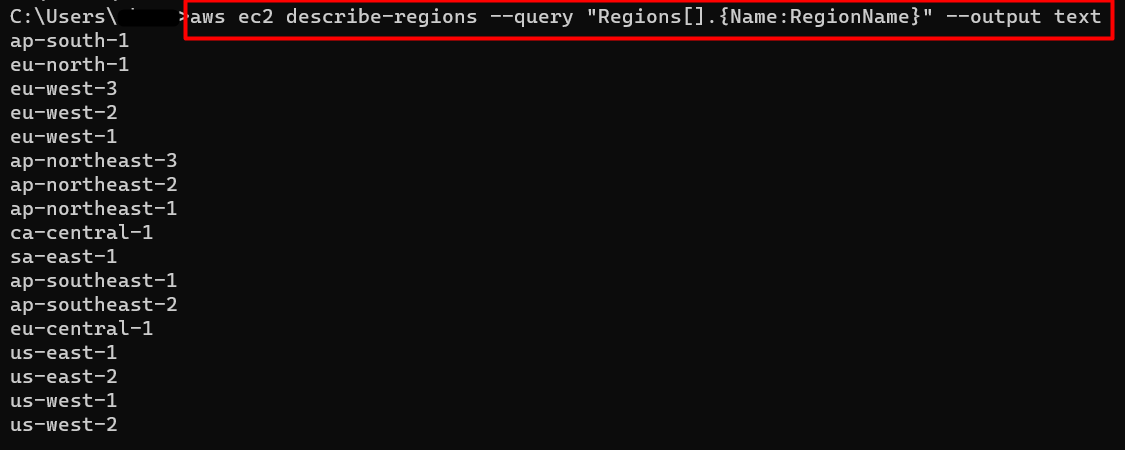
Example 5: How to Query the Regions using the “describe-regions” command in AWS CLI?
The user can also filter the response by using the JMESPATH “–query” parameter. The command is given below:
Output
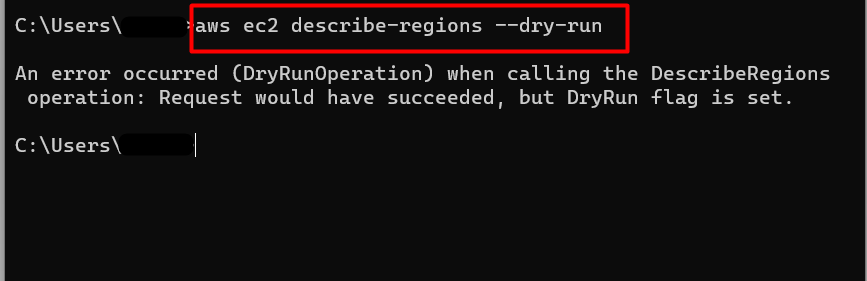
Example 6: How to Determine Permissions for the “describe-regions” Command in AWS CLI?
The –dry-run option of the “describe-regions” command determines whether the user has the required permission for the action or not. For this purpose, the command is given below:
Output
Similarly, the user can also disable this flag to display the regions by using the following command:
Output
Example 7: How to List Specific Regions in the “describe-regions” command?
To display the specific regions, one method is to filter the query while the other method is to use the “–regions-name”. The following command uses the “–regions-name” option with the “describe-regions” command:
Note: Replace the value ap-southeast-1 in the command with your AWS region’s name.
Output
That is all from this guide.
Bottom-Line
The “describe-regions” command in AWS CLI lists all or enabled regions for a given account. To list EC2 regions, use the “aws ec2 describe-regions” command. It supports multiple output formats and accepts various arguments for filtering or querying. For AWS beginners, this command is useful when deploying resources that are region-specific or determining the endpoints’ URLs. To implement this functionality, log in to the AWS CLI via CMD and provide the earlier-mentioned commands to the terminal. In this guide, we have discussed various examples step-by-step for an in-depth understanding of the “describe-regions” command in AWS CLI.
Source: linuxhint.com