How to Install Angular on Ubuntu 24.04
A freely accessible JavaScript platform for creating dynamic apps is called Angular.js. It enables you to represent each aspect of your application quickly and unambiguously by extending the syntax of HTML when used as your template language. It provides a set of tools for writing, updating, and testing a code. It offers a plethora of capabilities including routing and form management. This guide discusses the method to install Angular on Ubuntu 24 by going through the installation of Node.js.
Update and Upgrade the System
Before moving toward the installations, let’s get through the system update first. It’s necessary to update the Ubuntu 24 system because it has to take effect on new installations without any issues shortly. So, we utilize the update and upgrade instruction within a single command which is executed with the help of an “apt” utility.

After executing this instruction, the system allocates the set space to the upgrade and update process and asks you to confirm it by tapping “y” or “n”. Therefore, you must press “y” to complete this update process as depicted in the following. After a while, our system will be updated and upgraded successfully.
![]()
Install the Dependencies
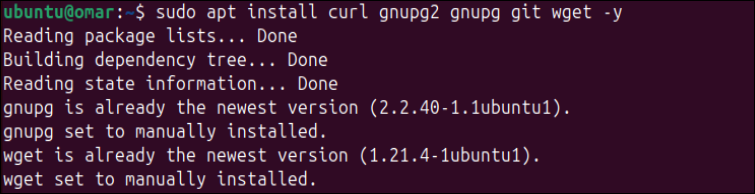
The installation of Angular and Node.js depends on some other utilities as well. These dependencies include git, wget, curl, and many more. Thus, we need to install those dependencies beforehand. For the installation of those dependencies, we use the same “apt” utility in the command shell and wait until all the dependencies are installed successfully.
Install Node.js
The Angular applications cannot work without the Node.js which is the primary requirement. Therefore, it is necessary to install Node.js before moving towards installing Angular on Ubuntu 24. Also, Node.js requires the NVM command-line utility for its installation. So, we use the “curl” utility in the terminal shell to install the NVM utility first from the official Github repository. You can see that after the execution of this instruction, the NVM utility has been downloaded and installed.
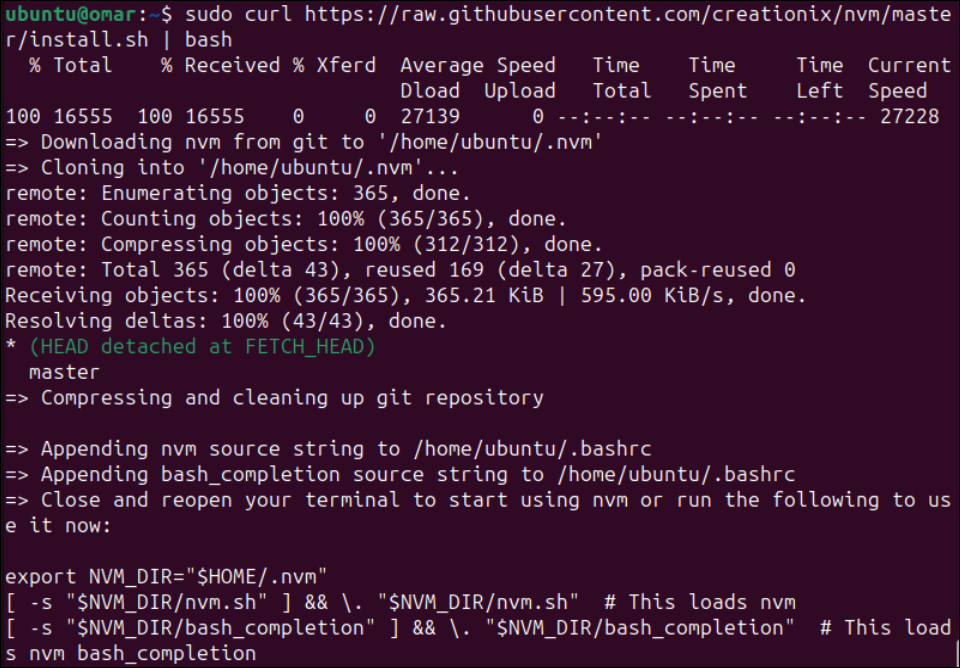
Now, enabling the NVM environment on the Ubuntu 24 Linux system is also necessary. So, we run the “bashrc” file using the source instruction so that the system can get the effects of the newly installed NVM utility and set the environment.
![]()
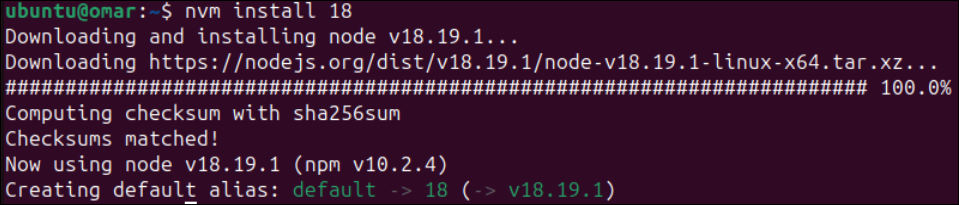
After creating an environment, the Ubuntu 24 system is all set to install Node.js on its end. For this, we use the newly installed “nvm” utility within the installation instructions that are utilized in the terminal shell. Using this instruction, we install the latest version of Node.js 18 on our Ubuntu system. Also, the NVM tool installs the node package manager along with Node.js. The processing starts by downloading and installing the node version 18.19.1 from the official website. After that, it computes the checksum and creates a default alias.
After the successful installation of Node.js, we need to verify that it has been installed and mounted in our system. For that, we need to check for its installed version using the “version” command starting with the “node” keyword. Also, the previous NVM installation instruction installed the NPM (Node Package Manager) along with Node.js. Therefore, we have to look for the NPM version as well. The output of both commands displays the versions as depicted in the following attached image:
Npm -v

Install the Angular CLI
It’s time to take the final steps for installing the Angular command line interface after installing all dependencies including NPM and Node.js. For this, we use the NPM (node package manager) within the terminal shell of Ubuntu 24.
You can use the sudo rights for the execution of this installation instruction. This command includes the link to the official package of Angular CLI. The “—location” flag is set to add the Angular CLI at the global level for the Ubuntu 24 system which is accessible to all the users in the current platform.

It would help if you wait for a while until the processing of Angular CLI is done. After some processing, the Angular CLI packages are added and successfully installed. In return, you will get the following depicted output on your terminal screen which has 232 packages added in 2 minutes:

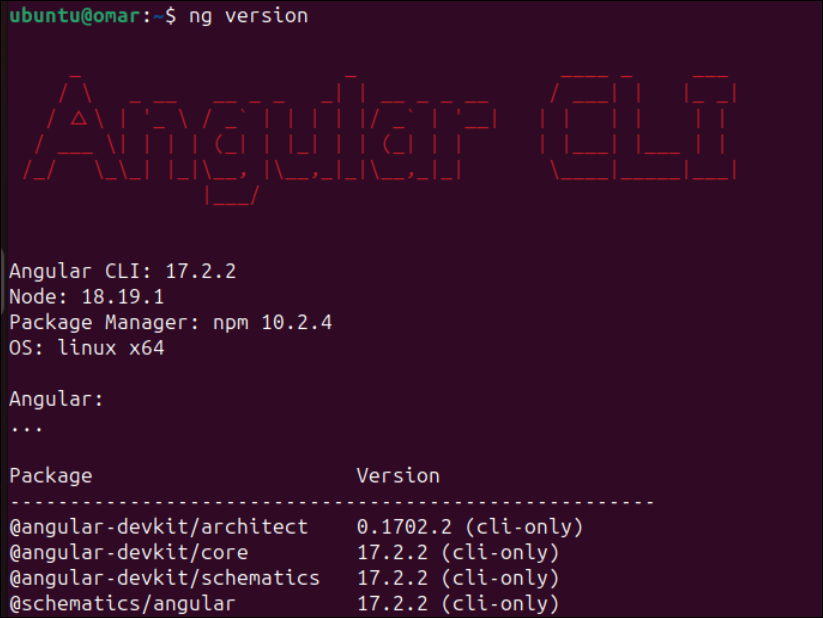
Now, it’s time to verify the installation of Angular CLI. It comes with the “ng” command that helps to perform the commands on Angular CLI. So, let’s look for the installed version of the “ng” command. After answering some of the questions on executing this version command, we will get the following output that also contains the information regarding the version of Angular, Node, NPM, and OS. There is also a display of information regarding the packages and their installed versions at the end.
Create an Angular Application
It’s time to use Angular CLI to create a new Angular application on Ubuntu 24. Just like how we utilized the “ng” instruction to check the version of Angular CLI, we will also use it to create a new application named “test” with the “new” keyword. The execution takes place with some questions being asked. It would help if you answer those questions according to your preferences, and the packages for your new application will be installed successfully.
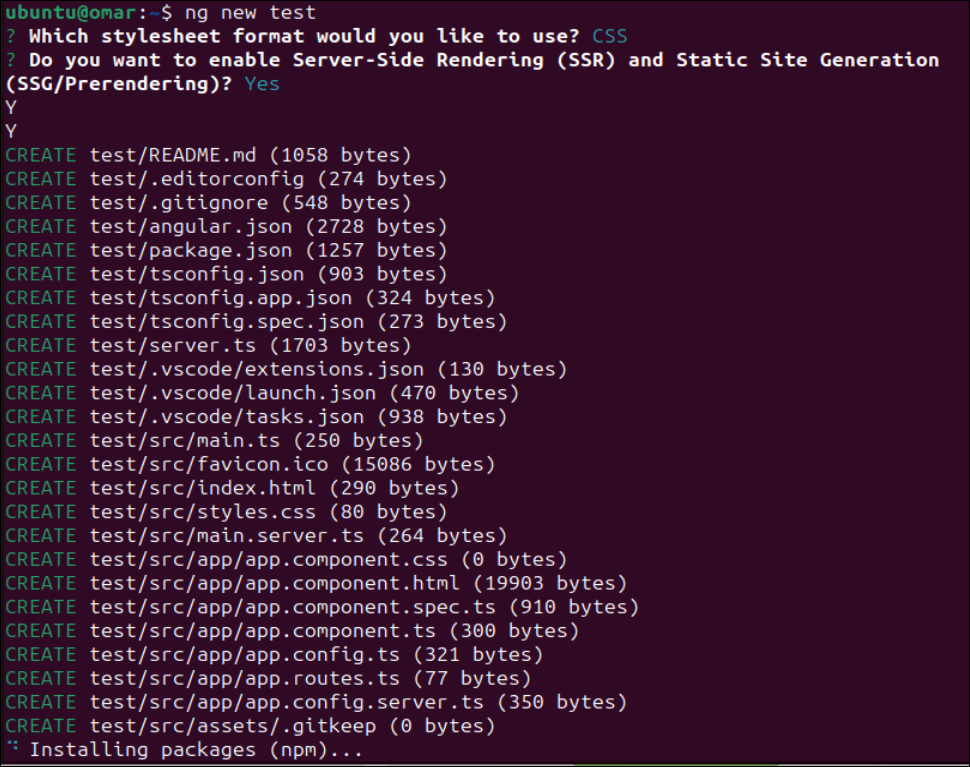
After a while, a new Angular application named “test” is created. A new “test” directory is generated in our working directory as depicted by the following attached output:

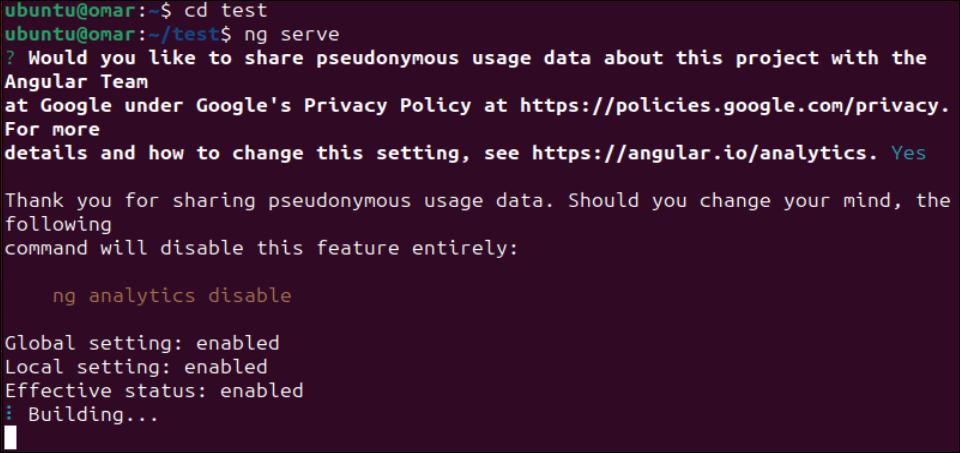
After creating a “test” Angular application, we need to run it as well. For that, move within the “test” directory and use the “ng” utility to execute the “serve” command.
Ng serve
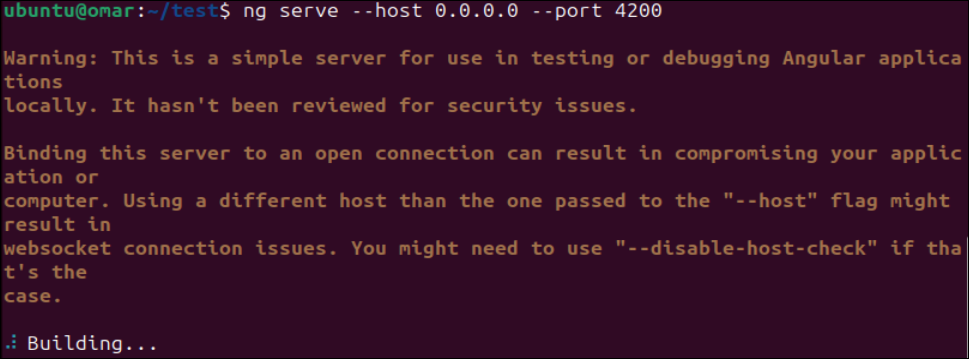
You can also use the same command to set port 4200 for all the system interfaces by setting the host as 0.0.0.0.
Conclusion
This guide demonstrates how an Angular environment can be utilized to create any application. Supporting the idea, we demonstrated the method to install Angular on Ubuntu 24 after the installation and configuration of Node.js and NPM. Finally, we elaborated on a way to create an Angular application in Ubuntu 24 by utilizing Angular CLI.
Source: linuxhint.com