Method to Install and Run OneNote Note-Taking App on Ubuntu 24.04
Update the Ubuntu System
Before installing the OneNote setup on Ubuntu 24, we must confirm that the freshly configured system is updated. We have a method to update it as soon and as effectively as feasible even if it isn’t. To achieve this, we will use the most well-known “apt” tool available on the Ubuntu system. The “sudo” authority should be used to run this command to avoid any installation-related limitations.
Sudo apt update

Upgrade the Ubuntu System
After the system is updated successfully, we need to ensure that it is also upgraded. This step is necessary because sometimes the utilities or software applications require the upgraded Linux versions for their installations and may not integrate with the outdated versions. Therefore, upgrading it using the “apt” utility is necessary.
Sudo apt upgrade

This process may consume 19.6 MB of space on your Ubuntu 24 system. Therefore, you are asked to confirm whether you want to proceed with the process.

After certain processes, the Ubuntu system will be upgraded successfully.

Method 1: Installation of OneNote Using the Snap Utility
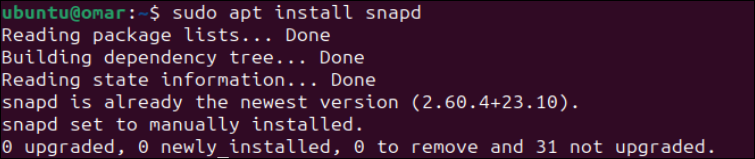
The installation of OneNote requires one of the Ubuntu utilities. To install the OneNote note-taking application on Ubuntu 24 with the help of the Snap utility, we have to ensure that the Snap utility is already installed and configured at our end. If not, we use the built-in “apt” utility in the terminal of Ubuntu 24 to install it. Using the “snapd” keyword is a specification for the Snap package installation. The installation of the Snap utility doesn’t take much time as per the displayed output:
Sudo apt install snapd
The next step that we need to perform is to use the “snap” utility to install the OneNote application on our Ubuntu 24 system. For this, we use the “sudo” rights in the installation command that initiates the installation of the OneNote application using the “snap” utility and the “p3x-onenote” keyword.
Sudo snap install p3x-onenote
![]()
This installation process will start downloading and installing the OneNote application from the stable platform using the “snap” utility and may take some time.
![]()
After its successful installation in the Ubuntu 24 system, you will get the success message on your terminal screen as “p3x-onenote 2024.4.106 from patrikx3 installed”. Now, you can run the OneNote application on Linux perfectly.
![]()
Method 2: Install OneNote Using Npm
Another Linux utility named “npm” can be utilized to install the OneNote application on any version of the Linux system. For this, we have to install “npm” first. Therefore, we use the “apt” repository to install it as follows:
Sudo apt install npm

After confirming that we want to proceed with the installation process, the “apt” utility will start the “npm” installation process which may take a while to complete.

After successfully installing the “npm” utility, we utilize it in the next installation command to install the OneNote application. This command must have the “sudo” privileges to install the OneNote application along with the different safety flags as follows:
Sudo npm install -g p3x-onenote –unsafe-perm=true –allow-root

Run OneNote on Ubuntu 24
To look for the OneNote application, you can search for it within the application area of your Linux system. Search with “p3x-onenote” and you will get the OneNote app displayed.

To run the OneNote application after its installation via the terminal of Ubuntu 24, you have to execute the “p3x-onenote” keyword as a command as shown in the following attahed image:
p3x-onenote

After presenting a few warnings, it will effectively open the OneNote note-taking program on your Ubuntu 24 screen. Since OneNote is a Microsoft product, ensure that you sign in from your Microsoft account before using it. Add your email and press the “Next” button.

Enter your accurate Microsoft account password to log in successfully.

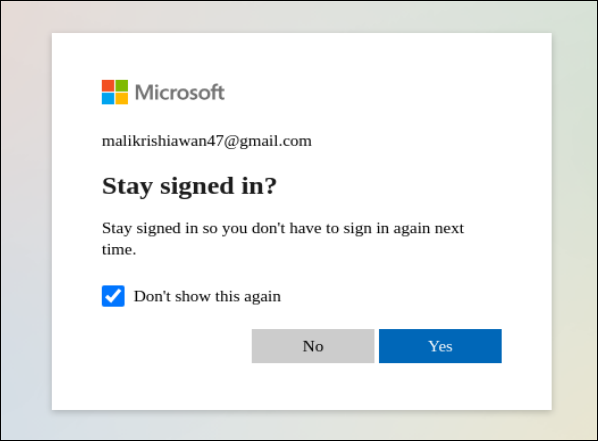
A pop-up window is generated before the OneNote application is launched which asks you to stay signed in or not.
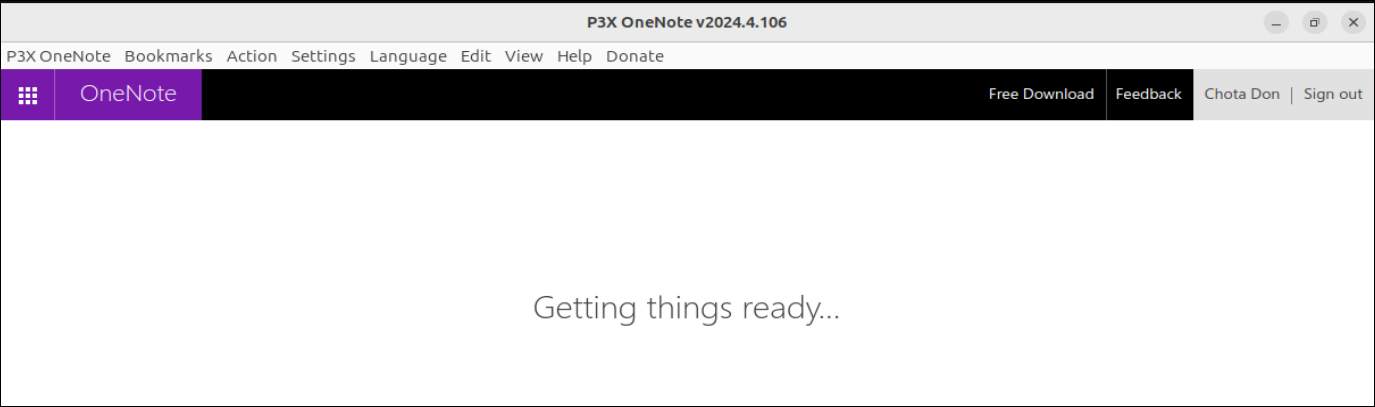
The OneNote application gets things ready before the launch of its dashboard as depicted by the following snapshot:
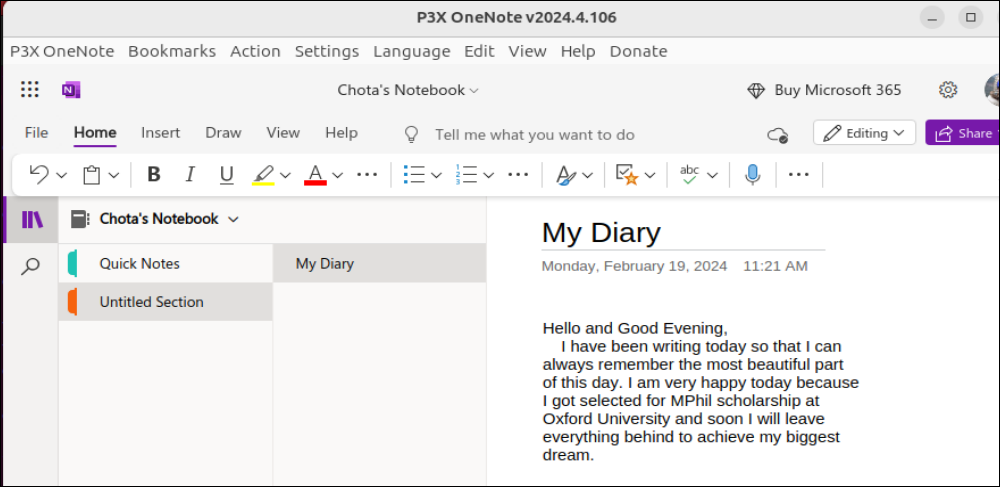
After the successful processing, the dashboard of the OneNote application will be ready for use, i.e. the dashboard of the launched OneNote application is displayed beneath. The “Home” section of the OneNote application that is placed on the right side contains the untitled heading for the opened page that you can edit according to your preferences. There is no need to set the current date and time as this section also records the date, day, and time. You can also add quick notes in this section by tapping on the “Quick Notes” blue highlighted option from the left section.

To get a good look at the workings of the OneNote application, we edited its title and its note-making section. We get the following output after adding a title and some notes to an untitled page:
Remove OneNote from the Ubuntu System
The OneNote program has been set up on the Ubuntu 24 Linux system which employs the “snapd” package, and the same “snap” tool is used to delete it.
Sudo snap remove p3x-onenote
![]()
After a while, the “snap” utility will successfully delete the OneNote application from the Ubuntu 24 system.
![]()
Conclusion
The Microsoft OneNote application makes taking notes, journaling daily, and creating a diary straightforward. This guide includes elaborating two different methods to install OneNote on Ubuntu 24 Linux system using the “snap” and “npm” packages. Also, it depicts a way to use OneNote on Ubuntu and a method to remove it fully.

Source: linuxhint.com