Install Docker on Ubuntu 24.04
In the current era, Docker is an indispensable tool for developers to improve productivity. Docker is an application that allows packaging and running applications in an isolated environment. The isolated environment is the container; you can have multiple containers in one host.
This post guides you on steps to follow to get Docker installed on Ubuntu 24.04 quickly.
How to Install Docker on Ubuntu 24.04 (Noble Numbat)
Installing Docker on Ubuntu 24.04 is easy. You only need access to a user account with admin privileges and connected to the internet. Again, the steps to follow will differ depending on your installation method.
In this case, we have two methods of installing Docker on Ubuntu 24.04. Let’s discuss each in detail.
Method 1: Install Docker from Its Official Repository
There are numerous benefits to installing the latest stable Docker version, including access to new features. For someone looking to have the latest Docker version installed, you must access it from the official Docker repository.
However, this method requires running more commands than the second method in the next section. Nonetheless, let’s go through the process step-by-step.
Step 1: Update the Repository
To ensure we prepare our system to retrieve the latest packages, run the below command to update the repository.
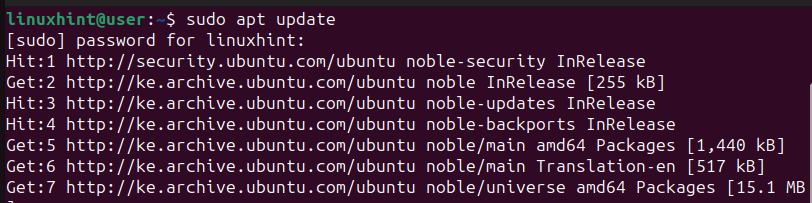
You will be required to authenticate the process by adding your root password.
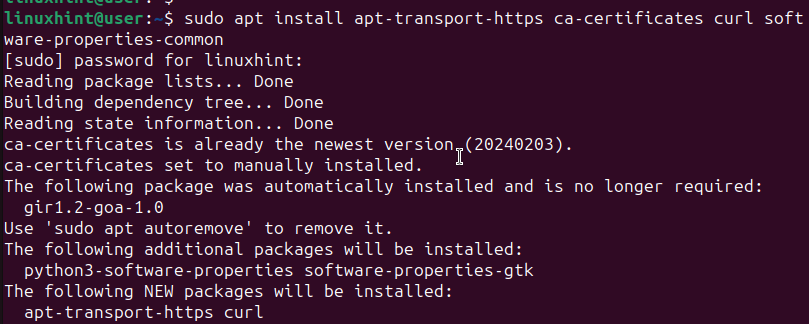
Step 2: Install Prerequisites
Before installing Docker, other prerequisite packages must be installed. For instance, we need the curl utility to download the GPG key.
The below command handles the installation of all the prerequisite packages.
Step 3: Add Docker’s GPG Key
Using curl, we must add the Docker repository GPG key. Doing so ensures that we can use the key to check the authenticity of the software package before installing it.
Add it using the following command.

Step 4: Include the Docker Repository in your APT Sources
When you run the install command, Ubuntu checks the sources list to fetch a package. Thus, we must add Docker’s repository to the system’s source list with the below command.

After adding the Docker repository, run the update command to refresh the sources list.

Step 5: Verify the Installation Source
As a last step before installing Docker, use the below command to specify that the system should source the Docker repository that we’ve added and not the one available on the Ubuntu repository. This way, you will access the latest Docker version.
From the output, you will see the latest available version for your system.

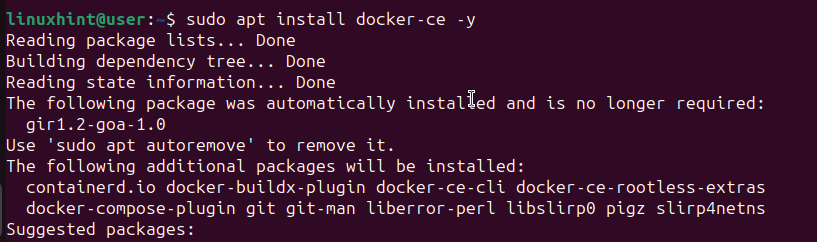
Step 6: Install Docker
At this point, we can install Docker from the official repository by running the below command.
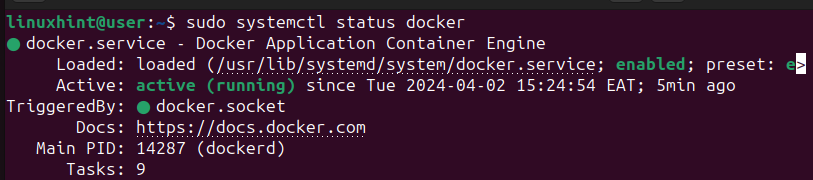
Step 7: Verify the Installed Docker
One way of ascertaining that we’ve successfully installed Docker on Ubuntu 24.04 is to check its status using systemctl. Use the following command.
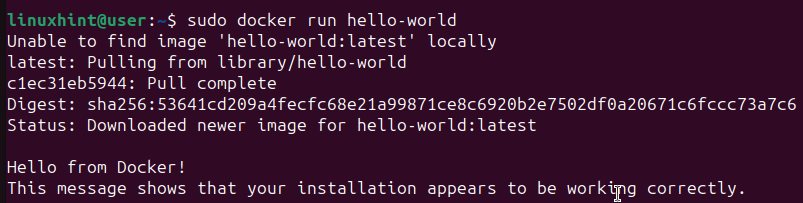
Another way to check that the installation succeeded is by running the hello-image. Docker offers the image to ascertain that the installation was completed successfully. Running the command will pull the image and run the test.
Here’s the command to run.
Go ahead and have fun using Docker!
Method 2: Install Docker from the Ubuntu Repository
Docker is also available from the official Ubuntu 24.04 repository. This option is the easy way to install Docker, but you won’t get the latest version.
Nonetheless, you still manage to get Docker. Proceed as follows.
Step 1: Update Ubuntu’s Repository
Similar to the previous method, we must update the Ubuntu repository before installing Docker.
Step 2: Fetch and Install Docker
After the update, we can install Docker using the command below.
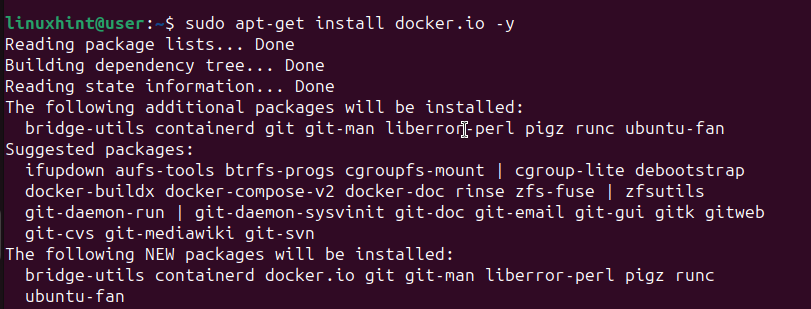
Allow the installation to compete.
Step 3: Install Docker Dependencies
Although we’ve managed to install Docker, some dependency packages should be installed. Instead of installing them separately using APT, a better way is to install Docker as a snap package.
Doing so will install all the Docker dependencies when installing the snap package. Run the snap install command below.

Bingo! You’ve installed Docker on Ubuntu 24.04 from the Ubuntu official repository. You can check the Docker version to verify that it is installed and ready for use.
Conclusion
Docker is a new and reliable way of packaging and running applications in containers. The benefits of using Docker are numerous for a developer, and it all starts with knowing how to install it. This post gave a step-by-step process for installing Docker on Ubuntu 24.04. Hopefully, you’ve managed to get Docker up and running.
Source: linuxhint.com