How to Set Up and Understand Logging in HAProxy
Setting Up Logging in HAProxy
There are different instances where you can use HAProxy in your infrastructure. Whether you use it as a load balancer for your web server or your containerization, you must understand how logging works and what steps to follow to set it up. Without a clean way of logging errors, troubleshooting HAProxy will be a difficult task.
Luckily, you can set up logging to help you detect, monitor, and troubleshoot HAProxy for smooth integration and service. There are different logging tools that you can use, but this guide focuses on the Rsyslog tool to handle the syslog messages.
Here’s how you can set up logging in HAProxy:
Step 1: Ensure that Rsyslog Is Installed
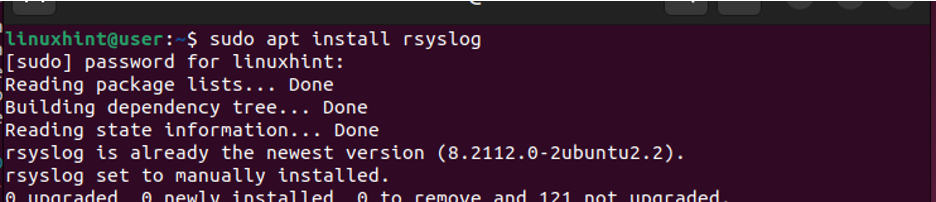
This tutorial uses the Rsyslog logging tool for HAProxy. Therefore, ensure that you have it installed on your system. Verify so by checking its version.

The latest Linux systems come with Rsyslog preinstalled. If you don’t have it installed, run the following command:
Step 2: Edit the HAProxy Configuration File
Once you have Rsyslog available on your system, the next step is to access the HAProxy configuration file and define how we want our logging to be handled. The configuration file is located in “/etc/haproxy/haproxy.cfg”. Open it with an editor of your choice.
In the global section, that’s where we specify how we want the HAProxy logging to occur. If you have a syslog server that is listening in a given port, such as UDP port 514, you might send the logs to it via the “local0” facility with the following line:

Alternatively, you can choose to send the logs to the “/dev/log” socket and access them using Rsyslog. For that, add the following line to your configuration file:

Note that the “log” keyword must be included as it gives the directives to send the logs to the specified syslog server or socket. Again, if you want to specify a given security level for the logs, add its name at the end of the statement as we did for the notice security level.

There are several security levels that you can log. If you don’t specify the type of security level as we did with the first line of the statement, the log file will contain any log messages that are shared by HAProxy and can be bulky depending on the logged messages. Therefore, consider being specific on what you want to log to your syslog server or socket.
Under the “Defaults” section, ensure that you have the following line:

The statement ensures that all the subsequent proxy sections in the configuration file, such as the backend, will log the messages using the criteria that you specified in the global section. However, you can choose to use a specific log criteria for every proxy to capture the type of security level that you target. Once you specified the syslog server or socket to use, save the changes and exit the file.
Step 3: Edit the Rsyslog Configuration File
In the rsyslog configuration file, we must direct rsyslog where to save the HAProxy logs. For this case, we want to save the general logs and the notice-level logs. Therefore, open the configuration file and add the following statements at the bottom:

Save the changes and exit the file. Rsyslog will send the log messages to either of the log files that you previously specified depending on the type of log message generated.
Step 4: Restart the Services
You must then restart the HAProxy and rsyslog services. Run the following commands using “systemctl”:
$ sudo systemctl restart haproxy.service

Step 5: Test the Logging
Your HAProxy logs are now set up. The remaining step is to verify that the logging is working. To test it, we use the “tail” command to display the last lines in our log file in real time.
Notice how we specify the same path that we specified in the “rsyslog” config file earlier.
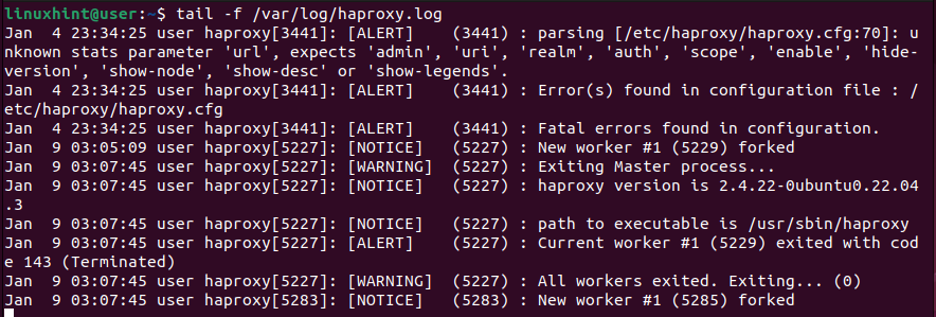
The given output confirms that we successfully set up our HAProxy logging. Feel free to edit the configuration files to accommodate the type of logs that you wish to capture.
Conclusion
HAProxy has various applications. In whatever way you choose to utilize it, logging is vital to preventing errors and helping with troubleshooting problems. We learned the steps to set up the HAProxy logging, from editing the configuration files to specifying where to store the logs to testing that the logging works. Hopefully, you can now set up the HAProxy logging for your case.
Source: linuxhint.com