How to Implement the ReAct Logic Using an Agent in LangChain?
Quick Outline
This post will demonstrate:
- How to Implement the ReAct Logic Using an Agent in LangChain
- Installing Frameworks
- Loading Language Model
- Method 1: Using LandChain Expression Language
- Building Agent
- Method 2: Using ZeroShotReactAgent
- Method 3: Using Chat Models
- Building the Agent
- Method 4: Using ChatZeroShotReactAgent
- Conclusion
How to Implement the ReAct Logic Using an Agent in LangChain?
The “ReAct” is the combination of the Reason and Action phases to enhance the performance of the language model as “Re” refers to reason and “Act” to action. A ReAct logic is often considered the most optimized for building the LLMs or chatbots to understand and generate text. The agent is the decision maker who decides which actions to perform and in what order will be performed.
To learn the process of implementing the ReAct logic using an agent in LangChain, simply go through the following guide:
Step 1: Installing Frameworks
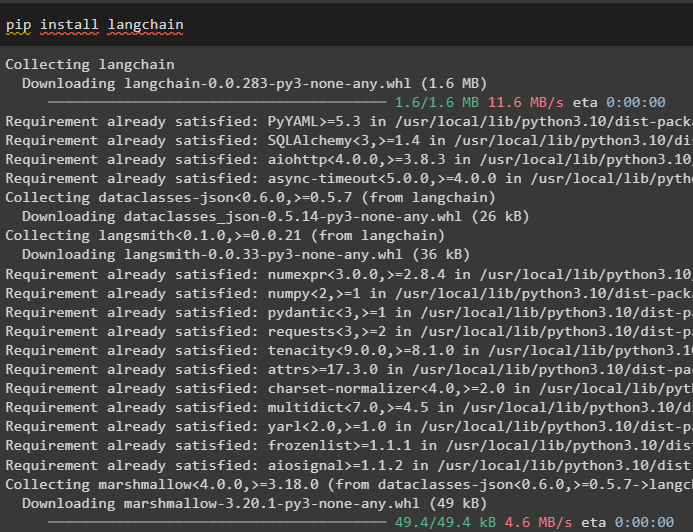
First of all, install the LangChain to get started with the process of implementing ReAct logic:
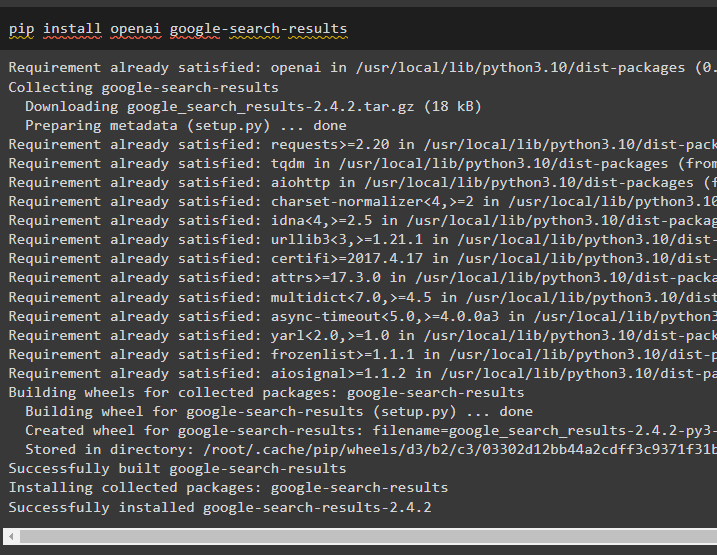
Install the google-search-results module to get the dependencies for building the agent that can get the search results from the google:
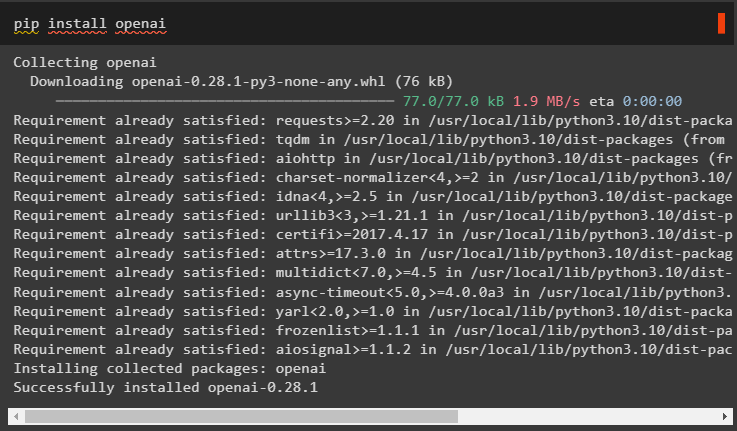
After that, install the OpenAI modules which can be used to load the Large Language Models or LLMs to implement ReAct logic:
After getting all the required modules, simply set up the OpenAI environment for building LLM and SerpAPI environment for using the agent in the model:
import getpass
os.environ["OPENAI_API_KEY"] = getpass.getpass("OpenAI API Key:")
os.environ["SERPAPI_API_KEY"] = getpass.getpass("Serpapi API Key:")
Step 2: Loading Language Model
The next step is loading the language models by importing the required libraries using the LangChain framework:
from langchain.agents import initialize_agent
from langchain.agents import AgentType
from langchain.llms import OpenAI
Use the OpenAI() method to build the Language Model (llm) and then configure the tools for the agents using SerpAPI:
tools = load_tools(["serpapi", "llm-math"], llm=llm)
Method 1: Using LandChain Expression Language
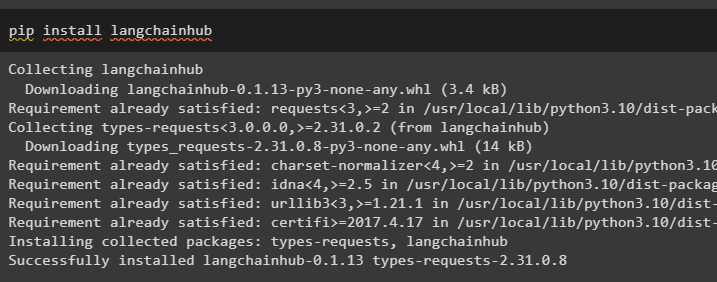
LCEL is the process of integrating or composing chains together while building the language models in LangChain. Start the process by installing the LangChainHub to get its dependencies for building and using ReAct logic with agents in LangChain:
Importing the libraries from the LangChain like ReActSingleInputOutputParser to build the model that can use the ReAct model:
from langchain.agents.output_parsers import ReActSingleInputOutputParser
from langchain.agents.format_scratchpad import format_log_to_str
from langchain import hub
Load the language model to design the ReAct logic using the pull() method and store it in the prompt variable. Define some tools that can be used to implement the logic on the loaded dataset to implement its working with an agent:
prompt = prompt.partial(
tools=render_text_description(tools),
tool_names=", ".join([t.name for t in tools]),
)
Building Agent
Now, configure the agent and its tools by integrating it with the language model loaded in step 2 of this guide:
Define an agent variable to provide the arguments and tools to configure the agent that explain its working. The previously configured parts like llm_with_stop and ReActSingleInputOutputParser() method are being integrated with the agent:
"input": lambda x: x["input"],
"agent_scratchpad": lambda x: format_log_to_str(x['intermediate_steps'])
} | prompt | llm_with_stop | ReActSingleInputOutputParser()
Get the AgentExecutor library and configure its method using arguments like agent, tools, and verbose to get a more readable output:
agent_executor = AgentExecutor(agent=agent, tools=tools, verbose=True)
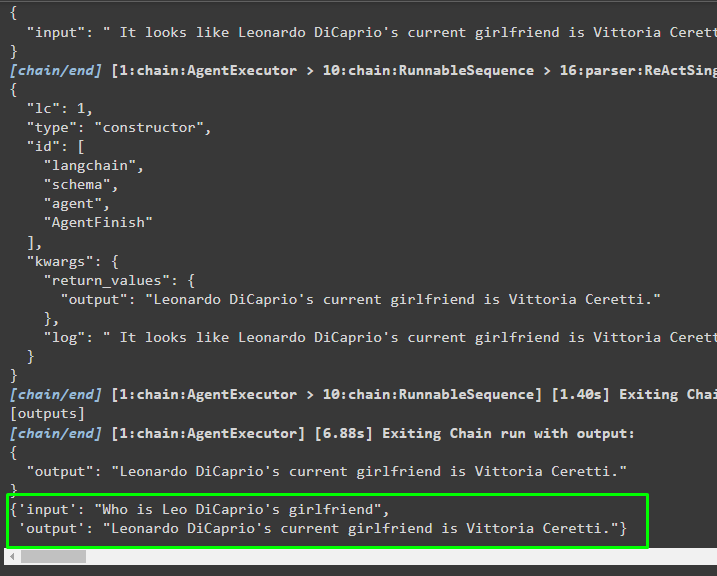
Invoke the agent_executor() method with the string query as the input which will trigger the agent to extract the output:
Output
The following screenshot displays that the agent has extracted the information using the ReAct logic and generated the text in natural language:
Method 2: Using ZeroShotReactAgent
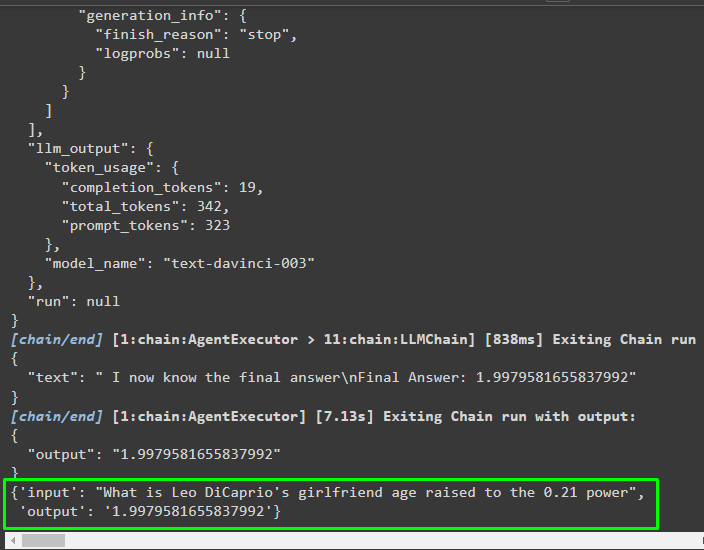
The ReAct logic can also be implemented by using another agent like ZeroShotReactAgent while configuring the agent_executor variable. After that, simply call the agent_executor variable with the question as the input to invoke the agent:
agent_executor.invoke({"input": "What is Leo DiCaprio's girlfriend age raised to the 0.21 power"})
Output
The agent has extracted the information based on the input asked while invoking the agent_executor:
Method 3: Using Chat Models
Another process that can be used to implement the ReAct logic by using the chat models after importing the ChatOpenAI library:
Build the chat model using the ChatOpenAI() method with the value of temperature equal to 0 that can control the randomness in the results of the model:
Load the model on which the user can implement the ReAct logic to store it in the prompt variable and configure the tools to be used in the process:
prompt = prompt.partial(
tools=render_text_description(tools),
tool_names=", ".join([t.name for t in tools]),
)
Building the Agent
Use the chat model to store the observations or recent messages when the model stops generating the text:
Get the ReActJsonSingleInputOutputParser library to implement the ReAct logic and produce the results in the JSON format:
Build and configure the agent using the chat_model variable and method to produce results by calling the agent:
"input": lambda x: x["input"],
"agent_scratchpad": lambda x: format_log_to_str(x['intermediate_steps'])
} | prompt | chat_model_with_stop | ReActJsonSingleInputOutputParser()
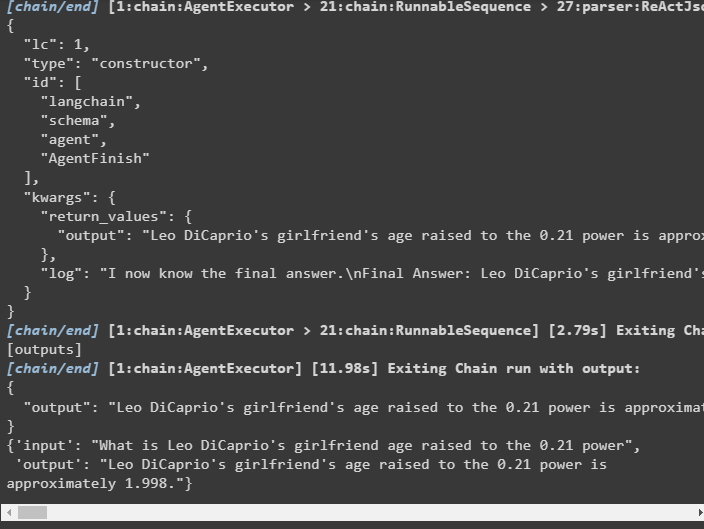
Configure the agent_executor and run it to get the results based on the query provided in the input variable:
agent_executor.invoke({"input": "What is Leo DiCaprio's girlfriend age raised to the 0.21 power"})
Output
The agent has extracted the output as displayed in the following screenshot:
Method 4: Using ChatZeroShotReactAgent
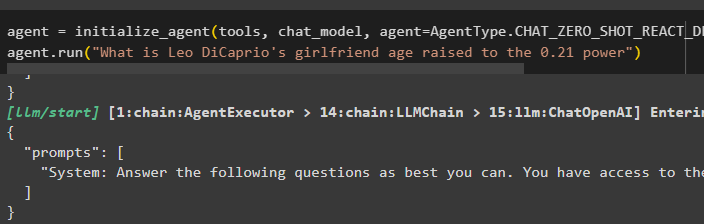
Changing the value of the agent can also be used to implement the ReAct logic with the LangChain framework:
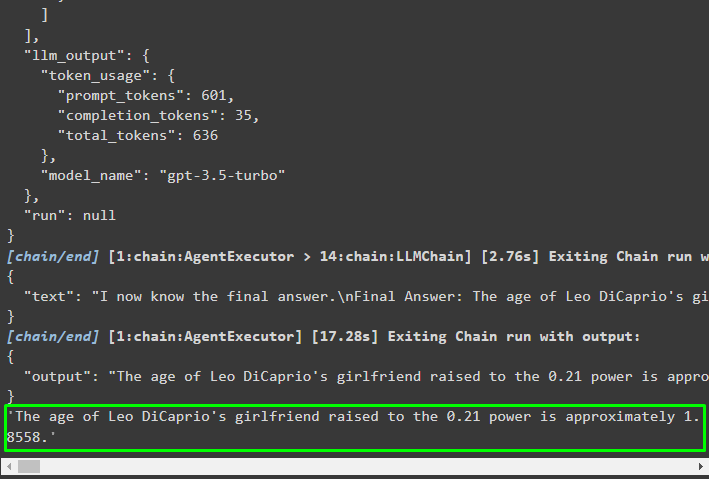
agent.run("What is Leo DiCaprio's girlfriend age raised to the 0.21 power")
Output
The output structure contains detailed information about the working of the agent from the tokens and model used to extract the information:
That’s all about the process of implementing the ReAct logic using an agent in LangChain.
Conclusion
To implement the ReAct logic with an agent using the LangChain framework, install modules like google-search-results to configure the agent. After that, set up the environment using the OpenAI and SerpAPI credentials from their accounts to start using the model. The ReAct logic can be implemented using the LCEL and chat models with multiple agents offered by the LangChain module. This guide has elaborated on implementing the ReAct logic using the agent in LangChain.
Source: linuxhint.com