How to Create a Custom LLM Chat Agent in LangChain?
Quick Outline
This post will demonstrate the following:
What are the Components of ChatModels
How to Create a Custom LLM Chat Agent in LangChain
- Installing Frameworks
- Importing Libraries
- Setting up Environments
- Setting up Tools
- Configuring Prompt Template
- Design Output Parser
- Build Language Model
- Setting up the Agent
- Using the Agent
What are the Components of ChatModels
LangChain enables the developers to build the chat model using the following components:
Prompt Template
It explains the structure of the interface like how the agent begins from the input phase to the final answer.
Output Parser
A loop that starts with the input provided by the user and the agent keeps going through the process defined in the prompt template while returning the AgentAction object. Once the agent completes the work, it simply returns AgentFinish asking the user to give some input to get on with the process again.
ChatModel
ChatModel is the language model that enables the agent to work on all the tasks. It basically powers the agent.
How to Create a Custom LLM Chat Agent in LangChain?
To learn the process of creating a custom LLM chat agent in LangChain, simply go through the listed steps:
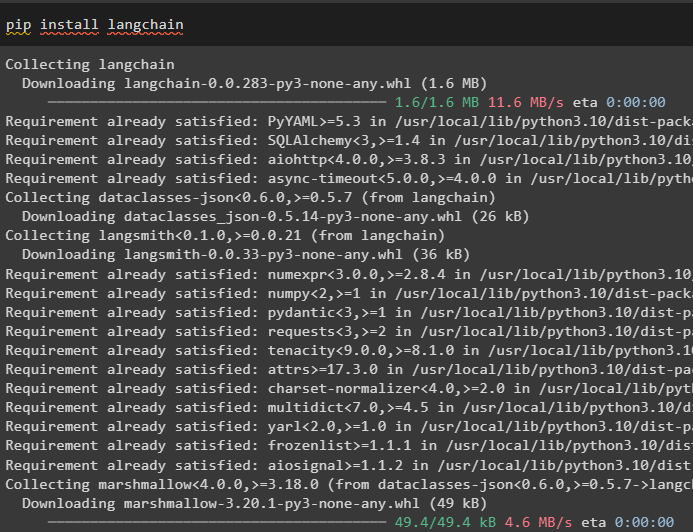
Step 1: Installing Frameworks
First of all, start the process with the installation of the modules required to complete the process of building the LLM chat agent. For that, simply install the LangChain dependencies using the following command in the Python Notebook:
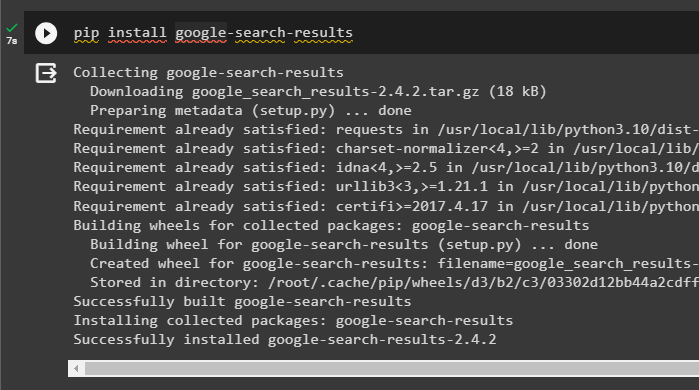
Install the “google-search-results” module that enables the user to search through the internet by asking the question in human language:
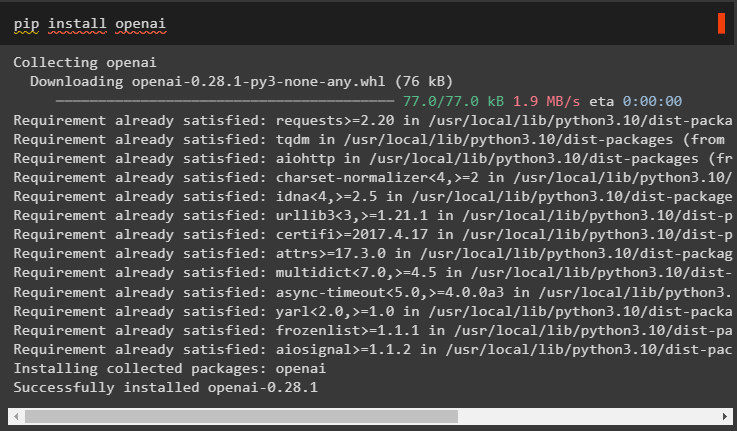
Now, install the OpenAI module to build the ChatModel with the Large Language Model or LLM:
Step 2: Importing Libraries
After setting up the environments, import the libraries from the dependencies of the LangChain as the following code block suggests:
from langchain.agents import AgentExecutor
from langchain.agents import LLMSingleActionAgent
from langchain.agents import AgentOutputParser
from langchain.prompts import BaseChatPromptTemplate
from getpass import getpass
from langchain.utilities import SerpAPIWrapper
from typing import List
from langchain.chains.llm import LLMChain
from typing import Union
from langchain.schema import AgentAction
from langchain.schema import AgentFinish
from langchain.schema import HumanMessage
from langchain.chat_models import ChatOpenAI
import re
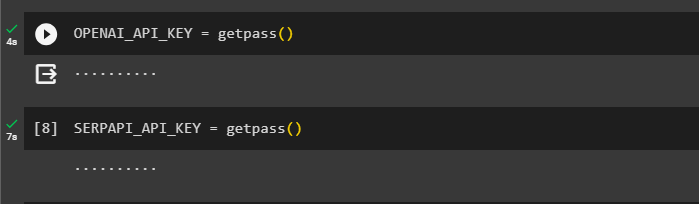
Step 3: Setting up Environments
The next step is about setting up the OpenAI environment using its API key from the OpenAI account:
Another environment to set up is the SerpAPI by provides its API key to use the google-search-results module:
Step 4: Setting up Tools
Before getting on with building the agent, configure the tools for the agent using the SerpAPIWrapper() method with the SerpAPi environment as its argument:
tools = [
Tool(
name="Search",
func=search.run,
description="useful for when you need to answer questions about current events"
)
]
Step 5: Configuring Prompt Template
Now, getting on towards configuring the main components for building the ChatModel which is the Prompt Template. Use the template variable to set the tools used by the agent to complete the tasks like taking input as the question from the user. After that, perform some actions to get some observations and use them to find the correct answer:
{tools}
template = """
Answer the following questions as best you can using the following tools:{tools}
Use the following format:
#store the input string and start working on it
Question: the input question you must answer
#understand the question before finding the line of action
Thought: you should always think about what to do
#Think the required tool for the current input
Action: the action to take, should be one of [{tool_names}]
#find the correct tool and navigate to different sources to find answers
Action Input: the input to the action
#gather all possible answers to the given queasy from multiple sources
Observation: the result of the action
#all the steps should be running with proper orientation
... (this Thought, Action, Action Input, and Observation can repeat N times)
#these actions keep repeating until the correct answer is found and then printed on the screen
Thought: I now know the final answer
#make sure that the final answer is authentic
Final Answer: the final answer to the original input question
#leave a signature with the final answer to make it stand out from the others
Begin! Remember to speak as a pirate when giving your final answer using lots of "Arg"s
#again use the query with the final answer to keep it relevant.
Question: {input}
{agent_scratchpad}"""
The above prompt template is a base template to get the structure of the interface and the following is the code to define the CustomPromptTemplate() method. The method is configured with the tools to perform all the steps mentioned in the base template:
template: str
tools: List[Tool]
def format_messages(self, **kwargs) -> str:
intermediate_steps = kwargs.pop("intermediate_steps")
thoughts = ""
#defining the intermediate step to gather observations and thoughts to guess the final reply
for action, observation in intermediate_steps:
thoughts += action.log
thoughts += f"\nObservation: {observation}\nThought: "
kwargs["agent_scratchpad"] = thoughts
kwargs["tools"] = "\n".join([f"{tool.name}: {tool.description}" for tool in self.tools])
kwargs["tool_names"] = ", ".join([tool.name for tool in self.tools])
formatted = self.template.format(**kwargs)
return [HumanMessage(content=formatted)]
Integrate all the components like template, tools, and input_variable in the CustomPromptTemplate() method to define the prompt variable:
template=template,
tools=tools,
input_variables=["input", "intermediate_steps"]
)
Step 6: Design Output Parser
The second component for building the ChatModel is the Output Parser which uses variables to keep the process loop running. AgnetFinish and AgentAction are configured in the CustomOutputParser() method containing the AgentOutputParser library:
#defining the parse method with multiple arguments to return answers using the Agent performing tasks
def parse(self, llm_output: str) -> Union[AgentAction, AgentFinish]:
if "Final Answer:" in llm_output:
return AgentFinish(
return_values={"output": llm_output.split("Final Answer:")[-1].strip()},
log=llm_output,
)
regex = r"Action\s*\d*\s*:(.*?)\nAction\s*\d*\s*Input\s*\d*\s*:[\s]*(.*)"
match = re.search(regex, llm_output, re.DOTALL)
#Returning AgentFinish object that gets the input/question from the user
if not match:
raise ValueError(f"Unable to parse output: `{llm_output}`")
action = match.group(1).strip()
action_input = match.group(2)
return AgentAction(tool=action, tool_input=action_input.strip(" ").strip('"'), log=llm_output)
Define the output_parser variable with the CustomOutputParser() method:
Step 7: Build Language Model
The last component for the ChatModel is building the language model using the ChatOpenAI() method with the OpenAI API key:
Step 8: Setting up the Agent
Now that the ChatModel is configured, simply head towards building the agent by configuring the LLMChain() with the llm and prompt variables:
Setup the tools for the agent before using the LLMSingleActionAgent() method with all the components of the ChatModel as its argument:
agent = LLMSingleActionAgent(
llm_chain=llm_chain,
output_parser=output_parser,
stop=["\nObservation:"],
allowed_tools=tool_names
)
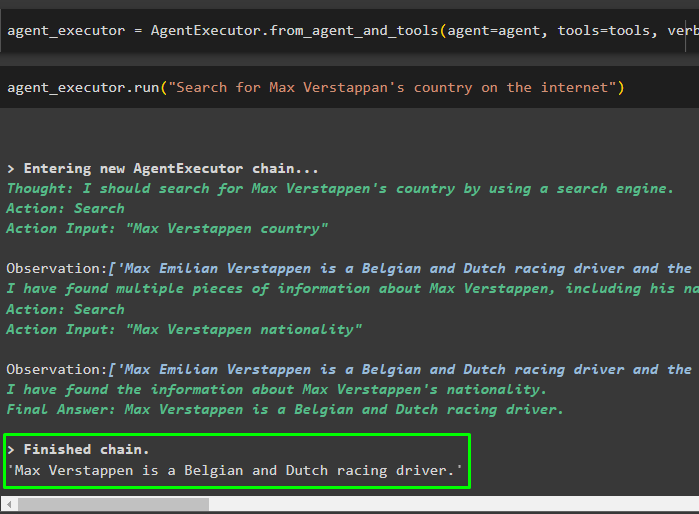
Step 9: Using the Agent
Once the agent is built, configure its executor using the agent, tools, and verbose arguments:
Call the agent_executor with the question string in the argument of the run() method:
Running the above code has executed the agent to perform its tasks defined in the ChatModel to find the correct answer from the internet:
That’s all about creating a custom LLM chat agent in LangChain.
Conclusion
To create a custom LLM chat agent in LangChain, install modules like google_search_results to get the answers from the internet. Build the ChatModel by configuring PromptTemplate, LLM, and Output Parser after setting up the environments. Once the ChatModel is configured, simply set up the agent and define its executor to get the answer to the query. This guide has elaborated on the process of creating a custom LLM chat agent in LangChain.
Source: linuxhint.com