How to Create a Custom LLM Agent in LangChain?
Quick Outline
This post will demonstrate:
How to Create a Custom LLM Agent in LangChain
- Installing Frameworks
- Setting up Environments
- Importing Libraries
- Setting up Tools
- Configuring Prompt Template
- Building Output Parser
- Building Language Model
- Configuring the Agent
- Using the Agent
- Adding Memory to the Agent
What are LLMs in LangChain?
Large Language Models or LLMs power applications that can understand the prompts in natural language and quickly fetch the related information. LLM consists of multiple components like Prompt Template, Stop sequence, Output parsers, etc. The Prompt Template explains the structure of the interface and the stop sequence informs the model when to stop generating text. Lastly, the output parsers are used to explain the status of the model by returning the AgentAction and AgentFinish objects.
What are Agents in LangChain?
Agents make sure that each task is started and completed at its time and they line up the upcoming tasks as well. They use tools to perform different tasks like getting input from the user, finding observations, and extracting the correct answer. Agents can be integrated with the LLMs to make them work efficiently while understanding and generating text in human language.
How to Create a Custom LLM Agent in LangChain?
To learn the process of creating a custom LLM agent in LangChain, simply go through the listed steps:
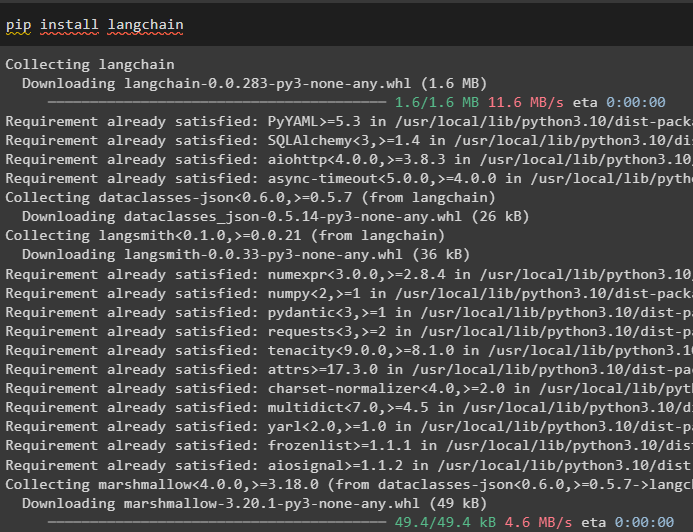
Step 1: Installing Frameworks
First, install the most important framework that is LangChain to get started with the process of building the custom LLM agent:
To build the LLM agent for extracting information from the internet, install the google-search-results module. This is the OpenAI module that is used to get the answers from the Google server and print them on the screen:
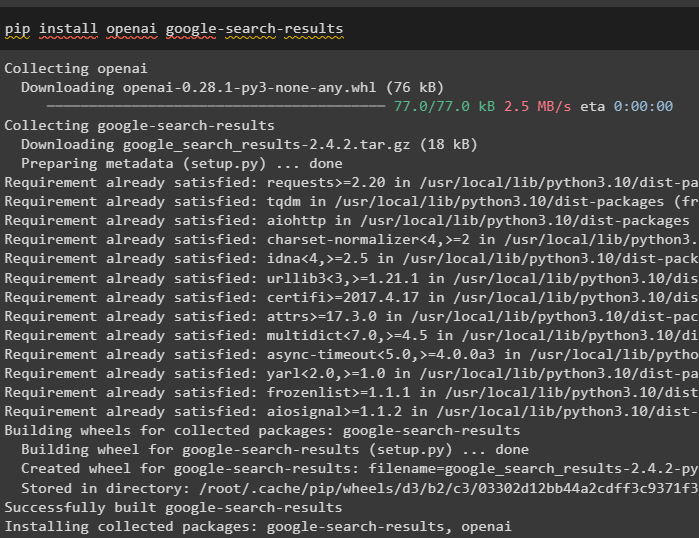
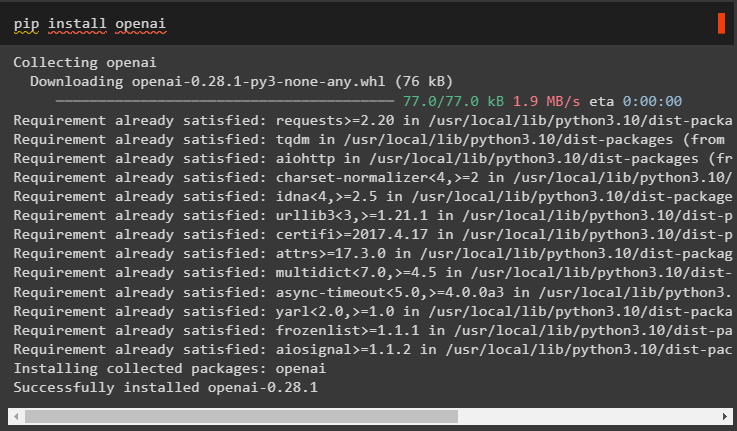
After that, install the OpenAI module for building the Language Models in LangChain:
Step 2: Setting up Environments
Now, simply set up the OpenAI and SerpAPi environments by providing the API keys after signing in to their accounts:
import getpass
os.environ["OPENAI_API_KEY"] = getpass.getpass("OpenAI API Key:")
os.environ["SERPAPI_API_KEY"] = getpass.getpass("Serpapi API Key:")
Step 3: Importing Libraries
Once the environments are set up, get the libraries required to build the LLM agent like tools, executors, parsers, and many more. All these libraries are imported from the dependencies of the LangChain module such as agents, prompts, llms, utilities, chains, and schema:
from langchain.agents import AgentExecutor
from langchain.agents import LLMSingleActionAgent
from langchain.prompts import StringPromptTemplate
from langchain.llms import OpenAI
from typing import List
import re
from langchain.utilities import SerpAPIWrapper
from langchain.chains import LLMChain
from typing import Union
from langchain.agents import AgentOutputParser
from langchain.schema import AgentAction, AgentFinish, OutputParserException
Step 4: Setting up Tools
Once the libraries are imported, use them to build or configure the tools required to use the agents in LangChain. The following code explains the tools that are going to be used for working with the agents in this process:
tools = [
Tool(
name="Search",
func=search.run,
description="useful for when you need to answer questions about current events"
)
]
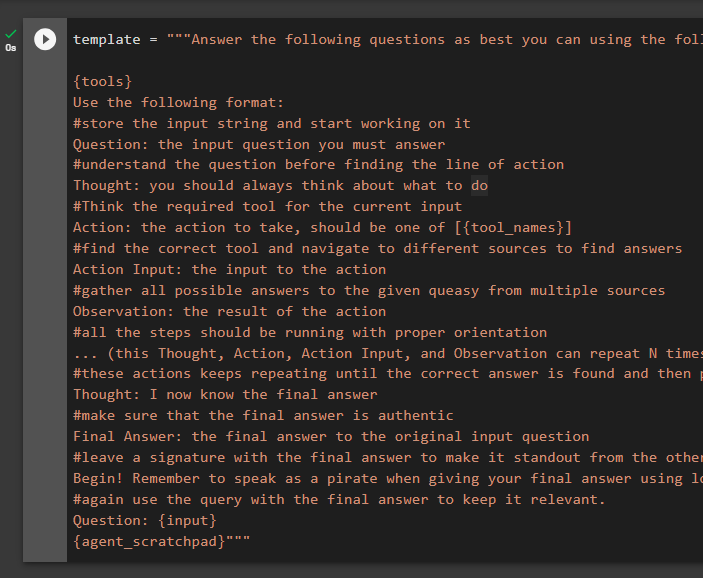
Step 5: Configuring Prompt Template
The major aspect of building a language model is configuring the prompt template that can be used to understand the structure of the conversation. It is necessary for the model to understand this structure in order to generate the text correctly:
{tools}
Use the following format:
#store the input string and start working on it
Question: the input question you must answer
#understand the question before finding the line of action
Thought: you should always think about what to do
#Think the required tool for the current input
Action: the action to take, should be one of [{tool_names}]
#find the correct tool and navigate to different sources to find answers
Action Input: the input to the action
#gather all possible answers to the given queasy from multiple sources
Observation: the result of the action
#all the steps should be running with proper orientation
... (this Thought, Action, Action Input, and Observation can repeat N times)
#these actions keeps repeating until the correct answer is found and then printing on the screen
Thought: I now know the final answer
#make sure that the final answer is authentic from a proper source
Final Answer: the final answer to the original input question
#leave a signature with the final answer to make it standout from the others
Begin! Remember you are a pirate when providing the final answer using lots of "Arg"s
#again use the query with the final answer to keep it relevant.
Question: {input}
{agent_scratchpad}"""
The above code suggests:
- This is the “Base template” to explain the overall look of the interface for the conversation.
- The configured “tools” are used to explain the number of actions and their orientation in the process.
- The “Question” is the query or input string given by the user.
- “Thought” is the first action the bot has to take to understand the string in the Question.
- “Action” comes after understanding the question to get the answer using different tools.
- The “Observation” is the collection of data gathered through the action tools.
- “Though” is the process when the bot double-checks before revealing the final answer.
- “Final Answer” is the generated string.
- The “agent_scratchpad” is the tool for the agent containing the intermediary steps:
The following is the template for the prompt using the “StringPromptTemplate” library in the argument of the “CustomPromptTemplate()” method. The following code explains all the steps defined in the Base template to build the class for the Custom template:
template: str
tools: List[Tool]
def format(self, **kwargs) -> str:
intermediate_steps = kwargs.pop("intermediate_steps")
thoughts = ""
#defining the intermediate step to gather observations and thoughts to guess the final reply
for action, observation in intermediate_steps:
thoughts += action.log
thoughts += f"\nObservation: {observation}\nThought: "
kwargs["agent_scratchpad"] = thoughts
kwargs["tools"] = "\n".join([f"{tool.name}: {tool.description}" for tool in self.tools])
kwargs["tool_names"] = ", ".join([tool.name for tool in self.tools])
return self.template.format(**kwargs)
Create a prompt variable and define it with the CustomPromptTemplate() method using template, tools, and input_variables as its arguments:
template=template,
tools=tools,
input_variables=["input", "intermediate_steps"]
)
Step 6: Building Output Parser
Once the Prompt Template is configured, simply design the Output Parser to define the AgentAction and AgentFinish objects. If the AgentFinish object is returned then it means that the agent is directed to the user for the input. AgentAction means that the agent is using tools or templates to get the observations for generating the final answer:
#defining the parse method with multiple arguments to return answers using the Agent performing tasks
def parse(self, llm_output: str) -> Union[AgentAction, AgentFinish]:
if "Final Answer:" in llm_output:
return AgentFinish(
return_values={"output": llm_output.split("Final Answer:")[-1].strip()},
log=llm_output,
)
regex = r"Action\s*\d*\s*:(.*?)\nAction\s*\d*\s*Input\s*\d*\s*:[\s]*(.*)"
match = re.search(regex, llm_output, re.DOTALL)
#Returning AgentFinish object that gets the input/question from the user and the AgentAction starts running and the loops keeps repeating
if not match:
raise OutputParserException(f"Could not parse LLM output: `{llm_output}`")
action = match.group(1).strip()
action_input = match.group(2)
return AgentAction(tool=action, tool_input=action_input.strip(" ").strip('"'), log=llm_output)
Build the output_parser variable by initializing with the CustomOutputParser() method:
Step 7: Building Language Model
We have configured the PromptTemplate and Output parser already so now building the language model using the OpenAI() method. Temperature is the parameter of the OpenAI() method that can be used to avoid ambiguity in the generated answer:
Step 8: Configuring the Agent
Using the language model and prompt template, build the chain by defining the LLMChain() method:
Build the agent using the LLMSingleActionAgent() method with all the previously configured components like llm_chain, output_parser, and others:
agent = LLMSingleActionAgent(
llm_chain=llm_chain,
output_parser=output_parser,
stop=["\nObservation:"],
allowed_tools=tool_names
)
Step 9: Using the Agent
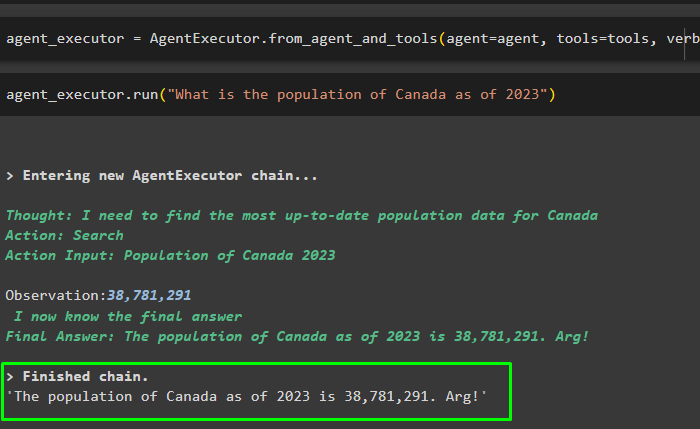
Before using the agent, we have to configure the agent_executor with agent, tools, and verbose as the argument of the AgentExecutor() method:
Now, run the agent_executor variable with the input question to start the execution process:
The following screenshot explains the output response with the specific number for the population of Canada as per the year 2023:
Step 10: Adding Memory to the Agent
Additionally, the user can also add the extra memory with the agent to store the history of the chat for getting the context of the conversation:
{tools}
Use the following format:
#store the input string and start working on it
Question: the input question you must answer
#understand the question before finding the line of action
Thought: you should always think about what to do
#Think the required tool for the current input
Action: the action to take, should be one of [{tool_names}]
#find the correct tool and navigate to different sources to find answers
Action Input: the input to the action
#gather all possible answers to the given queasy from multiple sources
Observation: the result of the action
#all the steps should be running with proper orientation
... (this Thought, Action, Action Input, and Observation can repeat N times)
#these actions keeps repeating until the correct answer is found and then printing on the screen
Thought: I now know the final answer
#make sure that the final answer is authentic from a proper source
Final Answer: the final answer to the original input question
#leave a signature with the final answer to make it standout from the others
Begin! Remember you are a pirate when providing the final answer using lots of "Arg"s
#again use the query with the final answer to keep it relevant.
Previous conversation history:
{history}
New question: {input}
{agent_scratchpad}"""
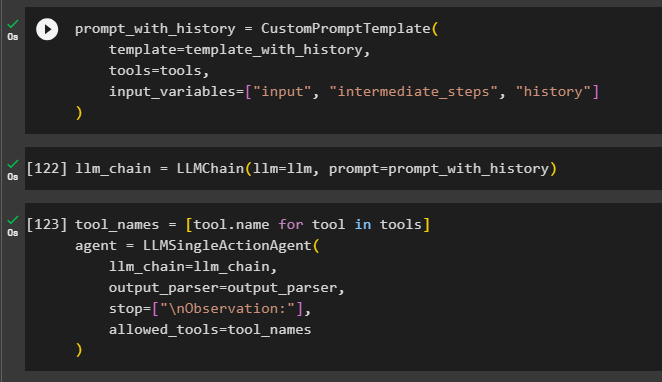
Build a new variable named the prompt_with_history containing the exact tools as the prompt variable had previously:
template=template_with_history,
tools=tools,
input_variables=["input", "intermediate_steps", "history"]
)
Configure the llm_chian variable by calling the LLMChian() method with the new prompt variable in its argument:
Define the tool_names and agent variable with the updated variables:
agent = LLMSingleActionAgent(
llm_chain=llm_chain,
output_parser=output_parser,
stop=["\nObservation:"],
allowed_tools=tool_names
)
Agent contains the stop sequence that executes when the correct observation is extracted:
Now, import the “ConversationBufferWindowMemory” from the memory dependency of the LangChain module:
Define the memory variable with the library containing the value of K that specifies the number of chats to be stored in the buffer:
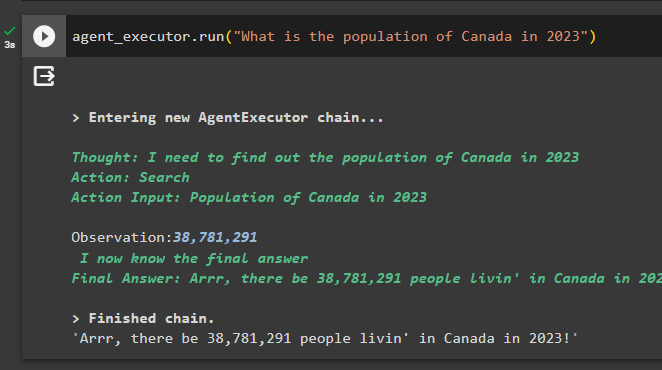
Configure the agent_executor with the “memory” as the additional argument as compared to the previous executor:
Now, ask the same question from the agent to extract the population of Canada in the year 2023:
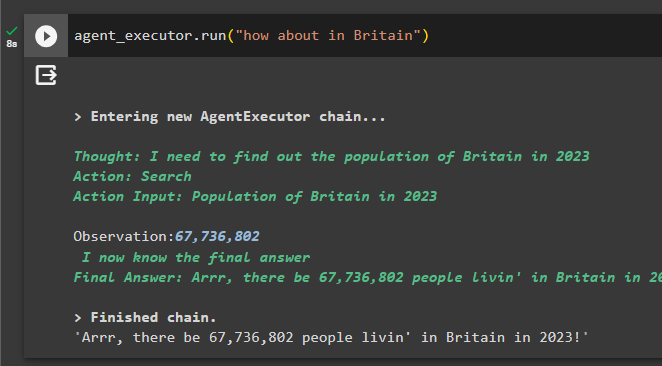
Test the buffer memory by asking the ambiguous question like the following code contains one:
The agent has used the memory to get the context of the question by successfully generating the population of Britain in 2023:
That’s all about the process of creating a custom LLM agent in LangChain.
Conclusion
To create a custom LLM agent in LangChain, simply install the modules to get the dependencies for importing multiple libraries. These libraries are used for building multiple components for customizing the LLM agent in LangChain. Configure the prompt template, output parser, and tools for the agent to design the agent_executor for extracting information. Additionally, this guide also explains the process of adding extra memory to the agent. This post has elaborated on the process of creating a custom LLM agent in LangChain.
Source: linuxhint.com