How to Handle UDP Traffic with HAProxy
Initially, HAProxy didn’t support the UDP traffic. Outdated HAProxy versions still don’t support the UDP traffic. To handle the UDP traffic, you must have an installed HAProxy from version 1.5. With that in mind, this post will guide you on how to handle the UDP traffic with HAProxy. We will talk about the importance of HAProxy and what configurations you should make to handle the UDP traffic. Let’s get started!
Does HAProxy Support the UDP Traffic?
HAProxy is a free load balancer that also works as a reverse proxy. With HAProxy, you can configure how your web application should handle the traffic by distributing it among the available servers. That way, you eliminate the chances of any server overloading, causing downtime and unavailability.
Previously, HAProxy versions don’t support handling the UDP traffic. However, HAProxy, starting from version 1.5, supports handling the UDP traffic. HAProxy only works with connection-oriented traffic, but you can now configure it to handle the connectionless traffic as with UDP traffic.
How to Handle the UDP Traffic with HAProxy
Handling the UDP traffic with HAProxy follows the same steps as handling the TCP or HTTP traffic. However, you must specify the UDP settings in the frontend section of your HAProxy config file for it to expect and accept the UDP traffic.
Start by installing HAProxy. You can fetch HAProxy from the default repository which installs the latest available system.
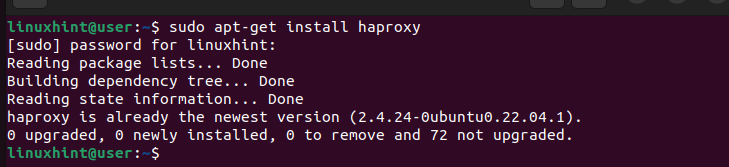
Once installed, confirm that the installed version is recent and above version 1.5 to support UDP.
We installed version 2.4 for this case which means that it can comfortably handle the UDP traffic.

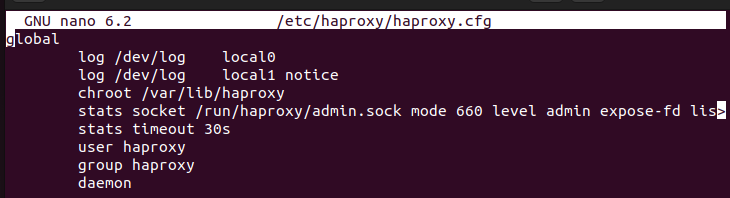
Now that we verified the correct HAProxy version that can handle the UDP traffic, the next task is configuring HAProxy. Open the HAProxy config file using a text editor.
Once the file opens, leave the global section as it is.
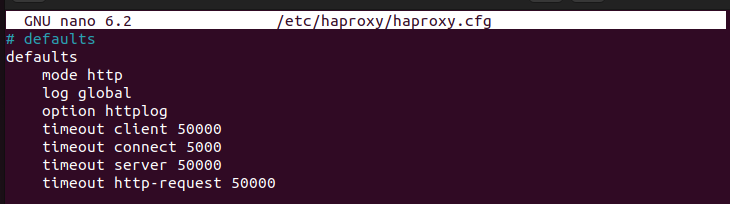
Scroll down to the “defaults” section and modify it to specify where to send the log files and timeouts for different tasks such as how long to wait for the incoming connections.
We must then create a “listen” section. In this section, we define how to listen for connections. We must specify to HAProxy to listen for the UDP traffic and then set which UDP port we want to bind and use for the incoming UDP traffic. Lastly, we can specify how to balance the incoming UDP traffic and what servers to use to distribute the UDP traffic.
Here’s an example of a “listen” section that handles the UDP traffic.
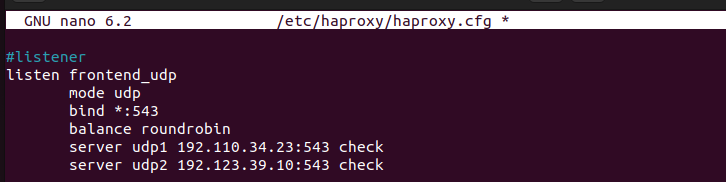
Copy the same and add it to your HAProxy config file. Ensure that you change the bind port to use your ideal UDP port for the connections. You can specify a different algorithm to balance the traffic. Lastly, change the server names and give your actual IP addresses for your servers.
Once you made the changes, save the configuration file and exit the text editor. You can now restart HAProxy to ensure that it captures the new configuration.

With that, your HAProxy is configured to handle the UDP traffic via the specified port and balance the traffic to the included servers. Ensure that you test the UDP configuration by sending the UDP traffic to your application and watch how the traffic will be handled.
Conclusion
Although HAProxy is mainly designed to handle TCP and HTTP traffic, HAProxy, starting from version 1.5, can be configured to listen and accept the UDP traffic and then load balance among the available servers. To handle the UDP traffic with HAProxy, ensure that you specify the “mode udp” in the “listen” section of HAProxy. Then, set the balance algorithm and what servers to use. Go through this post to understand what steps you must follow and reference the provided example to get it right.
Source: linuxhint.com