Discord Bot Creation: How to Get Started in Simple Steps
Discord bots are written programs to automate various tasks such as playing songs, greeting people, and providing real-time server stats.
If you are a server owner, these bots are essential to automate some of the repetitive tasks. Moreover, in many cases, Discord bots play a vital role and maintain heavy tasks that enhance the overall user experience in Discord servers.
Although there are hundreds of Discord bots available online, many users still want to create bots to automate things accordingly. So, in this tutorial, we will describe the step-by-step process of Discord bot creation with examples.
Discord Bot Creation: How to Get Started in Simple Steps
To create Discord bots, you must go for the developer account which you will use to manage the bots and their user interactions. Let’s now start with simple methods to create a Discord bot:
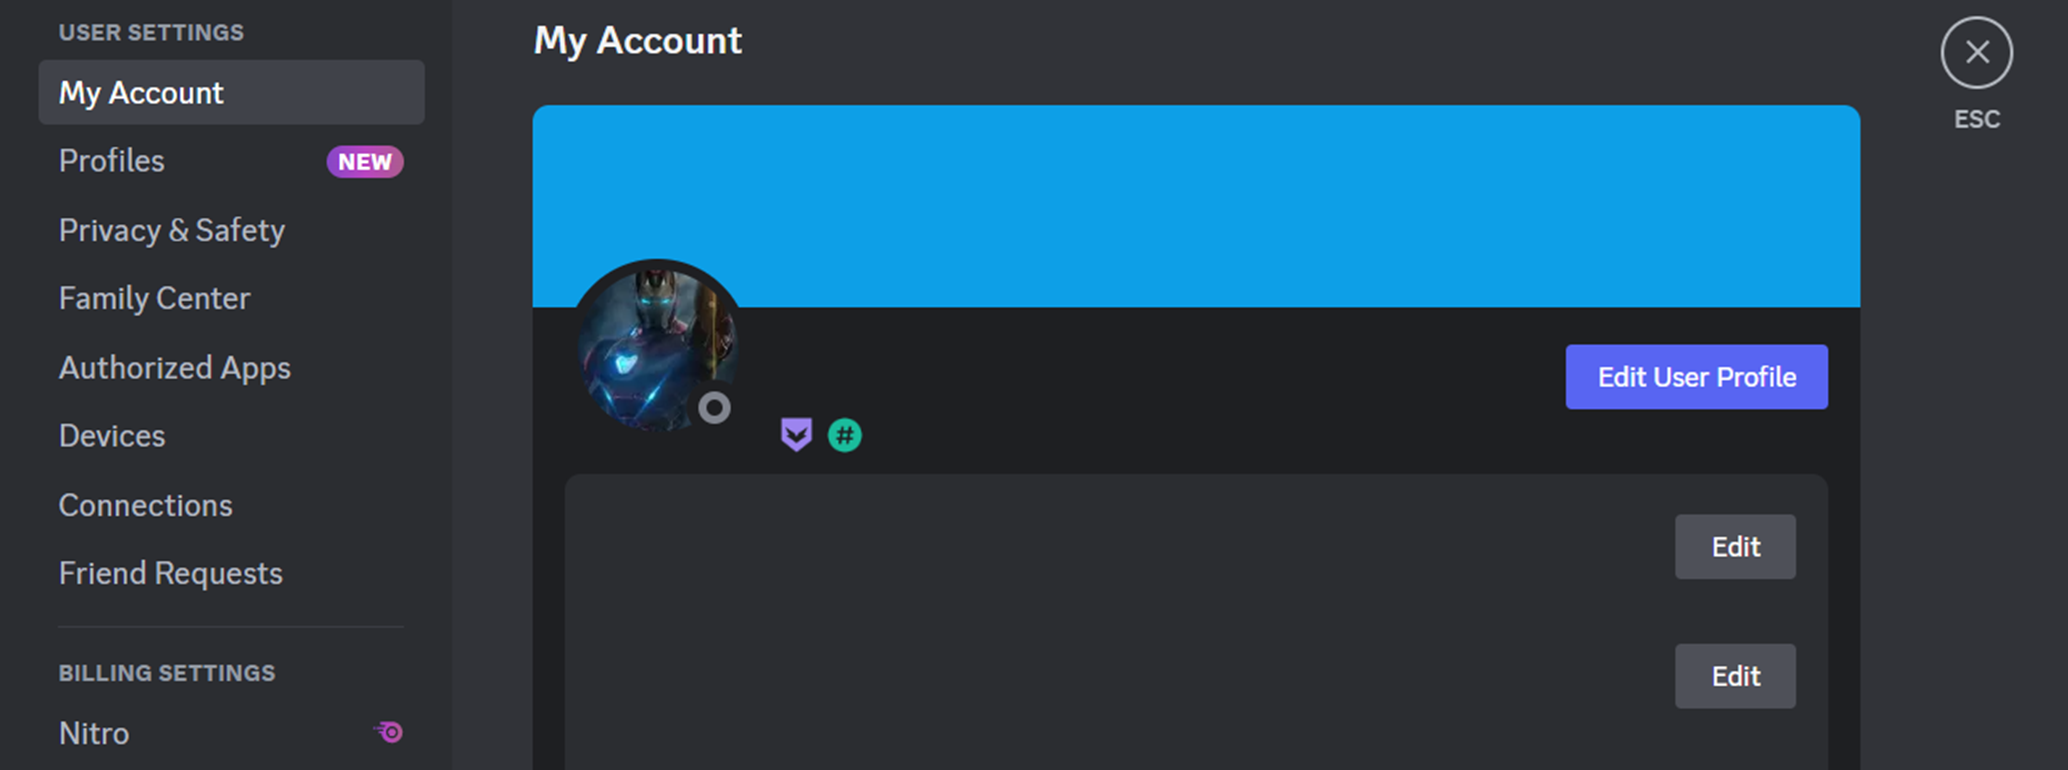
Open Discord and go to “User Settings”.
Scroll down to find the “Advanced” tab. Then, enable the “Developer Mode” as shown in the following image:
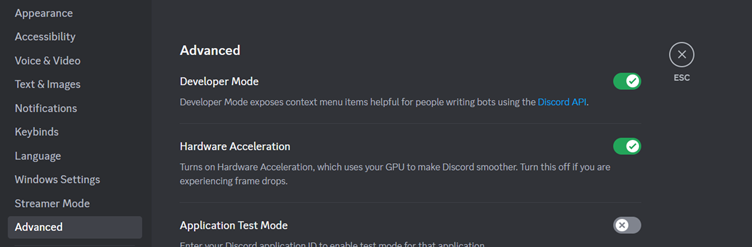
Now, click on the Discord API link that is highlighted in blue color. It redirects you to the Discord Developer Portal on the website.
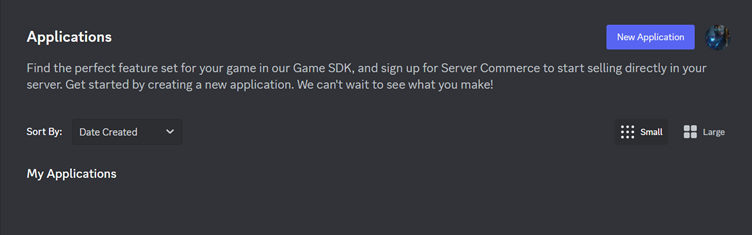
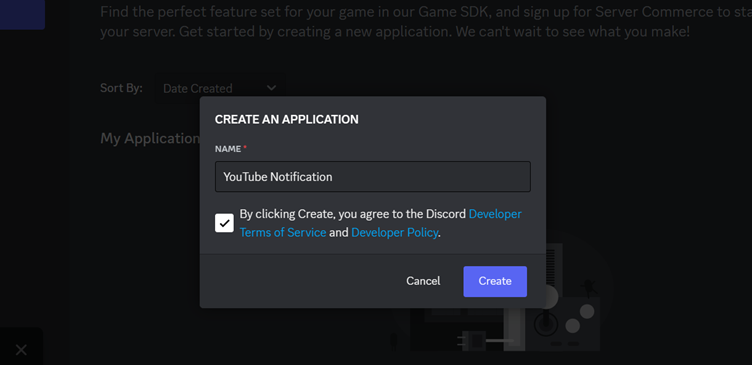
Go to the “Applications” tab from the leftmost panel. Then, click on “New Application”.
Name the bot here and click on “Create”.
In this tab, click on “Bot” on the sidebar menu and click on “Reset Token” to generate a new token. Tokens are confidential, and you either remember your token or generate a new one. When you generate a new token, you must update the same in your bot. So, we suggest that you copy and save this token.

Click on “OAuth2” on the sidebar menu. Then, click on the “URL Generator” and enable the bot.
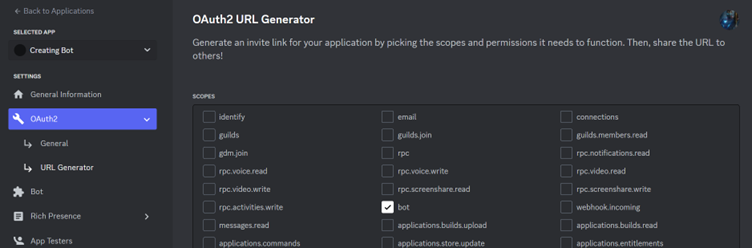
You can now go to the “Bot Permissions” and then provide the access permissions to the bot.

Scroll down and copy the generated URL from the bottom of this tab. Now, to add this bot to your server, open the web browser and paste this URL.
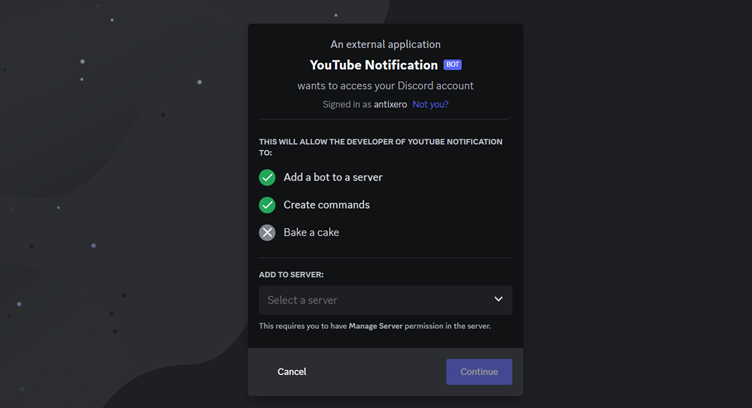
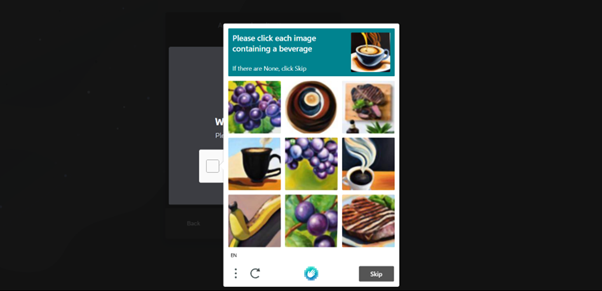
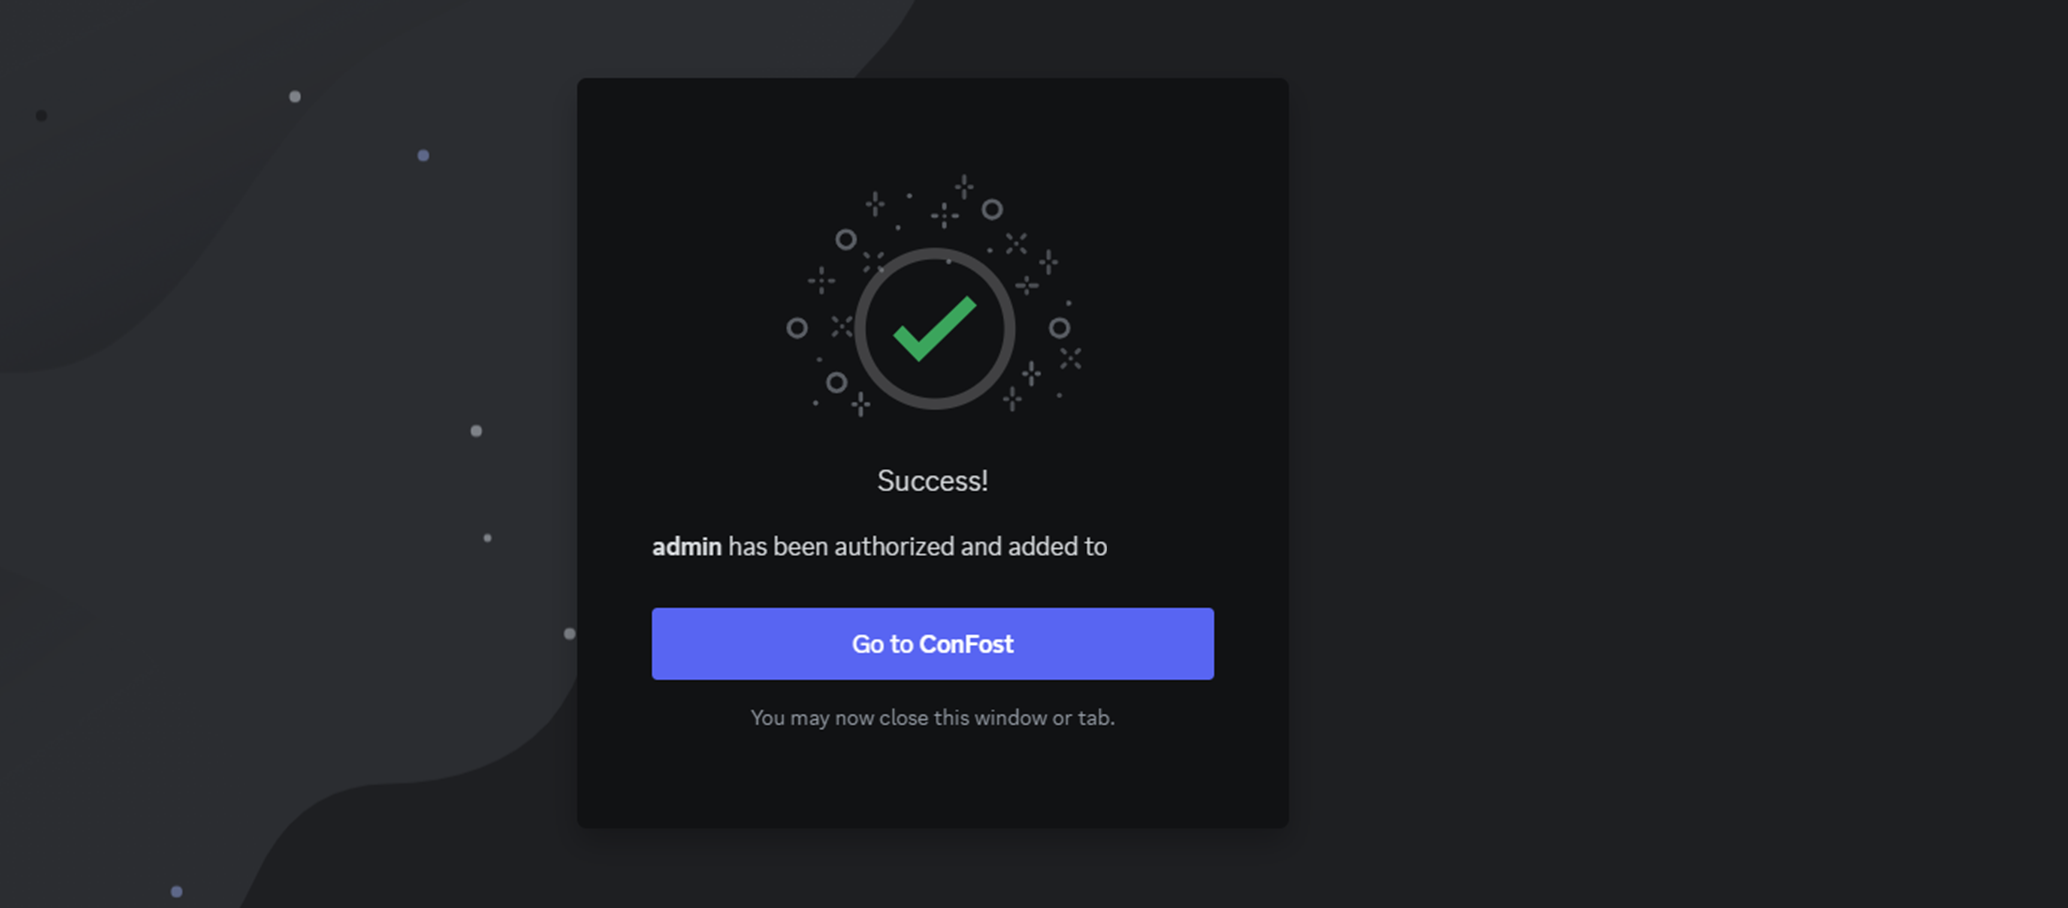
Select the particular server from the dropdown menu, and click on “Continue”. It then asks for authorization. As you authorize it, a human verification pop-up will appear. Complete the verification to finish this process.
You now have generated and added your Discord bot to a server.
Furthermore, allow the bot permissions according to the tasks that you want it to perform. However, to bring your bot to life and add functionalities, you must know a bit of coding.
Conclusion
Discord bots are a great way to automate your Discord servers. They can perform almost every task, from welcoming the users, moderating the channels, playing music, and even sending goodbye messages to the leaving users. This tutorial demonstrates the easiest method to create a Discord bot in a hassle-free way. To customize these bots and add functionalities, you must have some programming knowledge. Hence, we recommend you to use the pre-programmed Discord bots available online.
Source: linuxhint.com