Deploy Apache Kafka using Docker Compose
Docker is a free open-source platform used for shipping, deploying, and testing applications in containers. For this purpose, docker supports different components such as containers, images, volume, server and client, daemon and Docker compose.
In Docker, the Docker compose is a framework that is used to define and execute multiple container applications and services. It configures the application services in a Yaml file just like “Dockerfile”. Each service that is specified in the compose file will execute in a separate container.
This blog will demonstrate:
- What is Apache Kafka?
- What are the Key Components of Apache Kafka?
- How to Deploy Apache Kafka Using Docker Compose?
- Bonus Tip: Connect Kafka Cluster to Kafka Tool
- Conclusion
What is Apache Kafka?
High-volume data processing which includes data collection and transmission is a major challenge for data engineers. For better data processing, there is a need to decouple data via messaging queues. So, if one part of the data fails to transmit then the whole transmission should not halt and other data should be transmitted and recovered when the system gets started.
Apache Kafka is an event-streaming tool that is also known as a publisher-subscriber distributive system. It is used to stream a high volume data with high throughput. Users can write, publish, store, and process the data or event stream which provides efficient data pipelines, streaming analysis, data integration, and support for critical applications.
What are the Key Components of Apache Kafka?
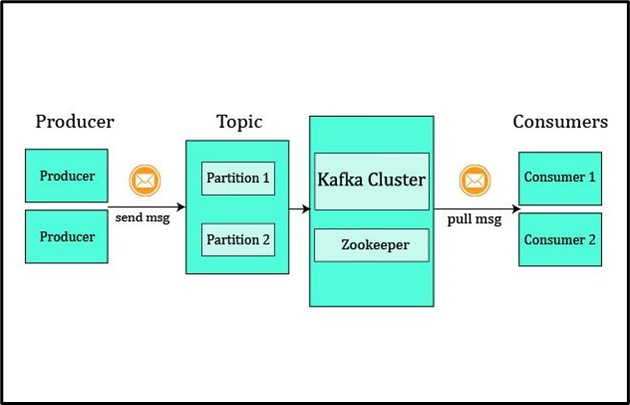
There are various components of Apache Kafka that are used to handle and process events or messaging streams. Some major components of Apache Kafka are listed below:
- Producer: It produces or publishes (writes) messages and events to Kafka.
- Consumer: It consumes or subscribes (reads and processes) messages and event streams from Kafka.
- Topic: It organizes and manages the events and messages just like folders in the file system.
- Partition: It is a queue-like data structure that manages messages and events. Basically, each topic is further partitioned in different queues just like files in folders.
- Cluster: Kafka clusters are groups of brokers that can be placed on different machines and allow consumers or subscribers to pick events or messages.
- Zookeeper: Zookeepers act as an interface between brokers and subscribers. Its presence is essential while event streaming for fault tolerance. As Kafka clusters can not maintain the metadata of their ecosystem. So, the zookeeper also keeps the track of cluster’s metadata:
How to Deploy Apache Kafka Using Docker Compose?
To deploy the Apache Kafka service using docker-compose, go through the following illustrations.
Step 1: Create Compose File
To start the Apache Kafka service, first, create a “docker-compose.yml” file and add the following code snippet to the file:
services:
zookeeper:
image: wurstmeister/zookeeper
container_name: zookeeper
ports:
- "2181:2181"
kafka:
image: wurstmeister/kafka
container_name: kafka
ports:
- "9092:9092"
environment:
KAFKA_ADVERTISED_HOST_NAME: localhost
KAFKA_ZOOKEEPER_CONNECT: zookeeper:2181
In the above code:
- “services” key configures the services that will be executed in separate containers. Here, we have configured two services “zookeeper” and “kafka”:
- “image” key defines the base image or snapshot to build the container. Here, we have used “wurstmeister/zookeeper” and “wurstmeister/kafka” images to build their respective containers.
- “container_name” sets the name of containers.
- “ports” specifies the exposing point of containers.
- “environment” key is utilized to define the environment variables for the container. Here, we have set “KAFKA_ADVERTISED_HOST_NAME” and “KAFKA_ZOOKEEPER_CONNECT” for the kafka container.
Step 2: Start Containers
Next, start the Kafka and Zookeeper services in their respective containers using the “docker-compose up” command. The “-d” flag will start the containers in the background:
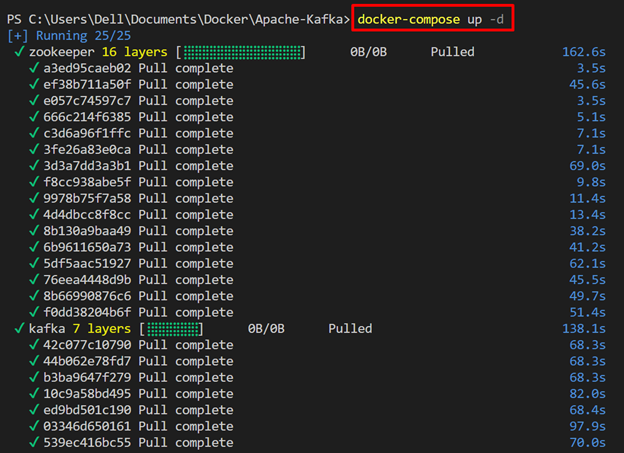
The below output indicates that we have successfully started the docker-compose containers:

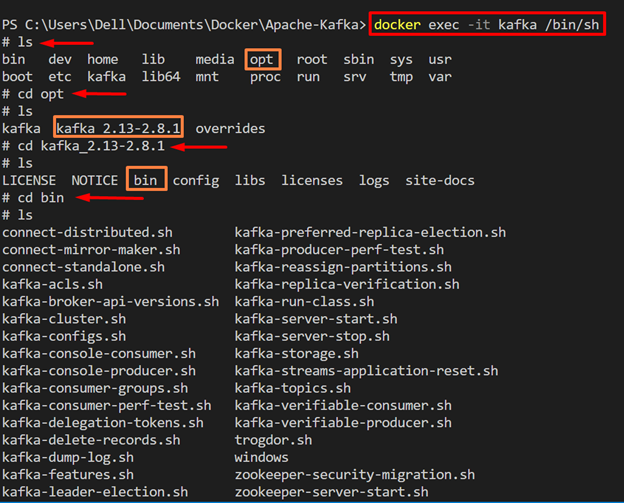
Step 3: Navigate Kafka “bin” Directory
Now, start the “kafka” container interactive shell to run the commands inside the container. For this purpose, utilize the “docker exec -it <cont-name/cont-id>” command. The “-it” flag is used to execute the container shell interactively:
In order to check Kafka commands, open Kafka’s “bin” directory. To do so, first, navigate to the “opt” directory, then the “kafka <version>” directory, and open the “bin” directory that contains all the Kafka supported commands.
Alternatively, the user can directly navigate to the “bin” directory by utilizing the below command:
In order to list down all the Kafka commands, utilize the “ls” command:
Step 4: Create New Topic
In the next step, create a new topic to start a message stream. For this purpose, utilize the “kafka-topics.sh” command along with the following options:
- “–create” is utilized to create a new topic.
- “–zookeeper” is used to connect the zookeeper to a kafka container.
- “–replication-factor” specifies the copies of data stored in kafka for different brokers.
- “–partitions” specify the number of topic partitions where data will be stored.
- “–topic” defines the new topic name:

Step 5: Verification
For verification, check if the new topic is created or not. To do so, list down Kafka topics using the “kafka-topics.sh” command along with the “–list” option:
The below output shows that the “Demo-topic” is successfully created:

Step 6: Run Producer to Generate Messages
After creating the topic, produce the messages stream using the “kafka-console-producer.sh” command:
For demonstration, we have generated “4” messages as highlighted below. To leave the producer shell, press “CTRL+C” key:

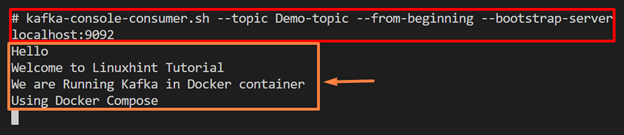
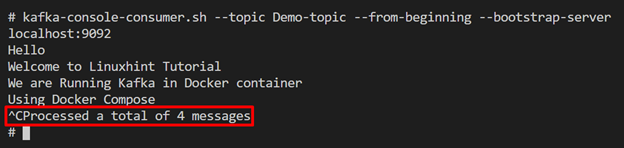
Step 7: Run Consumer to Pull Messages
To pull or subscribe(read and process) messages stream, run the Kafka consumer using “kafka-console-consumer.sh” command:
The below output shows that we have successfully pulled the four messages that are produced in the above step:
To terminate the consumer process shell, again use the “CTRL+C” key. Upon doing so, the output will show the total number of processed messages:
Users can also manage the Kafka clusters interactively using the Kafka interactive tool. To connect the Kafka cluster with the Kafka tool, move ahead toward the section below.
Bonus Tip: Connect Kafka Cluster to Kafka Tool
Kafka’s official tool “Offset Explorer” is a GUI tool that is used to manage and use Apache Kafka clusters. It is utilized to view and manage Kafka offsets and messages stored in Kafka topics. To install and use the Kafka interactive tool, go through the following steps.
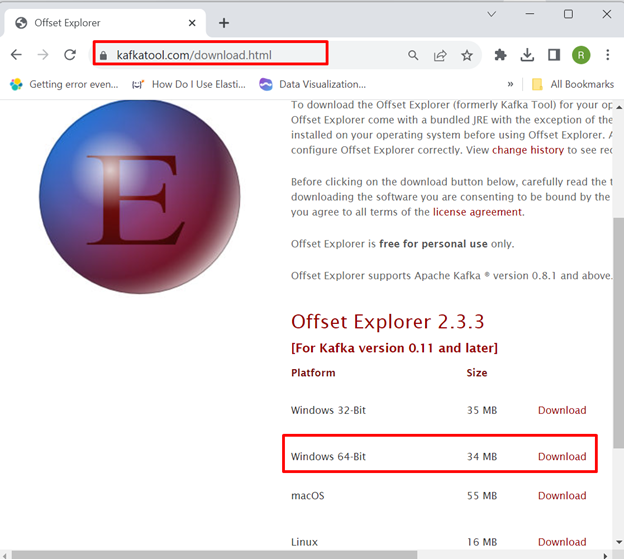
Step 1: Download “Offset Explorer” Tool
Download the “Offset Explorer” installer from Kafka Tool’s official website:
Step 2: Install the Kafka Tool
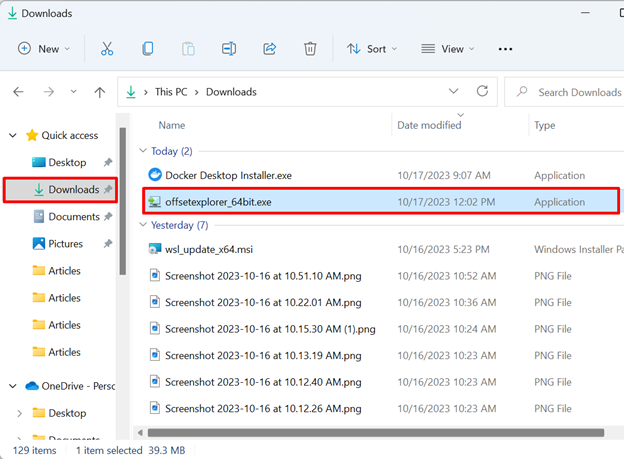
Next, navigate to the “Downloads” directory and double-click on the “Offset Explorer” installer to start installation:
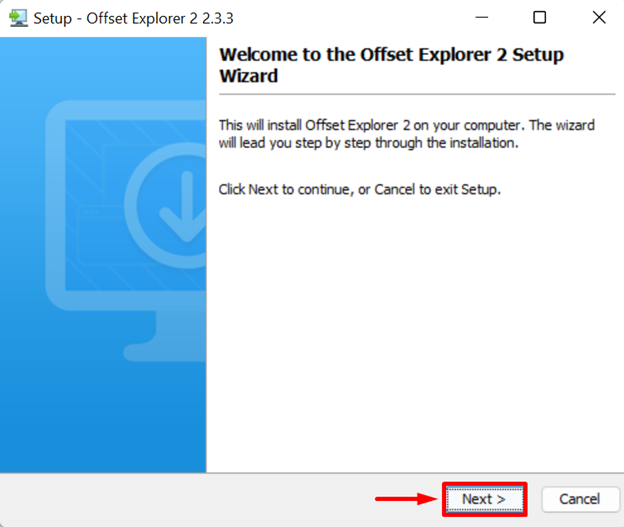
Next, start the installation process by clicking on the “Next” button:
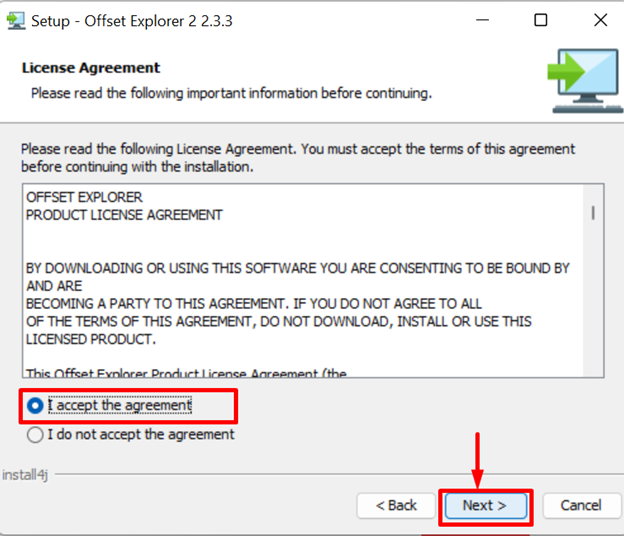
Accept all license agreements by making the below-pointed radio button. Then, press the “Next” button:
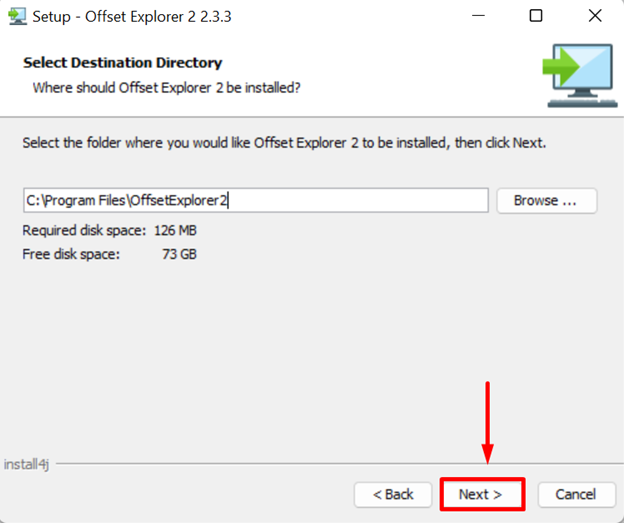
Set the installation location for the “Offset Explorer” tool and hit the “Next” button:
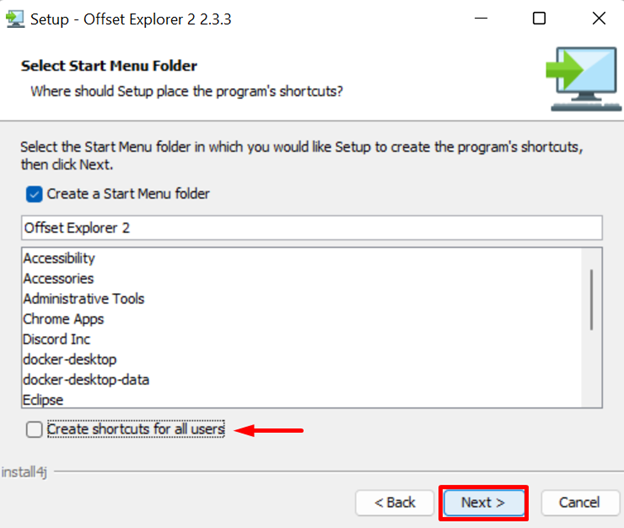
If the user does not want to create a Shortcut for the tool, uncheck the below-pointed checkbox and press “Next” to proceed:
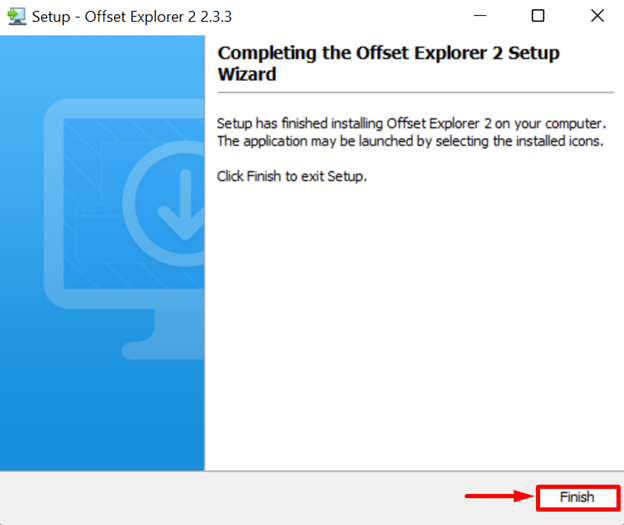
After completing the installation process, hit the “Finish” button:
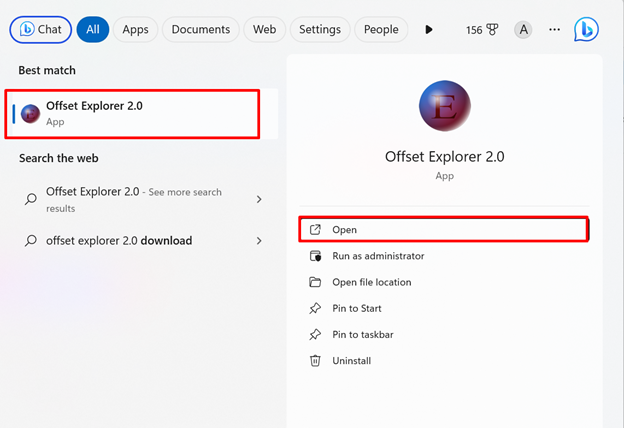
Step 3: Launch the “Offset Explorer” Tool
In the next step, launch the “Offset Explorer” tool via the Startup menu:
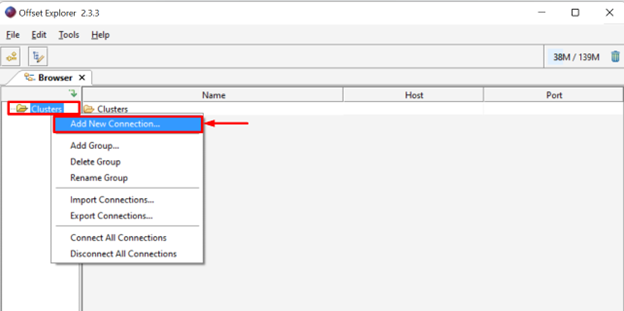
Step 4: Connect New Cluster
Connect the Kafka cluster that is running inside the kafka container. For this purpose, right-click on the “Clusters” folder and choose the “Add New Connection” option:
Set the name of Cluster, Zookeeper Host, and Zookeeper Port. After that, hit the “Test” button to test and add the cluster:

Upon doing so, a pop-up message will appear on the screen that will show test results and ask you to add the connection. Press the “Yes” key to add the cluster:

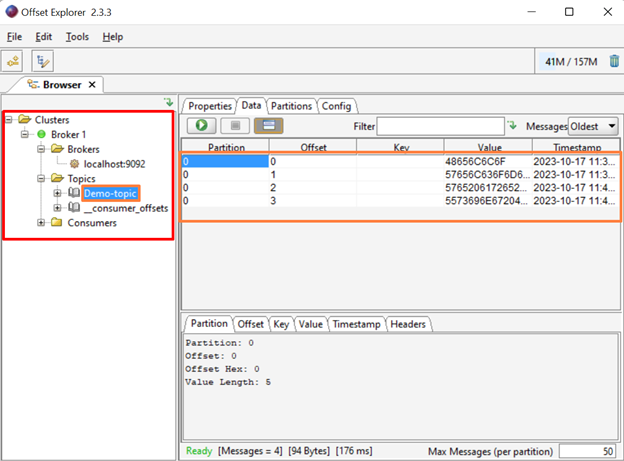
The output indicates that we have successfully added the new cluster “Broker1”. Here, the user can view topics, partitions, offsets, and messages that are produced in the above sections:
That is all about deploying Apache Kafka using Docker Compose.
Conclusion
To deploy Apache Kafka, first, create the “docker-compose.yml” file, and configure the “zookeeper” and “kafka” services using “wurstmeister/zookeeper” and “wurstmeister/kafka” images respectively. Next, run the containers through the “docker-compose up”. Now, open the container interactive shell and create a new topic, run the producer to produce messages and consumer to read and process the stream. This blog has demonstrated how to deploy Apache Kafka using Docker Compose and connect the kafka clusters to the “Offset Explorer” kafka tool to visualize the cluster interactively.
Source: linuxhint.com