Vim Split Screen
Vim is a very efficient and powerful text editor. It is mainly utilized for file-related tasks and coding. We can use it on Linux Mint. It provides the user with a bundle of features that would help in accomplishing the task simpler. It uses keyboard keys to perform tasks. From the list of attributes, it provides us the freedom to work on more than one file together by splitting the Vim window.
In this article, we will show you several ways to split the Vim window into separate workspaces both horizontally as well as vertically.
VIM Installation in Linux Mint
Vim is available for Linux mint. Initially, we must install this editor on the system before using it. For doing so, open the terminal in your Linux Mint.
Before installing Vim, make sure your system is updated.
Authenticate the admin password to proceed with the process. Once you enter the root password, the updating of the system will commence. Now, the system is up-to-date, We will write the next command which is to install Vim on Linux mint.
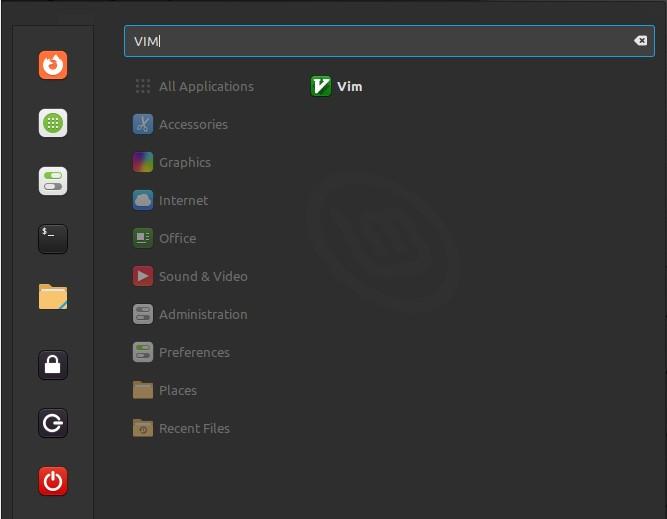
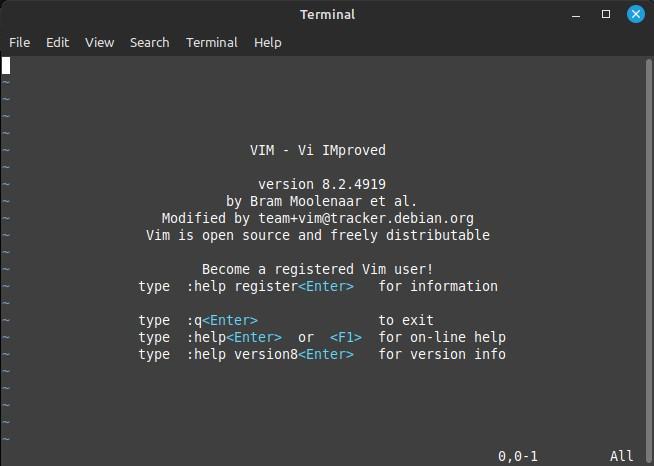
Run this command and wait for the installation to complete. The installation of Vim on Linux Mint is complete. We can launch the Vim editor from the application menu by simply writing Vim in the search bar.
Also, this can be opened via the terminal by writing the following command.
Vim editor is launched on our machine and its main screen provides us with the basic operations guideline.
Vim editor has two main modes: INSERT mode and COMMAND mode. In Insert mode, you can type text just like you do in a text editor whereas the COMMAND mode works by executing commands like opening a file, closing, redoing or undoing an action, and many others.
When the Vim editor opens, it is by default in COMMAND mode. You can switch between its modes. Pressing the “i” key will change the mode from COMMAND to INSERT. Then, to move back to the previous (COMMAND) mode just hit the <ESC> key.
The vim split screen, we will first add some text to the file and then split the Vim screen vertically as well as horizontally.
Splitting Vim Screen Into Two Sections Vertically
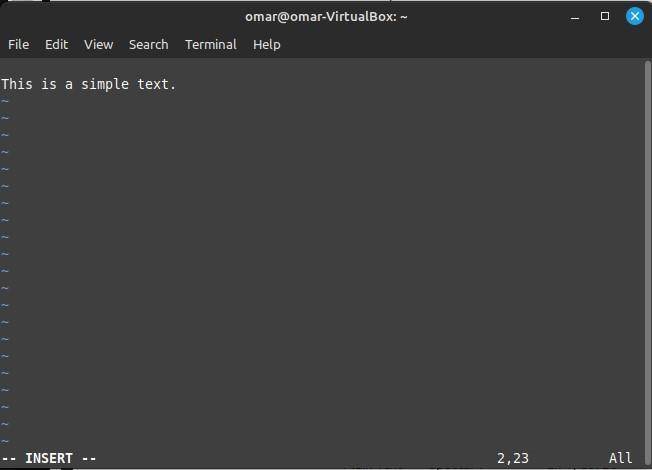
The first illustration we will work on is splitting the Vim screen vertically. We first switched the mode and added some text to the file. We must now return to COMMAND mode so we can execute other operations on it.
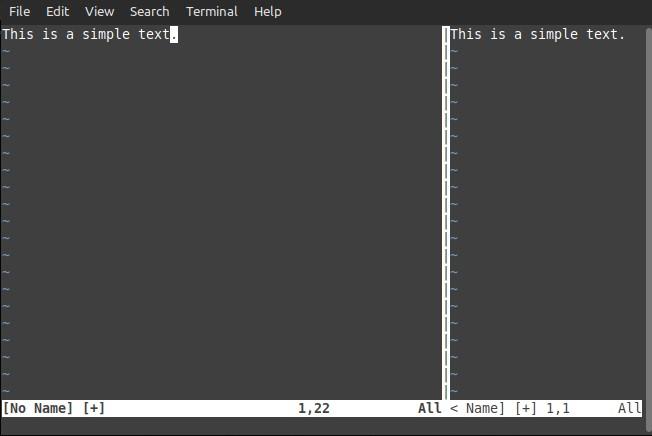
It is time to split this single Vim window into two parts. Make sure you are in COMMAND mode then press the “Ctrl+w+v” keys together to enable Vim split screen.
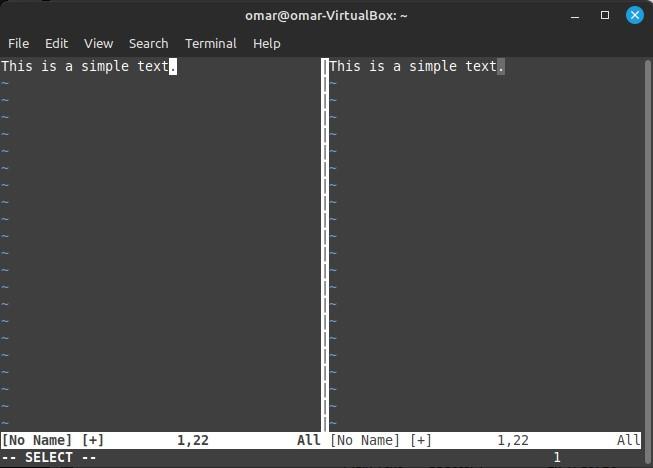
As shown above, the window has been divided into two halves. By default, Vim has copied the content of the file into the other half but you can add any other file for the different pans.
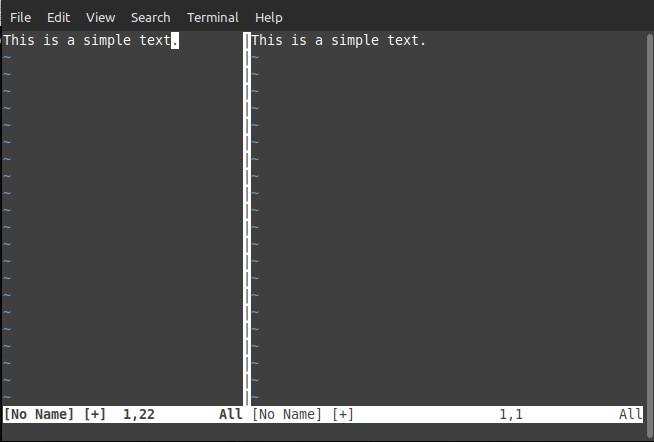
As you may observe, the cursor is currently located on the Vim window’s left pane. To move to the right section, use the combination “Ctrl+w” with “l” which will eventually shift the cursor to the right pane. For going back to the left half of the window, again use the combination “Ctrl+w” with the “h” key.
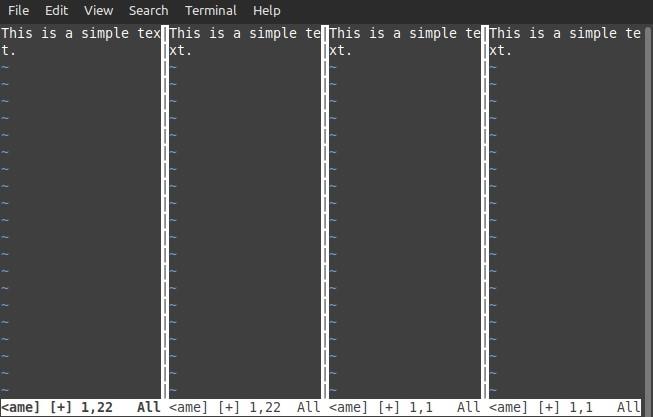
In the same way, you can make more splits of this window by using the vertical split key combination. As demonstrated in the image below, the window is split into four parts.
Apart from this, the width of the pans can also be adjusted. We may increase or decrease any of the halves’ width whenever needed. To increase the width of the current part of the window, we need to use these keys “Ctrl+w” with “Shift+>”. As for now, the control is on the left pan, so the width of the left pan will increase gradually every time we use this combination of keys.
We can also reduce the width of this part by using the key combination “Ctrl+w” with “Shift+<”.
In the picture above, the width of the left pan is reduced.
Horizontal Slitting of Vim’s Window
We have learned to split the Vim screen vertically. Also, it allows us to split the screen horizontally. To split the window horizontally, simply press “Ctrl+W” with the letter “s”.
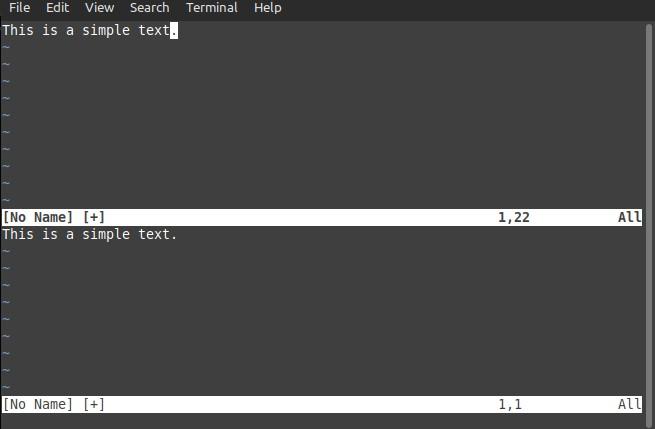
It will split the screen into two horizontal halves and if the screen is already split vertically then by using this combination, the active pan of the window will split horizontally.
As we have a vertically split window, we will further split the part with the control into two horizontal halves whereas the other vertical part would not change.
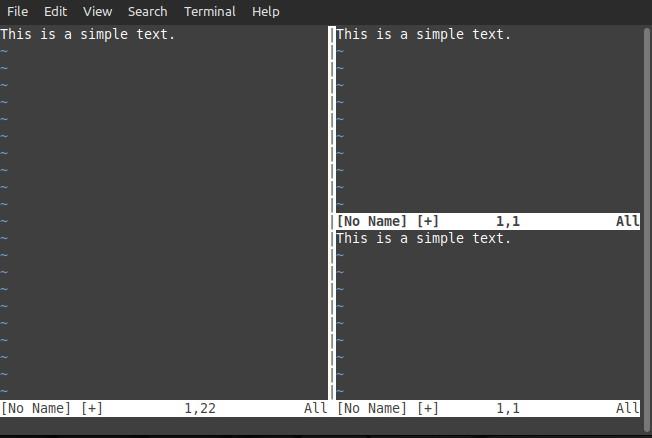
We knew how to navigate from the left pan to the right and from the right pan to the left but it does not work for moving control to upper or bottom pans. To move the control to the bottom workspace of the current pan, we need to press “Ctrl+w” along with the letter “j”. Similarly, to move back to the previous workspace hit “Ctrl+w” with “K”.
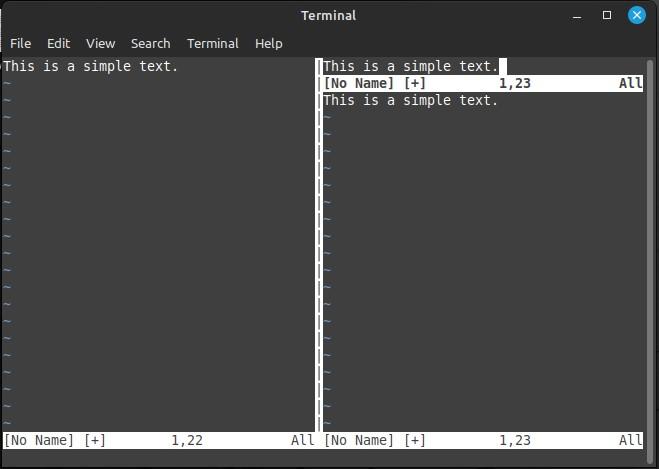
Apart from altering the width of the split screens, we may change the height of the workspaces too. To reduce the height of the current pane, hit “Ctrl+w” along with “Shift” and “–”. In the image below, you can see the height of the upper left pan has decreased from normal.
For increasing the height of the active pan, hit this combination “Ctrl+w” with “Shift” and “+”.
To adjust back the height of both pans use the combination “Ctrl+w” with “=”.
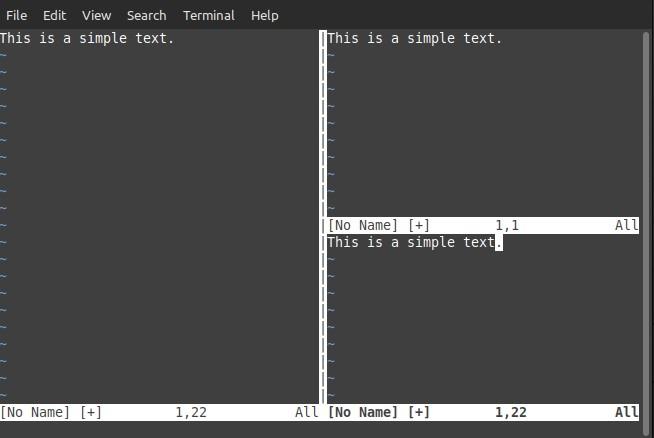
The snapshot shows the right window with two equal horizontal pans.
Conclusion
This article revolves around the use of the Vim split window. We have initially elaborated on the installation of the Vim editor if you do not already have it on your system. Then the utilization of Vim’s split screen is explained. Both vertical and horizontal splits with adjustment of height and width of any pan have been shown in this guide with snapshots of every step carried out in this tutorial.
Source: linuxhint.com