Using head Command in Linux

The head command is one of the many ways to view the contents of a file in Linux terminal.
But that can also be achieved by the cat command too! So why use another command?
I understand. But if there was no problem with how the cat command works, the head command won't even exist. So let's have a look at the problem with cat.
By default, the cat command prints all the text inside the file. But what if you have a file containing 1000 or more words? Your terminal will look bloated. Isn't it?
Whereas the head command can specify the number of lines to print.
In this guide, I will walk you through how you can use the head command with the help of some practical examples and additional practice exercises to brush up your command-line skills.
Suggested Read 📖
 Abhishek Prakash
How to use the head command in Linux
To use any command in Linux, you will have to use the correct syntax; else, you will get an error.
So let's start with the syntax for the head command:
head [options] [file]Here,
optionsare used to tweak the default behavior of the head commandfileis where you give the absolute path or filename of the file
To make things easy, I will be using a simple text file named Haruki.txt with the following content:
Hear the Wind Sing (1979)
Pinball, 1973 (1980)
A Wild Sheep Chase (1982)
Hard-Boiled Wonderland and the End of the World (1985)
Norwegian Wood (1987)
Dance Dance Dance (1990)
South of the Border, West of the Sun (1992)
The Wind-Up Bird Chronicle (1994)
Sputnik Sweetheart (1999)
Kafka on the Shore (2002)
After Dark (2004)
1Q84 (2009-2010)
Colorless Tsukuru Tazaki and His Years of Pilgrimage (2013)
Men Without Women (2014)
Killing Commendatore (2017)
And when you use the head command without any options, it will print the first ten lines of the file:
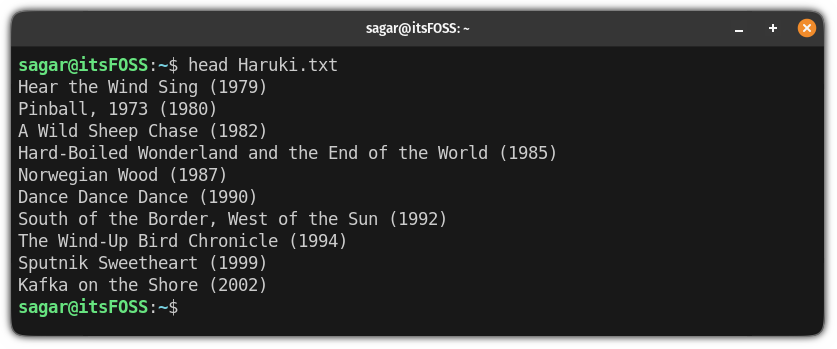
As you can see, it skipped the last five lines!
Examples of the head command in Linux
In this section, I will walk you through some practical examples of the head command. So let's start with the most useful one.
1. Print only the first N lines
So if you want to print first N lines, all you have to do is use the -n flag and append the number of the first N lines you want:
head -n number-of-lines FilenameSo let's say I want to print the first five lines of Haruki.txt file, then you type the following:
head -n 5 Haruki.txt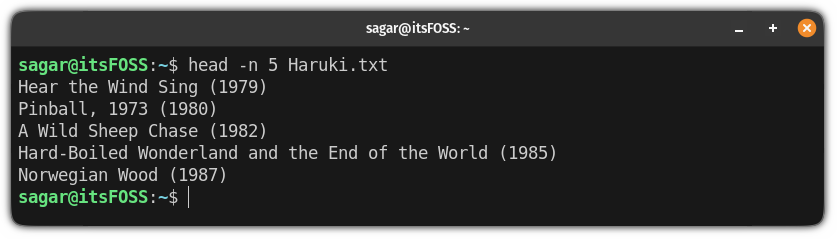
2. Print everything except the last N lines
So if you want to restrict the output by not including the last N lines, all you have to do is use the same -n flag but have to use the negative number (-n):
head -n -<number-of-lines> <File>So let's say I want to exclude the last three lines and print everything else from the Haruki.txt then the command looks like this:
head -n -3 Haruki.txt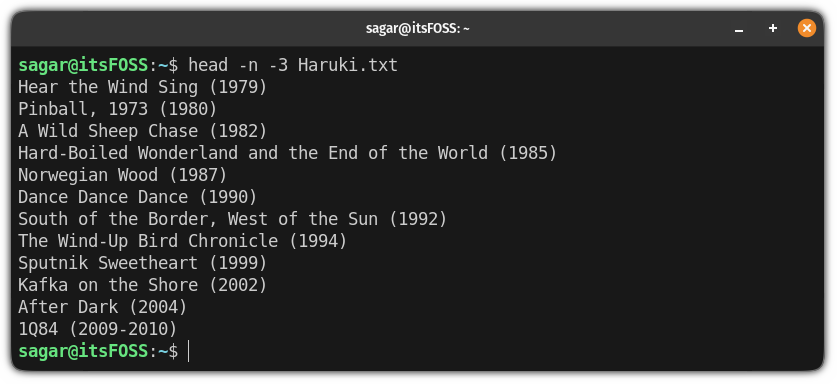
3. Display the name of the file being used
As you can see, the head command won't print the filename by default, so if you want to enable this behavior, all you have to do is use the -v flag for verbose output:
head -v <other-options> <File>Yes, you can use more than one option at once!
So here, I printed the first seven lines of the Haruki.txt file and enabled the verbose output to display the name of the file:

4. Use multiple files at once
So if you want to use the different files, all you have to do is append them one by one, followed by space:
head <options> <File1> <File2> <File3>For example, here, I used two files and printed the first five lines of each:
head -n 5 Haruki.txt Premchand.txt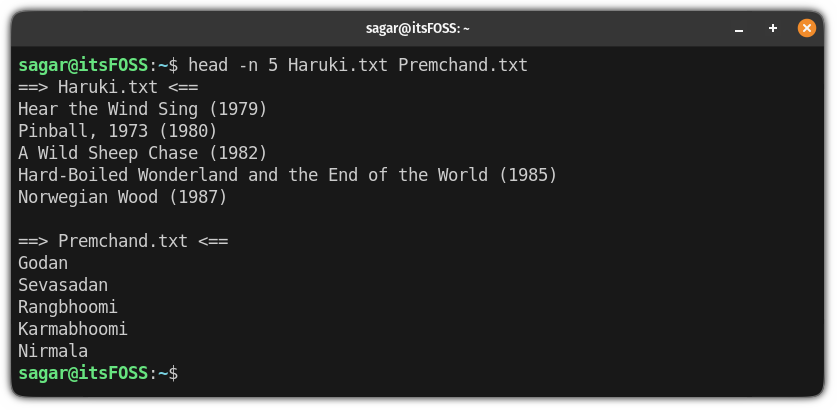
If you notice, it automatically prints the filename, especially when dealing with multiple files.
But in cases like redirecting the essential output, you may want to remove the filename. This can easily be done using the -q flag:
head -q <other-flags> <File1> <File2> <File3>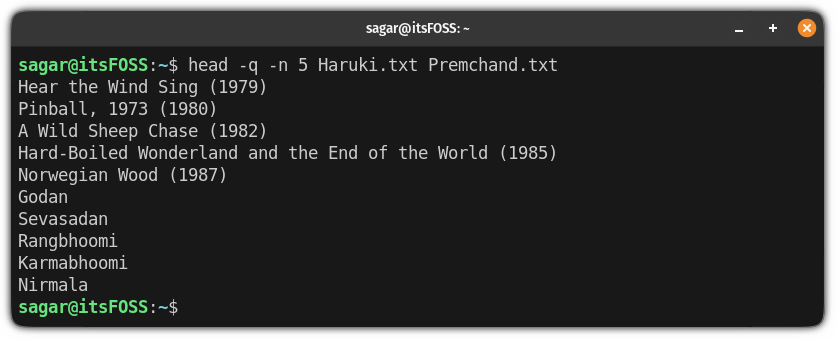
5. Print characters as per the given number of bytes
So if you want to print the lines based on the byte size, you can do that using the -c flag followed by the byte size.
Remember, for almost every character, one character = 1 byte.
To do so, you can use the following syntax:
head -c <byte-size> <File>For example, here, I print characters worth 100 bytes:
head -c 100 Haruki.txt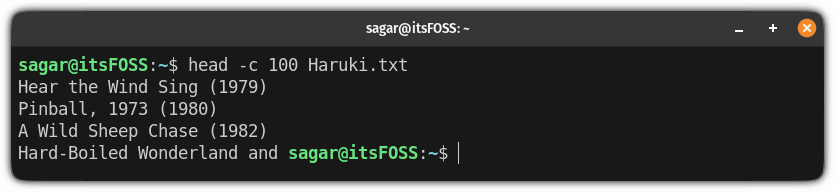
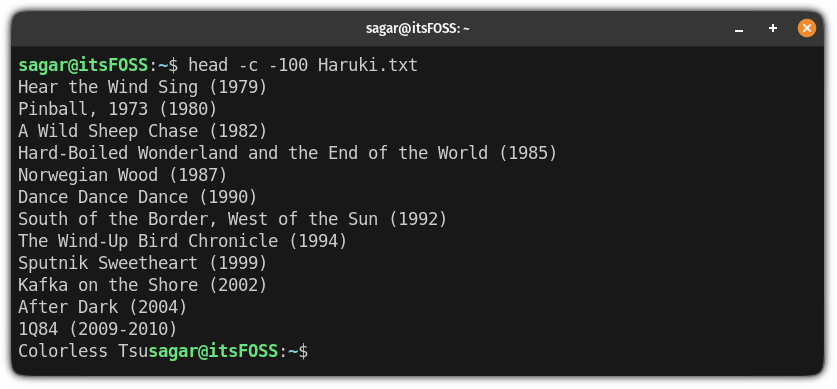
Similarly, if you want to skip the characters from the end of the file by specifying the bytes, all you have to do is use the negative numbers:
head -c -<byte-size> <File>For example, here, I skipped the last characters of the file worth 100 bytes:
Summarizing the head command
Here's the summary of the head command with different options:
| Option | Description |
|---|---|
-n <number> |
Specify how many lines to print from the beginning of the file. |
-n -<number> |
Print everything except the last N lines. |
-v |
Print the name of the file. |
-q |
Remove the filename when working with multiple files. |
-c <byte-size> |
Print characters as per the given number of bytes. |
Get better with a simple exercise
To perform the given exercises, you can use text files, and if you don't have any, you can use our text files from GitHub.
- Display the first ten lines of the file
- Display everything except the last five lines of a file
- Display the first five lines of multiple files
For intermediate users:
- Display the first five lines of multiple files, sorted alphabetically by file name (Hint: pipe to sort command)
- Display the lines from 11 to 16 (Hint: combine it with the tail command)
- Count the occurrence of a specific word or character in the first five lines (Hint: pipe to grep with wc command)
Just getting started with Terminal? We have a series for you!
While the terminal looks scary, you can always make the terminal look good, but what about the learning curve it takes?
For new users, we came up with a dedicated series which covers the basic commands so you can embrace the terminal:

Furthermore, you can discuss the practice questions mentioned above in our community:


I hope you now have a better understanding of the head command.
🗨 We'll be sharing more Linux command examples every week. Stay tuned for more. And if you have questions or suggestions, the comment section is all yours.
Source: It's FOSS