Simple and Advanced Alias Command Examples and Explanation
An “alias” command defines a shortcut for a complex or series of commands. In Linux, an alias is a user-defined keyword or shortcut for running long commands. To create an alias, you use the “alias” command. You give your alias a name and then link it to a command or a series of commands. So, aliases are like personal shortcuts that help you to easily run the long commands that you use often or the complicated ones. It’s a way to make things simpler and quicker using a shorter and a more convenient name for those commands.
This tutorial explains how to create an alias using the “alias” command. We will also explore the different simple and advanced “alias” command examples with explanations.
Syntax of the Alias Command:
The basic syntax of the “alias” command in Linux is:
Here, “short-name” is the alias identifier or the new command name and “command” is the Linux command that it represents.
You can use different flags or options with the “alias” command to explore its more advanced functionalities. These include the tasks like managing the aliases such as viewing the complete list of aliases, deleting specific aliases, and creating persistent aliases.
The following is a quick reference table that highlights some frequently used flags with the “alias” command in Linux:
alias -p: This shows the entire list of currently defined aliases.
alias -a: If you have superuser privileges, this flag allows you to define an alias for all users.
With this basic knowledge of the “alias” command syntax and options, we can now explore the more advanced uses of the “alias” command in Linux.
How to View the Alias in Linux
To print all aliases that are existing on your Linux system, use the following command:

You can use the “-p” flag to print the list of currently defined aliases:
How to Create an Alias Using the “Alias” Command
To create an alias, you can use the “alias” command followed by the short command or alias name and write the command that you want to execute on typing this alias.
For example, use the following to illustrate the use of the “alias” command:

In this example, the “downloads” alias is created for the “cd Downloads/ls” command. Now, whenever you type “downloads” in the terminal, it is interpreted as “cd Downloads/ls”. It navigates into “Downloads” and lists the files of that directory. This can be a time-saving shortcut for listing the files in a detailed format.
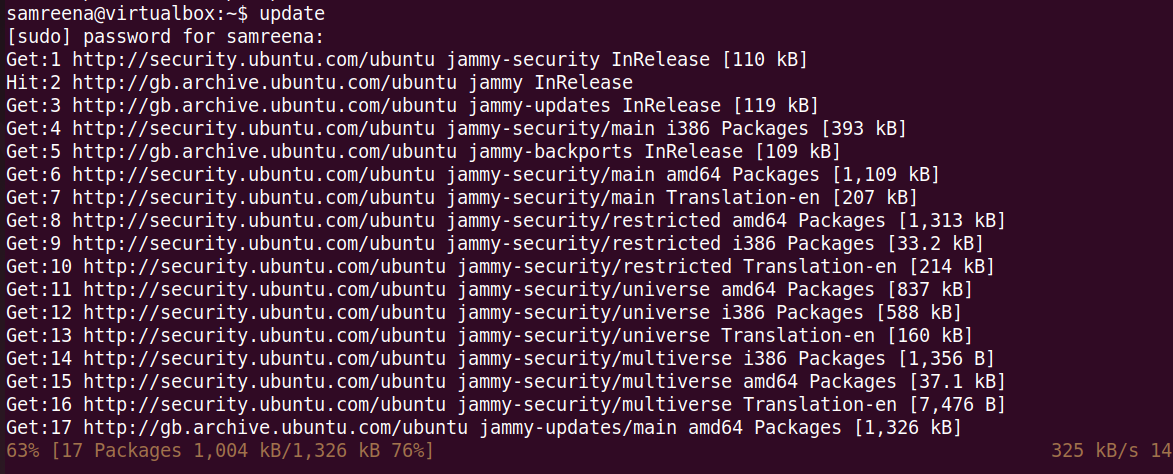
After configuring the aliases, integrating them into your daily tasks can greatly boost the efficiency. Users have the flexibility to create aliases for frequently used commands, intricate sequences, or even personalized shortcuts. For instance, consider the “update” alias that is linked to the system “update” command.
alias upgrade=’sudo apt upgrade’
Using the given aliases, simply entering “update” in the terminal executes the “update” command.
If you type the “upgrade” alias, it should run the “upgrade” command on your Linux system. This does not only simplify the process but also streamlines the execution of routine system updates. In this way, you can run the more complex commands using shortcodes.
How to Create the Persistent Aliases
By default, aliases exist only for the duration of the current session in Linux. If you open a new terminal window or log out, the created aliases won’t carry over. However, there’s a solution to make aliases persist across different sessions. By incorporating the “alias” command into your shell configuration file like “.bashrc” for Bash or “.zshrc” for Zsh, ensure that your aliases remain available each time you initiate a new terminal session.
For example, if you want to create a persistent “downloads” alias for the “ls –la” command, you can use the following command to append it to your “.bashrc” file:
source ~/.bashrc
In this illustration, we employ the “echo” command to add the “downloads” alias to the “.bashrc” file. The “>>” operator appends the output of the “echo” command to the specified file. To make the newly added alias instantly accessible, the “source” command reloads the “.bashrc” file.
Now, to verify whether the “downloads” alias is successfully defined or not, use the “alias” command:
This modification ensures that the “downloads” alias is loaded and ready for use every time you launch a new terminal session.
How to Remove an Alias in Linux
You can remove the existing aliases using the “unalias” command. To remove an alias, use the “unalias” command followed by the alias name.
For example, to remove the “downloads” alias, use the following command:
Conclusion
The “alias” command in Linux is useful for creating shortcuts for lengthy or complex command sequences. While the “alias” command enhances productivity, it is vital to ensure that the alias names don’t collide with the existing command names. In this tutorial, we learned how to view and create the aliases in a Linux system. In addition, we also demonstrated how to delete an alias and make it permanent by adding it to the shell configuration files.
Source: linuxhint.com