Play Minecraft on Linux Mint
Minecraft is one of the most played games and has a huge following since its first launch. It is available to play for almost every type of system. If you are a Linux user, you might wonder how you get this game to play on your machine. Minecraft can be installed and downloaded on Linux Mint or any Debian distribution by employing various techniques.
In this article, we will discuss the three methods to download and install Minecraft on your Debian-based distribution.
Example 1: Installing the Debian Package for Minecraft Using the Terminal
To play Minecraft on Linux Mint, we need to install it. First, we download the installation package for Minecraft from the official website of Minecraft which is “www.minecraft.net”.
Once you reach the website, go to the “Download Minecraft” tab. Here, you will see the different options to download Minecraft for different systems.
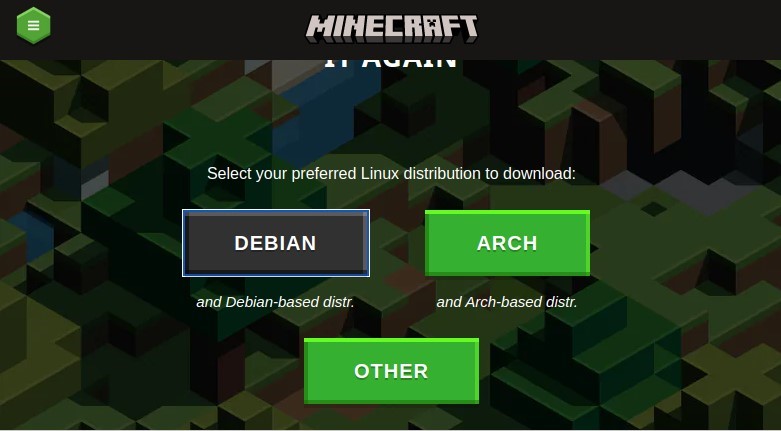
In the previous image, you can see that we are provided with three downloading installation package options. The first option is “DEBIAN” which is for Debian-based distributions like Linux, Unix, etc. The second option is “ARCH” which is for arch-based distributions like ArchoLinux and Manjaro Linux. The third option is for distributions other than these two.
Since we want to download the Minecraft game for Linux Mint which is a Debian distribution, we download the Debian installation package for Minecraft.
As you hit the “DEBIAN” option, the download will commence.

In the previous snapshot, we can see that the installation package is downloaded with the “Minecraft.deb” name. Here, the “.deb” is the extension for Debian files.
Now that our installation package is downloaded, we need to install Minecraft in our system to play it.
To install the downloaded package, we can go to the “Downloads” directory, find the “Minecraft.deb” file, and run it. We can also simply install the needed package from the command line. In our case, we prefer the command line installation. So, just open the terminal and move to the directory where the recently downloaded package resides which is “Downloads”. Write the following command to switch the directory from “Home” to “Downloads”:
Once you hit “Enter”, your current working directory is changed to Downloads. Now, to install the package, the dpkg command is used with the –i flag and the package name as “Minecraft.deb”.
[sudo] password for omar:
The Minecraft Debian package is installed now.
(Reading database ... 611310 files and directories currently installed.)
Preparing to unpack Minecraft.deb ...
Unpacking minecraft-launcher (1.1.26) ...
dpkg: dependency problems prevent configuration of minecraft-launcher:
minecraft-launcher depends on libgdk-pixbuf2.0-0 (>= 2.22.0); however:
Package libgdk-pixbuf2.0-0 is not installed.
dpkg: error processing package minecraft-launcher (--install):
dependency problems - leaving unconfigured
Processing triggers for gnome-menus (3.36.0-1ubuntu3) ...
Processing triggers for desktop-file-utils (0.26+mint2+vera) ...
Processing triggers for mailcap (3.70+nmu1ubuntu1) ...
Processing triggers for hicolor-icon-theme (0.17-2) ...
Errors were encountered while processing:
minecraft-launcher
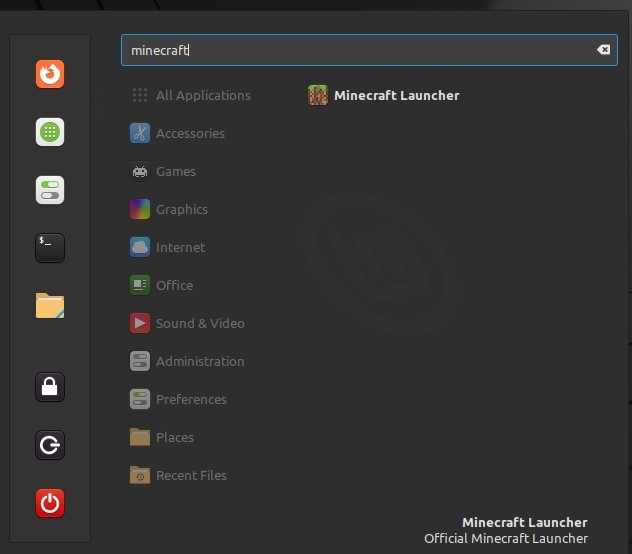
Minecraft is successfully installed on our Linux Mint. Now, the next step is to locate it. Open the application menu and write “Minecraft” in the search bar.
Launch the application. It takes a few minutes to update the application launcher.

Once the update is complete, Minecraft is launched.

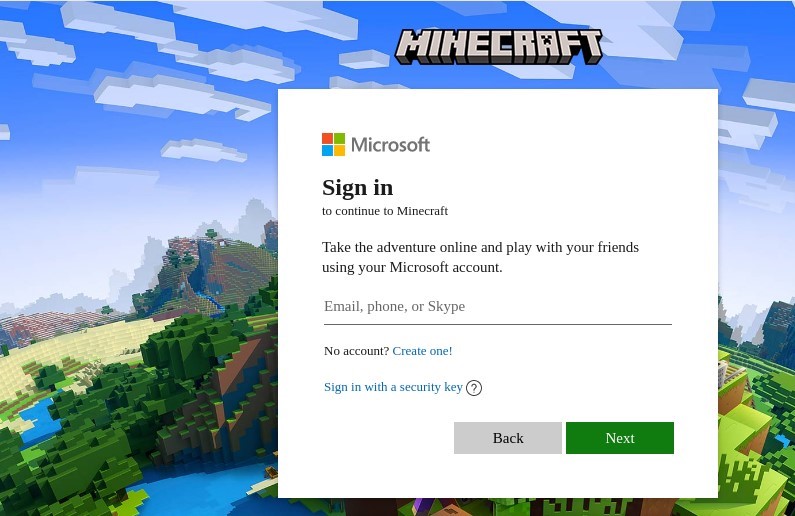
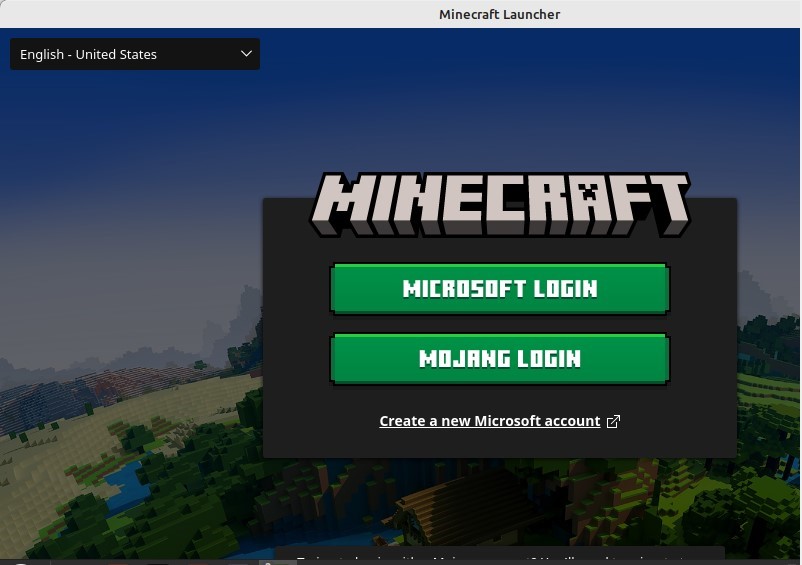
Minecraft is launched and the first screen that appears as seen in the previous image.
To continue with the application, we need to input the credentials. If you already have an account, either Microsoft or Mojang account, simply log in to the respective account. But if you do not possess any account, you can go to the “Create a new Microsoft account” option.
Set up Minecraft with your Microsoft account. Once done with setting up your credentials, go for the rest of the game settings. Now, everything is set! You can enjoy playing the Minecraft game on your Linux Mint machine.
Example 2: Installing Minecraft on Linux Mint via the .Tar.Gz File
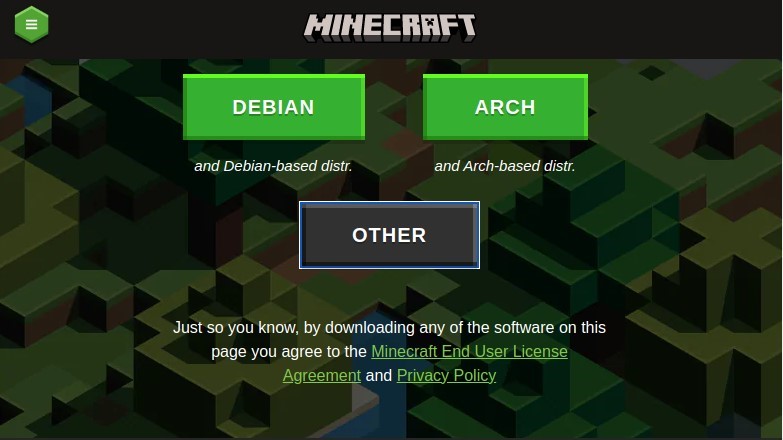
The previous procedure and this one is the same. To install Minecraft with this technique, we open the Minecraft official website. From the three options that it provides us to donwload the installation package, we go for the “OTHER” option this time. Just select the option to start downloading the Minecraft .tar.gz installation file.
The .tar.gz file can run on any system. We download the package, install the Minecraft game, and play it. You do not have to go through the lengthy setup procedure of Minecraft when using this technique.

Now that our installation package is downloaded, let’s begin installing it from the terminal. Open up the terminal. The first thing we need to do is change the current directory to “Downloads” because the installation file is saved in the Downloads directory by default.
To change the directory, simply type cd (which stands for change directory). Then, type the desired directory name as “Downloads”.
Our current working directory is now “Downloads”. To install the .tar.gz package, we use the tar command. Then, we provide the installation package name as “Minecraft.tar.gz”.
Now, you can launch the Minecraft application from the application menu or by the terminal. In the previous instance, we launch it from the application menu. Now, we open the Minecraft launcher application from the command line by writing the following commands:
omar@omar-VirtualBox:~/Downloads/minecraft-launcher$ ./minecraft-launcher
The Minecraft application is launched.
For the initial set up, you would be asked to input the login credentials. Once done with it, you could play Minecraft without any trouble on Linux Mint.
Example 3: Installing Minecraft via the Snap Package
To install the snap package of Minecraft, you must have the snapd installed in your Linux Mint. If you do not have it in your Linux Mint machine, you must inaugurate it first. This is the simplest and easiest method to install the Minecraft games on Linux Mint.
Once snapd is installed in your system, you just simply write a snap command on the terminal. This command downloads and installs Minecraft on your machine by itself. Make sure to run it with sudo privileges. The command is as follows:
Launch the Minecraft application and set up the account credentials. Provide the existing account or generate a fresh one if you don’t previously have one. Enjoy Minecraft on Linux Mint now.
Conclusion
This article enables you to download, install, and play Minecraft on your Linux Mint machine. We provided you with three different techniques to download and install Minecraft. First, the installation via the Debian package is explained. Then, the second method elaborated on the installation from the .tar.gz package. The last method showed the installation of Minecraft by its snap package. All these techniques are practically implemented on Linux Mint 21.
Source: linuxhint.com