Install Seesaw Ubuntu
“In the era of concurrent execution, there have been running many processes simultaneously to make more throughput and high working efficiency. In such circumstances, the servers are required to handle loads of workload for high performance, and it gets difficult for the servers to manage such huge traffic. To rescue this devastating situation, load balancers come to rescue the servers. These load balancers distribute the workload between the several networks and the hosts (that are being clustered) to increase the availability, performance, and reliability of the networks. Load balancers take the incoming network requests and assign them a VIP (Virtual IP address) and then send these requests to that server which load balancer finds an appropriate one keeping the minimum possible packet modification. The selected server by the load balancer then replies to the load balancer with the data being required; the load balancer then passes this required data to the client.”
Procedure
Now we’ll explain to you the whole procedure of Seesaw installation on Ubuntu 20.04. Load balancing has mainly two platforms, e.g., “HA-proxy” and “Linux Virtual Server” (LVS). Seesaw (v2) is a well-known load balancer that is developed on the platform, i.e., LVS. Seesaw is written in the Golang. Golang is the language (programming) that is most similar to C but is more simple, readable, and shows concurrency. The procedure of Seesaw using Golang is provided below in the most self-explanatory step:
Step 01: Golang Files for Linux
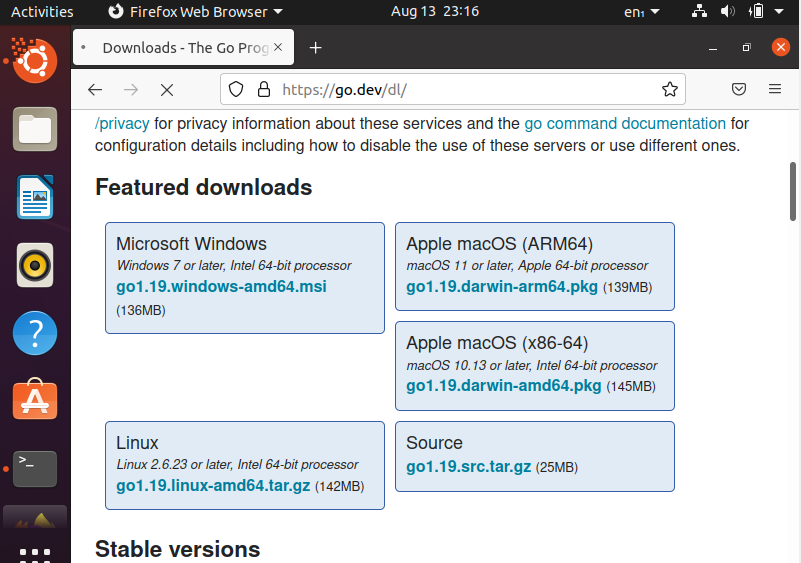
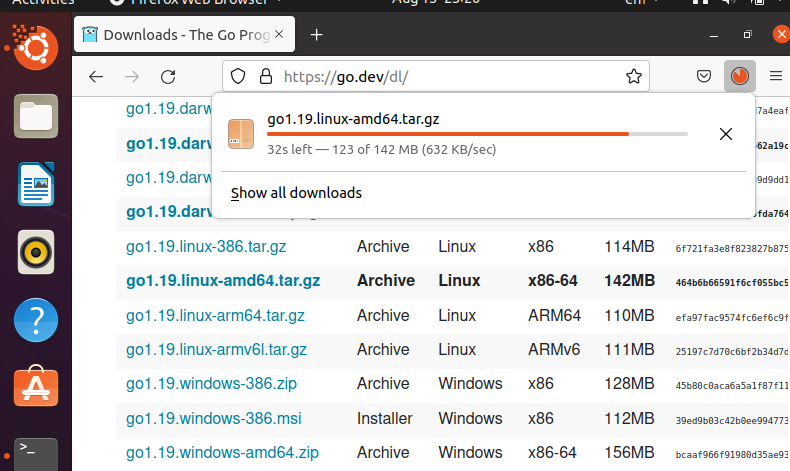
The installation process starts with downloading the Golang / Go files for Linux since the seesaw is developed in the Go language. To fetch those files, first, navigate to the link “https://go.dev/dl/”. On the website, go to Download and click on Golang’s latest version for Linux. The files will start to download in the Archive by default, as displayed in the figure below:
Step 02: Tarball Integrity Check
After downloading the files, we now need to check the integrity of the tarball. This could be done by making a comparison between the hash value that is being generated by using the command “shasum” and the value for the hash that is given on the website. We will do this comparison by first creating/ entering the directory where the files have been downloaded (in our case, it is “/ tmp /Mozilla_ubuntu0”), and then we’ll simply use the following instructions on the terminal window:
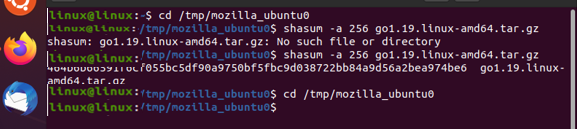
In the above output, the –a specifies the algorithm that is used to generate the hash value and this whole command performs the checksum (SHA256) for those archive files that we have downloaded.
Step 03: Tar Archived Files Extraction
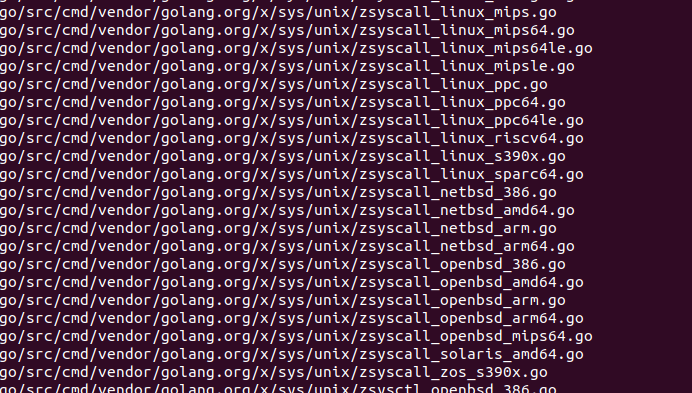
After the successful integrity check now, we’ll extract the tar files (archived) in the same directory where we are already present, executing the given command:

The above command outputs as:
Step 04: Setting up the Environment for GO
In this step, we’ll set the working space /environment for the GO with the name “go”. This workspace will have three of the main directories (source, bin, and package “pkg”). “Bin” has Golang’s binary files in it, while the “Source” has all sourcing files, and “pkg” contains package objects. Following are the commands for the execution of the environment for GO:


$ ls

$ mkdir src pkg bin
$cd

Step 05: Go Execution
For the execution of Go, we need to add the file path where the Golangs’ files have been downloaded to the environment/ workspace that we have created in the earlier step as “/ tmp /Mozilla_ubuntu0/go/ bin”. After the files are added to the path, it is now required to log in to the profile to save the changes in it. To do so, the first login the profile via the given command as follows:
![]()
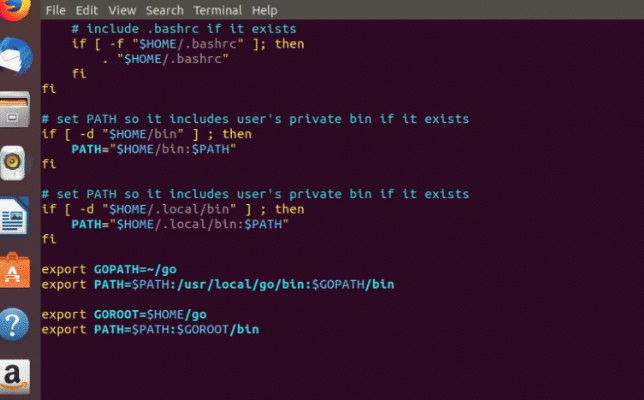
After we’ve logged in to the profile, set the paths in the profile by specifying the values of “GObin” and GOPATH” using these commands, and then save the changes:
$ EXPORT GOBIN=” GOPATH/bin”
The following figure shows the profile after the above-mentioned changes are done in it:
Step 06: Testing of GO (optional)
After successfully setting up the Golang’s environment, it can be tested with the following command:
or
$ go env
![]()
Step 07: Installation of Seesaw
Above mentioned steps depict the installation procedure of GO; now, we’ll install “Seesaw” as GO since Seesaw depends on most of the packages of GO. To install the Seesaw, we’ll need to install the GO protobuf compiler generator. Protobuf compiler is used when the data required has to be consumed by some web browser. It is known to be an open-source platform and data format that serializes structured data. Protobuf is used in the development of programs for communication and data storage over some networks. These compilers combine the .proto files and libraries that are language specific to write a file that can be sent over a network connection. The installation of the protobuf compiler can be done with the command:
![]()
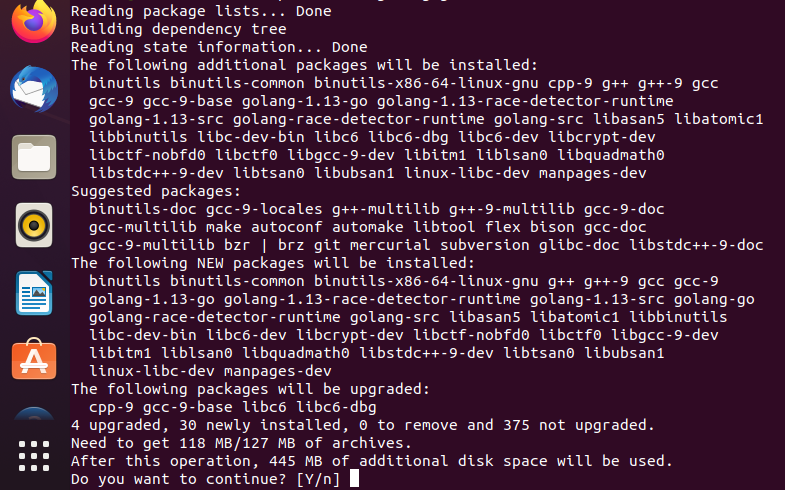
To continue with the installation, just type (y). Till now, the required packages have been installed, now we’ll run the command, i.e. (make), after this, all the binaries of Seesaw would be then set to an appropriate location with the Seesaw created in GOPATH/bin, and the following script is executed.
$ make proto
![]()
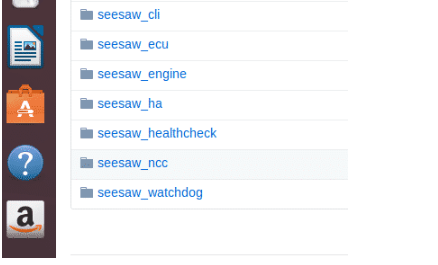
 The seesaw is being installed here!
Conclusion
The article discusses the procedure to install the Seesaw on Ubuntu 20.04. Seesaw is the load balancer; it reduces a load of traffic by managing the load between several networks and hosts to provide good network availability. In the article, before installing the Seesaw, we first downloaded the GO files because the seesaw is mostly developed on Go packages. We have learned the downloading, installing, and configuration procedure of the GO files on Ubuntu by setting up an environment for GO, and then we learned how we could use GO to install the Seesaw using “make” commands and the Go protobuf compiler. We are in good hopes that you will find this article helpful.
Source: linuxhint.com