How to Install GUI on Ubuntu 24.04 Server
Besides, some actions are better approached via the GUI. If you are stuck on how to have a GUI on an Ubuntu 24.04 server, this post shares the steps you should follow. We will install a display manager and a GUI to make it convenient for you to choose between using a GUI or a command line when accessing your Ubuntu server. Read on!
Detailed Guide on Installing GUI on Ubuntu 24.04 Server
A key benefit of using the Ubuntu 24.04 server is that it saves space and resources that the GUI applications would otherwise consume. The command-line option is excellent when working with a server, but various instances and tools are better approached via the GUI.
Unfortunately, the Ubuntu 24.04 server doesn’t have a GUI you can switch to when needed. However, you can quickly install a display manager and then install a GUI. There are numerous options for installing the GUI. You can install Ubuntu desktop, KDE Plasma, XFCE, MATE, etc.
Here are the steps to install GUI on Ubuntu 24.04.
Step 1: Update Your Ubuntu 24.04 Server
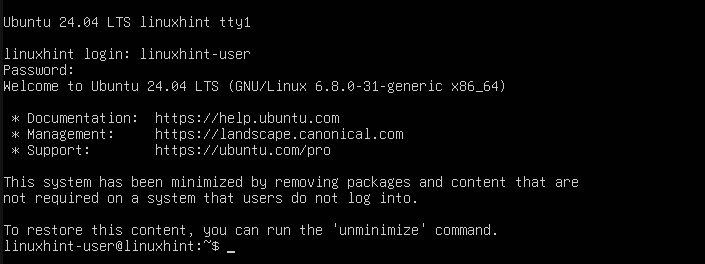
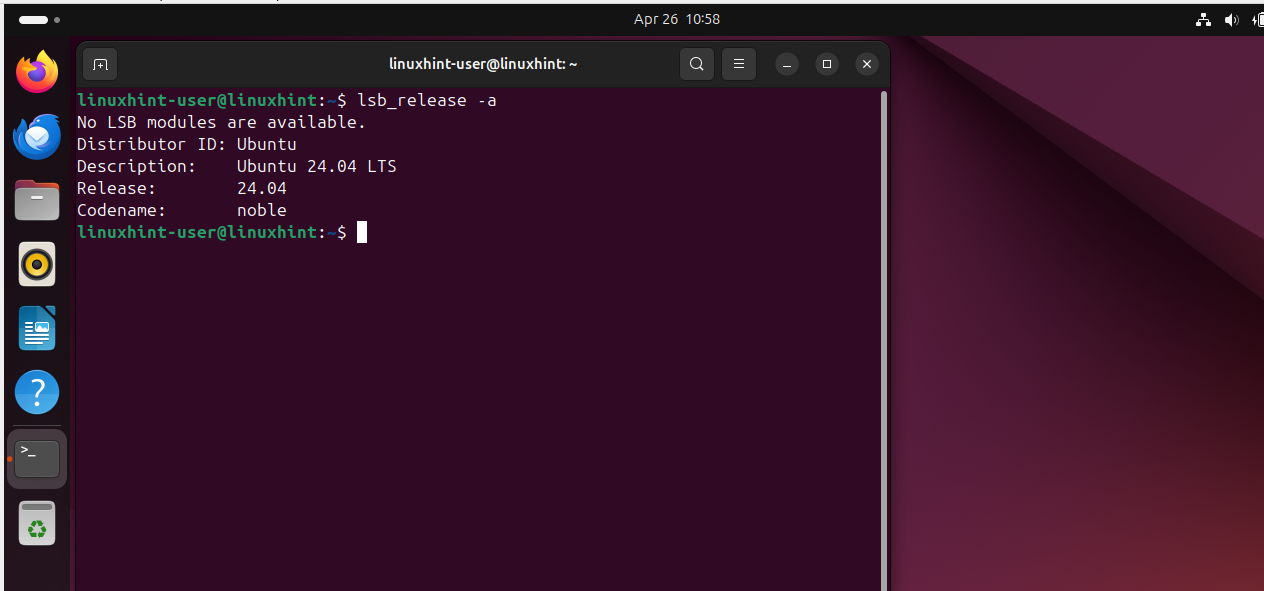
The first step is to log in to your Ubuntu server. You will get a login window, and once you enter your credentials, you will be logged in.
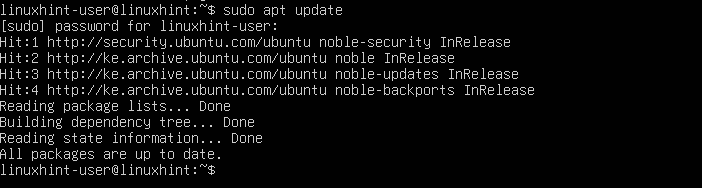
After login, we then must refresh the package index. Update your server with the following command.
Step 2: Install a Display Manager
On your Ubuntu 24.04 server, we will need a display manager to open the display server, allowing you to use a GUI or select between the installed GUI options. Two commonly used display managers are LightDM and Slim.
The two display managers are excellent and have almost similar functionalities. For this guide, let’s install LightDM using the command below.

Confirm the prompt and notice the required space to install the GUI. Once you press ‘y’ on your keyboard, wait for the installation to start and complete.

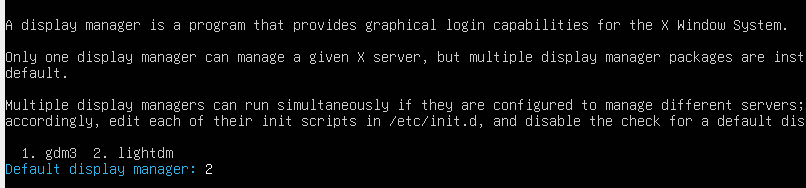
You will get prompted with a configuration prompt on what display manager to set as your default. Select lightdm as it’s the one we’ve installed with the previous command.
Step 3: Install and Use a GUI on Ubuntu 24.04
As mentioned earlier, you can install different GUIs. It all depends on which one suits you best. To keep it simple, let’s install Ubuntu Desktop GUI for our case. Run the below command.

Confirm any prompts that will appear during the installation.
Once the GUI is installed, restart your Ubuntu 24.04 server to access the display manager, where you can select the installed GUI and use it to interact with your Ubuntu Noble Numbat.
Once your Ubuntu 24.04 server reboots, it will display a GUI that you can use to sign in. Enter your server credentials.
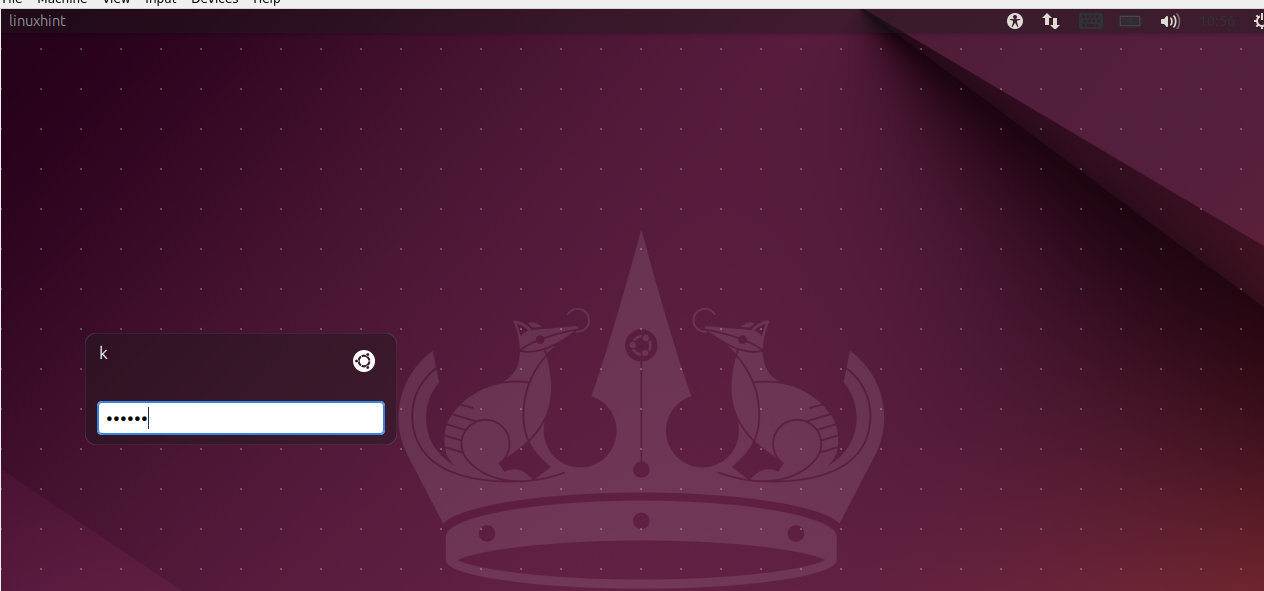
Once you log in, you can enjoy using your Ubuntu server via the installed Ubuntu Desktop GUI.
Conclusion
An Ubuntu 24.04 server uses the terminal for interaction. You can perform all tasks with the terminal, but some tools and activities require a GUI for simplicity and convenience. To install a GUI on Ubuntu 24.04, log in to your server, update the repository, and install a display manager. Next, install the GUI, reboot the system, and lastly, start using the installed GUI. All steps are detailed in this post.
Source: linuxhint.com