Install Git on Linux Mint
Any developer requires Git for version control to help manage and track your project’s new versions. As a decentralized version control system, Git is handy in numerous ways. For instance, you can clone the projects, share the projects, commit changes, collaborate with other developers, etc. To use Git, you must install it on your system, add the required config details, and start utilizing the “git” commands to get your tasks done. For Linux Mint users, this post guides you on the simplest way to install Git. Take a look!
How to Install Git on Linux Mint
One beauty of Git is that it is free and cross-platform. As such, you can use it whenever you are ready and on any platform. We detailed the steps that you should follow.
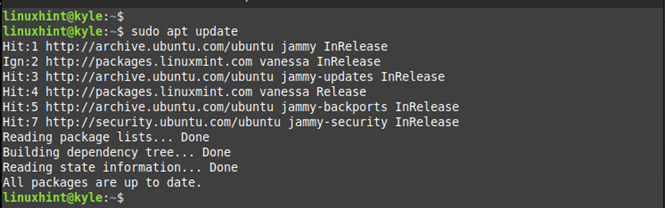
Step 1: Update Your Linux Mint Repository
When installing any package, it’s best to get the latest version from the Linux Mint repository. Thus, start by refreshing “apt” with the following command:
Once you confirmed that all packages are updated, quickly check to ascertain that Git is not installed on your system. The “git –version” command will do the trick.

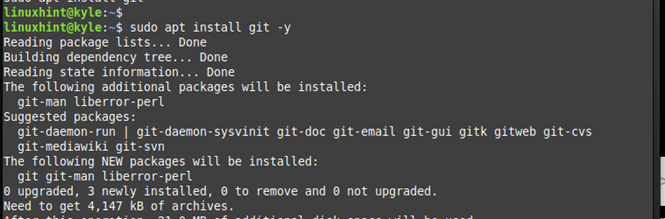
Step 2: Install the Git Package
Linux Mint supports Git and you can install it from the Linux Mint official repository. Utilize the following command and let it run to completion:
Depending on your internet speed, the installation should be quick, and you will get an output which confirms that Git has been successfully installed. Proceed to confirm so by checking the installed version. For our case, we installed the Git version 2.34.1 as displayed in the following:

That’s it. You now have Git installed on your Linux Mint. From here, the next step should be configuring Git to allow you to start working on your projects.
Simple Git Configuration in Linux Mint
You must configure a Git account to use it on your Linux Mint terminal. For that, you need to set up a username and an email. For instance, you can use the same email on your GitHub account to allow a seamless connection between Git and GitHub when working and pushing your project.
To configure a username for your account, use the following syntax:
Here, we set our username to be “linuxhint-git”.

You only need to set the email for the new account. Utilize the following syntax:
Once you set up your account details, Git allows you to display the user information. For that, you should use the following command:
Notice how the information that we configured earlier displays on the terminal, confirming that our new account is properly set.

Furthermore, we need to create a workspace where all your Git projects will be installed. This workspace is your project’s directory, and you initialize it before you can start executing the “git” commands.
We use the “mkdir” command to create the /gitproject.
Next, let’s initialize the Git repository using the “git init” command and specify the target project’s repository which is the newly created workspace directory.
You will get a similar output to the one in the following, and the last line in the output will confirm that your repository has been successfully initialized.

With that, you can use the “git” commands and work on your project. For instance, you can clone a repository, start a project, or push any commits. Check out the “git” commands to utilize your newly initialized Git repository.
Conclusion
Git is undoubtedly a handy version control system. Knowing how to utilize it properly simplifies your activities as a developer, and its benefits are numerous. In Linux Mint, you can follow the detailed steps in this guide to install Git. Moreover, we explained how to set up a new account and initialize your first Git repository.

Source: linuxhint.com