Install and Use Rancher on Ubuntu
“Rancher” is a free and popular platform for managing containers, including Docker containers, on any infrastructure. It provides an interface for deploying, managing, and monitoring containers and the services they run.
By considering its importance, this article will explain the step-by-step instructions to install and use the Rancher on Ubuntu.
How to Install Rancher on Ubuntu?
In Ubuntu, the Rancher provides a centralized, scalable, and secure platform for managing containers. To install the Rancher, follow the below steps:
Prerequisites: Start and Enable Docker Service
It is necessary that Docker is installed and running on the server. Otherwise, you can install Docker through the official documentation.
Start Docker Services:
After the installation process, start the docker services through the “systemctl” command with the “start” utility:

The execution of the above command starts the docker services in the operating system.
Enable the Docker Services:
To enable the docker services, execute the “systemctl” command with the “enable” utility as below:

The output shows that supported libraries of docker have been enabled in the system.
Step 1: Install Rancher
To download and start the Rancher server container, execute the following command:
The above command downloads the Rancher image and starts a container, mapping ports 8080 on the host to the container. The “restart=unless-stopped” option ensures that the container is restarted automatically if it stops.
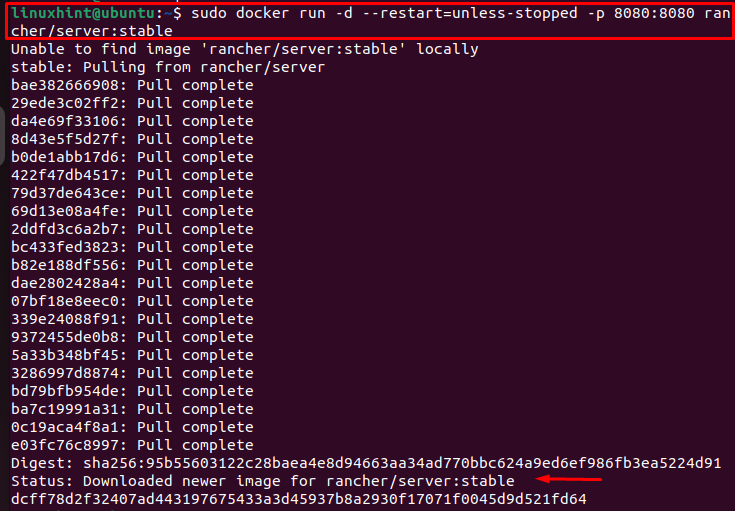
The output confirms that the Rancher image from the Docker hub has been successfully downloaded.
Step 2: Verify Downloaded Rancher Image
To verify the Rancher image, users can execute the “docker” command with the “ps” utility as below:
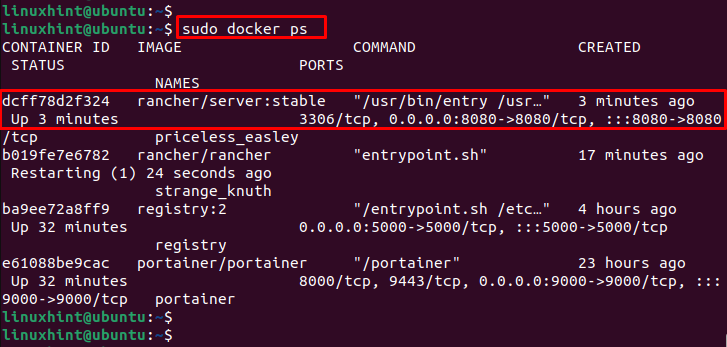
The output shows the Rancher image has been downloaded 3 minutes ago.
How to Use Rancher on Ubuntu?
Users can utilize the Rancher to manage containers and services. The platform provides a centralized interface for deploying, managing, and monitoring containers and making it easier to scale, update, and secure infrastructure. The usage of the “Rancher” on Ubuntu is as follows:
Step 1: Access the Rancher UI
Open a web browser and go to “http://<server_IP>”, where “<server_IP>” is the IP address of the server running Rancher. In our case, specify the IP address “172.17.0.1” with the port “8080” as below:
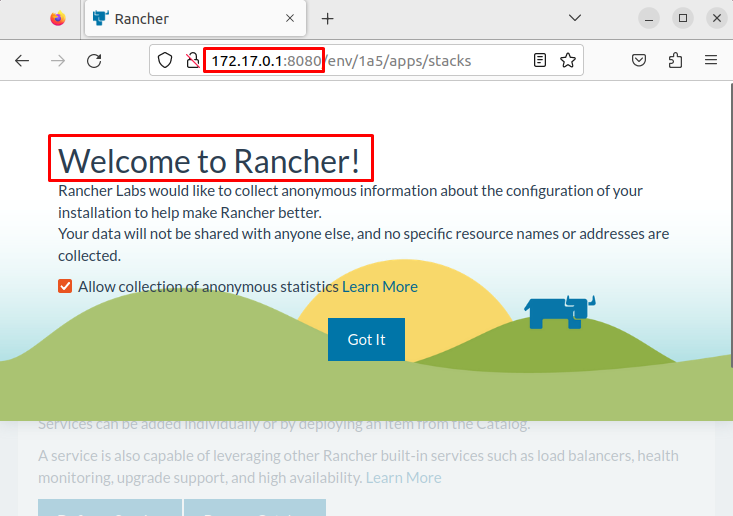
Now, you can see the Rancher login page.
Step 2: Create Admin Account
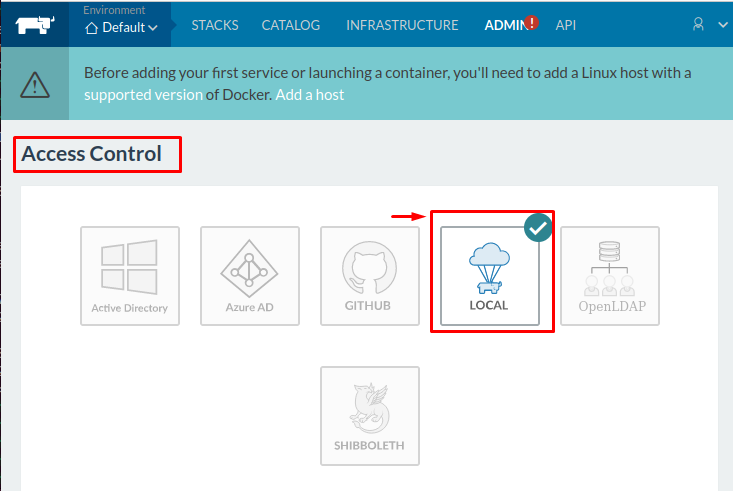
For the first time at the time of login, the user will need to create an admin account. For this, hit the “ADMIN” button and choose the “Access Control” option:
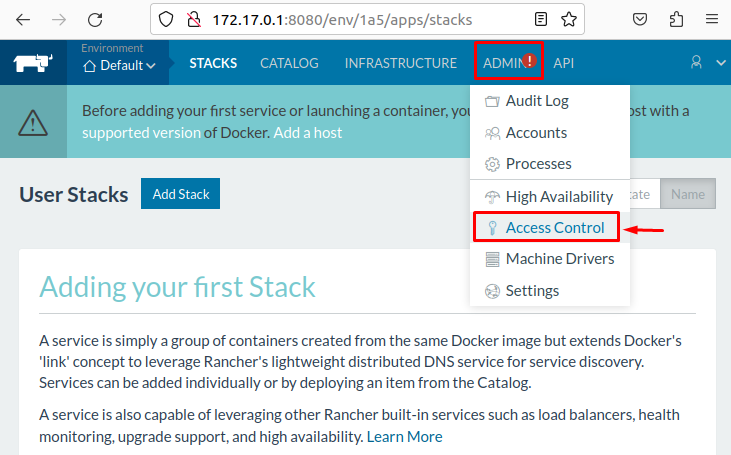
It navigates to the “Access Control” page. On this page, pick the “Local” button and scroll down to put information:
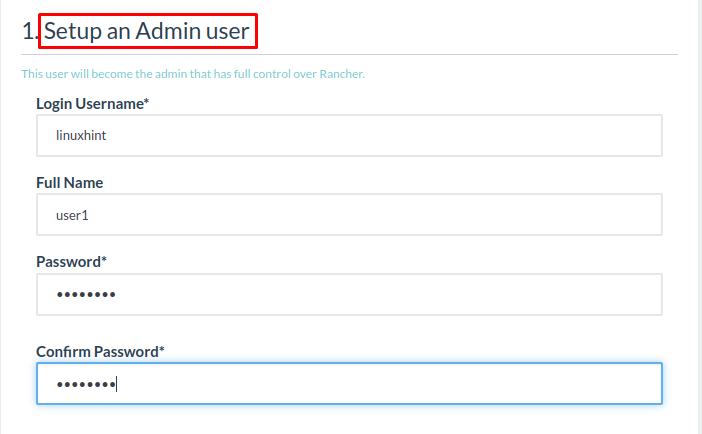
Input Login Information
Now, input the information including “Login Username”, “Full Name”, “Password” and “Confirm Password”. After inserting the information, hit the “Enable Local Auth” button located at the bottom of the page:
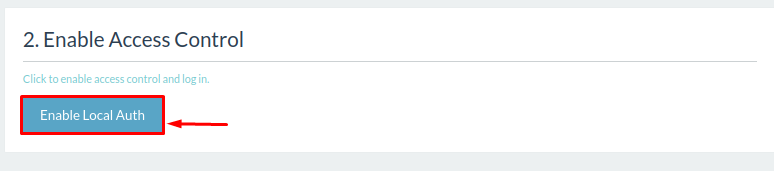
After pressing the “Enable Local Auth” button, the message “Local Authentication is enabled” is displayed on the page:
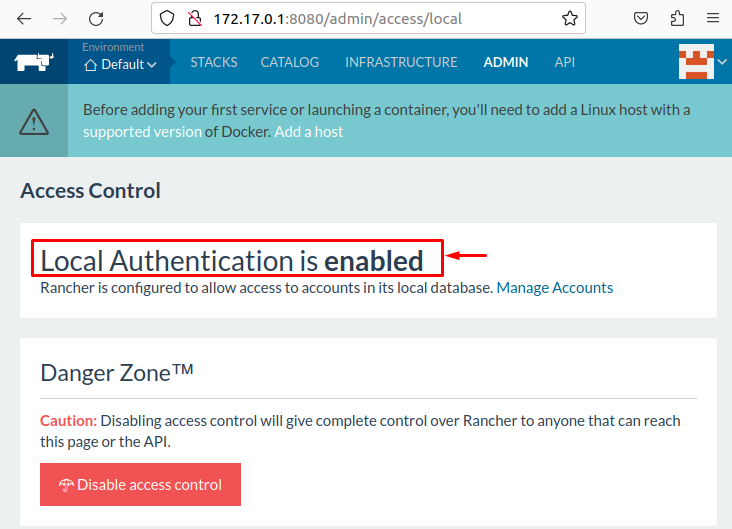
Note: You can also disable the accessibility by pressing the “Disable access control” button.
Step 3: Add Hosts
Users can add the host by hovering the mouse cursor on the “INFRASTRUCTURE” and picking the “Hosts” option. It navigates to the “Hosts” page. At there, press the “Add Host” button:

By pressing the “Add Host” button, the host registration URL is placed in the required field. Additionally, users can add a manual address according to the requirement:
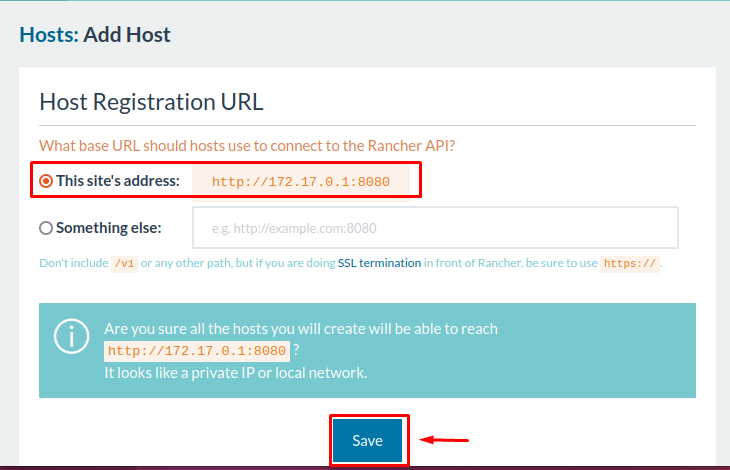
After verification of the information, the user can press the “Save” button located at the bottom of the page.
Register the Host with Rancher
Rancher assists users to add the label (optional), specifying the public address (otherwise auto detect current IP address):
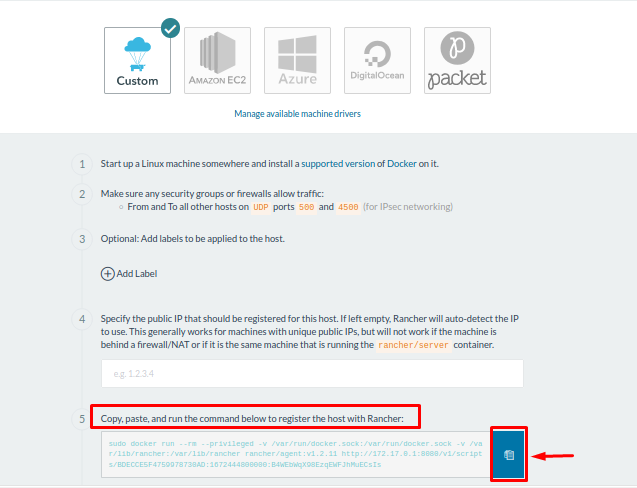
After that, copy the script and paste it into the terminal window as seen below:
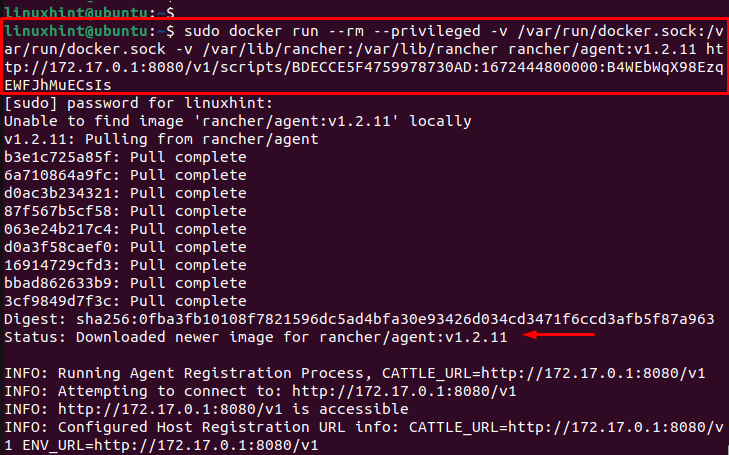
In this way, the local host is registered to the Rancher.
Conclusion
To install Rancher on Ubuntu, execute the “docker run -d –restart=unless-stopped -p 8080:8080 rancher/server:stable” command. After that, open a web browser and go to “http://<server_IP>: Port_number” to access the Rancher. It provides a comprehensive platform for managing containers, making it easier for organizations to deploy and manage their applications and services. This guide illustrates the installation and usage of the Rancher on Ubuntu.
Source: linuxhint.com