How To Set Up Apache Virtual Hosts on Ubuntu 22.04?
The term “Virtual Hosting” refers to the hosting of many domains on a single server. In Linux-based systems such as Ubuntu 22.04, a Virtual Host is a configuration directive in Apache that permits you to operate several websites on a single server.
This write-up will discuss the method to Set Up Apache Virtual Hosts on Ubuntu 22.04. So, let’s start!
Set Up Apache Virtual Hosts on Ubuntu 22.04
To Set Up Apache Virtual Hosts on Ubuntu 22.04, look at the below-given procedure.
Step 1: Check apache2 service status
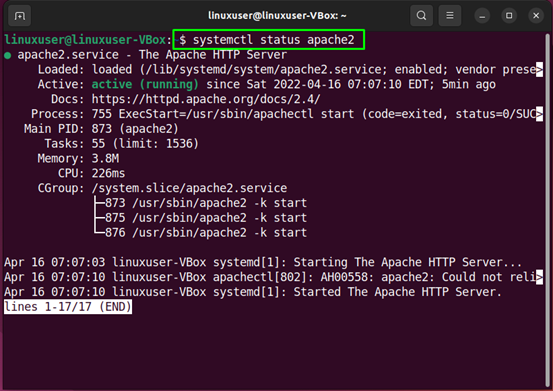
Before setting up Virtual Hosts, it is important to check if Apache is working or not. For this purpose, we will verify the status of the “apache2” service:
The below-given shows that the “apache2” service is active on our system:
You can also utilize your favorite web browser for the specified verification. To do so, open a web browser and check what the “localhost” web page beholds for you:
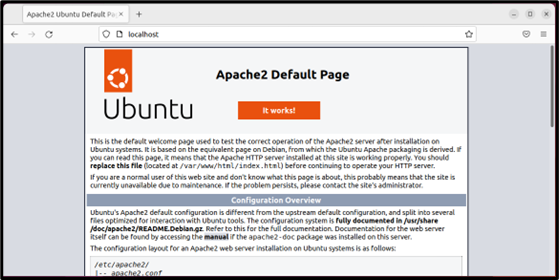
Navigation to the “localhost” web page indicates that Apache Web Server is working properly. Now, we will move toward the procedure of configuring an Apache virtual host.
Step 2: Set up Apache Virtual Host on Ubuntu 22.04
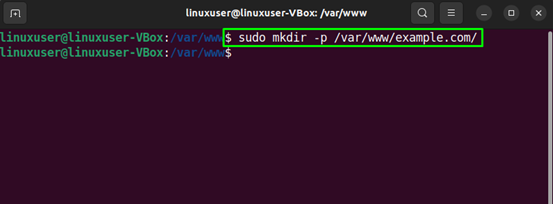
To set up a virtual host in Apache, create a directory that will be utilized to store data on the website. For this purpose, we will move to the “/var/www” directory using the following “cd” command:

Then, we will create a directory for our domain “example.com”. Here, you can specify your domain name in the below-given command:
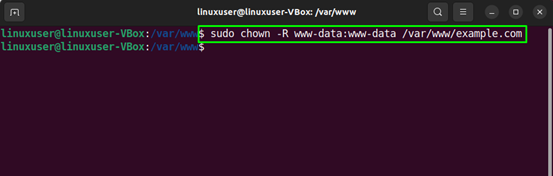
Utilize the “chown” command for changing the ownership of the “example.com” directory:
Step 3: Creating a web page
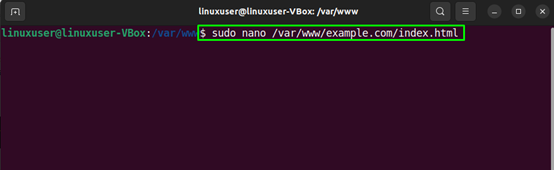
To create a sample “index.html” web page for our website, we will use the “nano” editor:
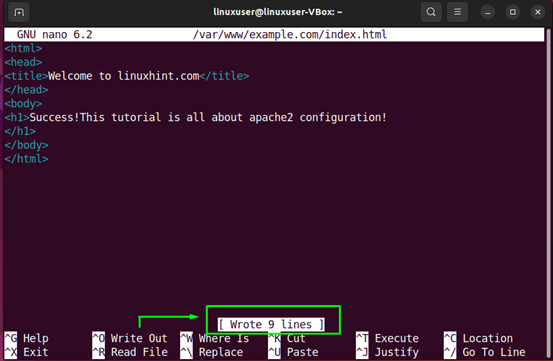
Write out the following code in the opened file:
<head>
<title>Welcome to linuxhint.com</title>
</head>
<body>
<h1>Success! The tutorial is all about apache2 configuration!</h1>
</body>
</html>
After adding the code, press “Ctrl+O” to save the file:
Step 4: Creating an Apache Virtual Host file
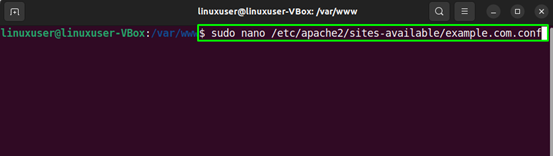
At this point, we have created a directory for our domain and updated its ownership. Now, we will create a virtual host file under the default directory of Apache host files:
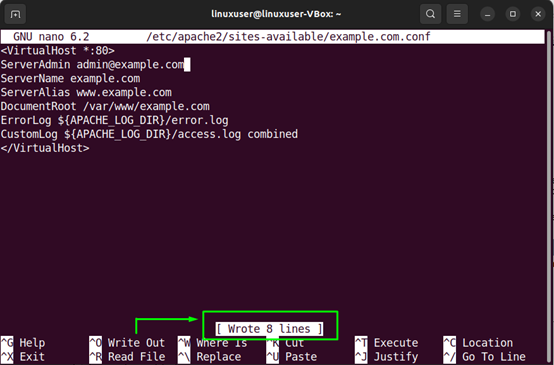
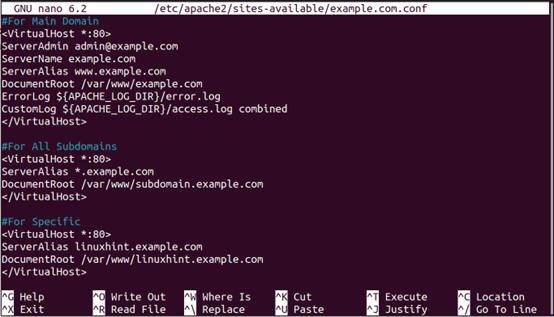
In the opened virtual host file, add the following lines of code. Also, you have to replace the information related to “ServerName”, “ServerAlias”, and “DocumentRoot” according to your settings:
ServerAdmin admin@example.com
ServerName example.com
ServerAlias www.example.com
DocumentRoot /var/www/example.com
ErrorLog ${APACHE_LOG_DIR}/error.log
CustomLog ${APACHE_LOG_DIR}/access.log combined
</VirtualHost>
Press “Ctrl+O” to save the added code of the virtual host configuration file:
Configuring VirtualHost For Sub-Domains
Now, let’s say the user wants to access the subdomain associated with the main domain (example.com) in our case. There are two possibilities:
Case 1: Redirect Every Subdomain
First, open the configuration file, i.e., example.com.conf file using any text editor and add the following lines after the main domain configuration settings:
ServerAlias *.example.com
DocumentRoot /var/www/subdomain.example.com
</VirtualHost>
Now, any subdomain will be redirected to the “.example.com” with a root folder “/var/www/subdomain.example.com”.
Case 2: Redirect Specific Subdomain
Similarly, if the user wants to add a specific subdomain, then specify its exact name in the configuration file as follows:
ServerAlias linuxhint.example.com
DocumentRoot /var/www/linuxhint.example.com
</VirtualHost>
In most of the scenarios, the “Case 2” is the ideal as the website admins use this to add blogs, analytics, or dashboard to their main domains.
Note: All the configurations need to be placed in the configuration file of the main domain, i.e., (example.com.conf)
Step 5: Enable Virtual Host file
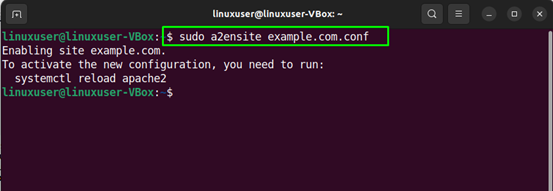
Execute the following “a2ensite” command to enable the created virtual host file:
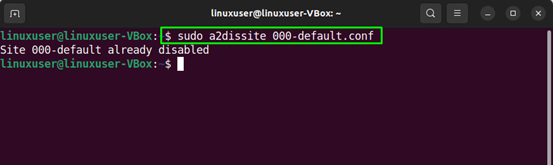
Then disable the default configuration file:
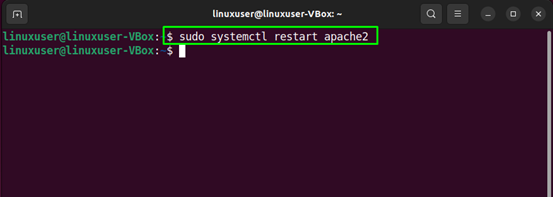
After performing the specified operation. Restart the “apache” service on your Ubuntu 22.04 system:

Step 6: Error testing
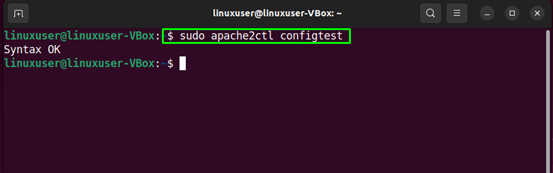
In the last step of Apache2 configuration, test the configuration errors:
In case of having an error-free configuration file, the execution of the above-given command will let you know that the Syntax is “OK”:
Then, restart the “apache2” service on your Ubuntu 22.04 system:
Step 7: Apache Virtual Host testing
Finally, test your Virtual host by navigating to the specified domain. In our case, the domain is “example.com”:

The displayed information justifies that our Apache Virtual Host is up and working perfectly on Ubuntu 22.04 system.
Conclusion
To configure Apache Virtual Hosts on Ubuntu 22.04, create a directory under the default configuration files of the Apache Web server, change its ownership, and set up a virtual host server. After performing the specified operations, restart the “apache2” service, and you are good to go. This write-up discussed the method to Set Up Apache Virtual Hosts on Ubuntu 22.04.
Source: linuxhint.com