How to Reset/Uninstall NextCloud AIO Completely
While installing NextCloud AIO on Docker, you might make mistakes and you might have difficulty fixing those and starting over. To start over a NextCloud AIO instance, you will have to properly reset/uninstall the NextCloud AIO instance completely.
In this article, I am going to show you how to properly reset/uninstall the NextCloud AIO instance so that you can start a fresh NextCloud AIO instance in case you’ve made a mistake installing NextCloud AIO.
Table of Contents
- Listing All the NextCloud AIO Docker Containers
- Removing All the NextCloud AIO Docker Containers
- Listing All the NextCloud AIO Docker Volumes
- Removing All the NextCloud AIO Docker Volumes
- Listing All the NextCloud AIO Docker Networks
- Removing All the NextCloud AIO Docker Networks
- Removing All the NextCloud AIO Docker Images
- Cleaning the NextCloud Data Directory
- Conclusion
- References
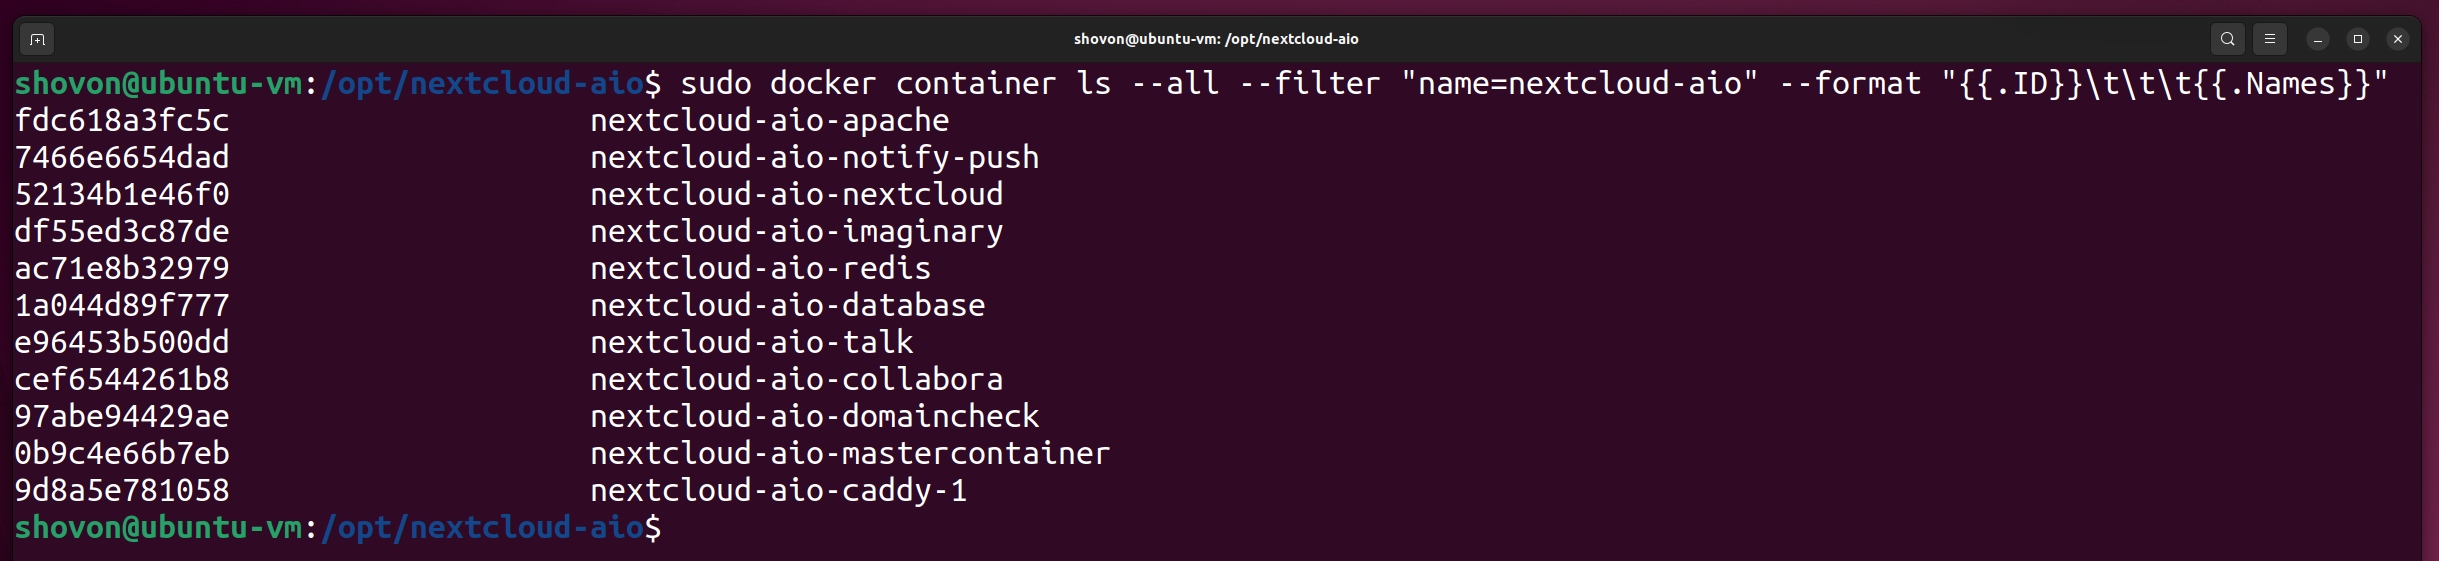
Listing All the NextCloud AIO Docker Containers
You can find a list of all the NextCloud AIO docker containers with the following command:
As you can see, the container ID and the name of all the NextCloud AIO docker containers are listed.
To properly reset/uninstall NextCloud AIO, you will need to remove them all.
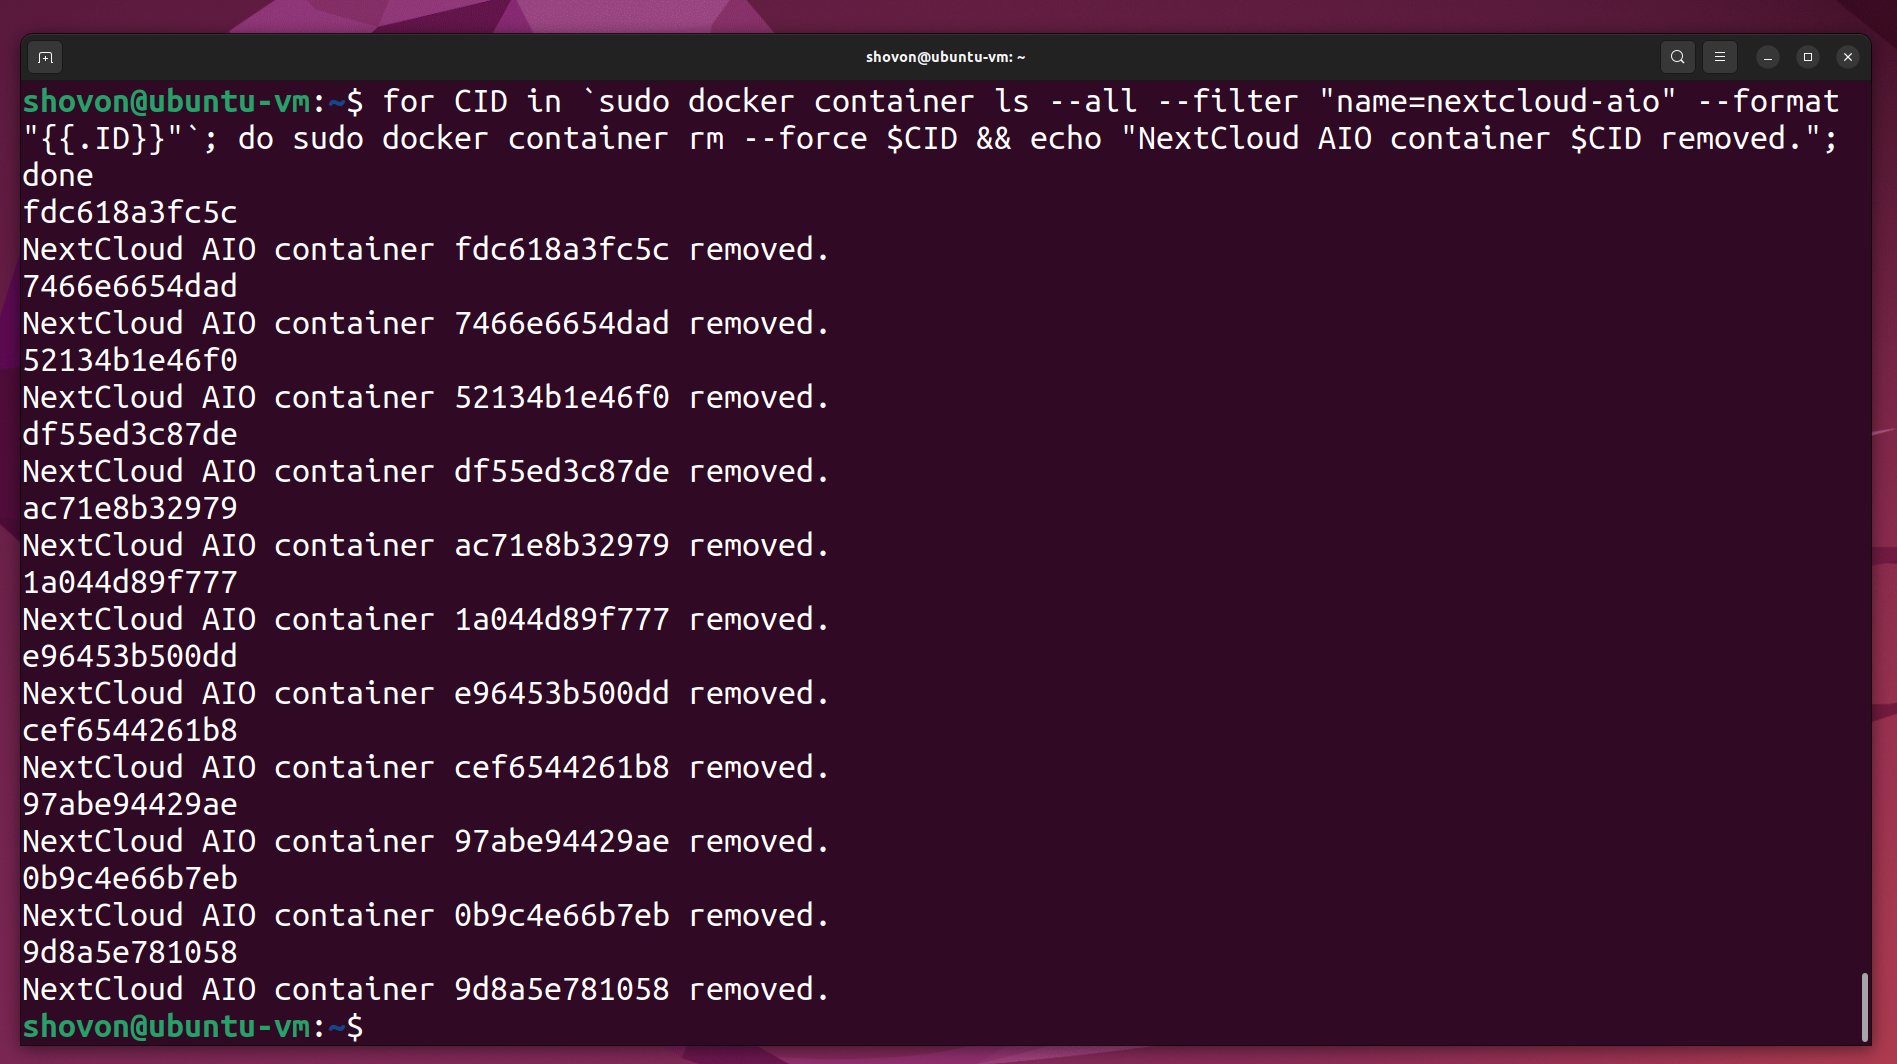
Removing All the NextCloud AIO Docker Containers
To remove all the NextCloud AIO docker containers, run the following command:
All the NextCloud AIO docker containers should be removed.
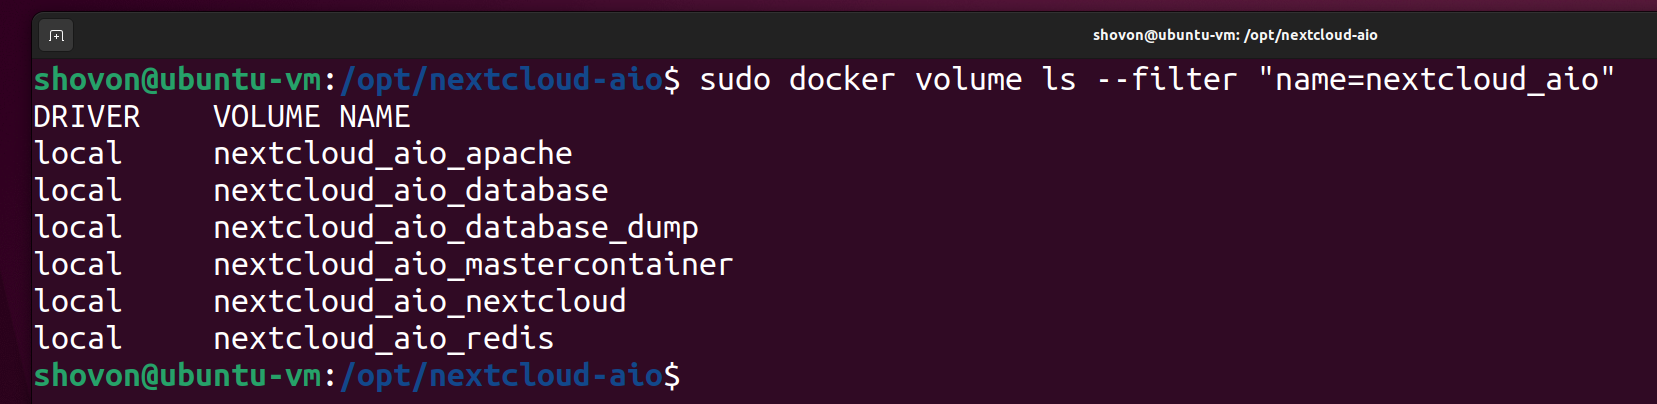
Listing All the NextCloud AIO Docker Volumes
You can find a list of all the NextCloud AIO docker volumes with the following command:
As you can see, all the NextCloud AIO docker volumes are listed.
To properly reset/uninstall NextCloud AIO, you must remove all those docker volumes.
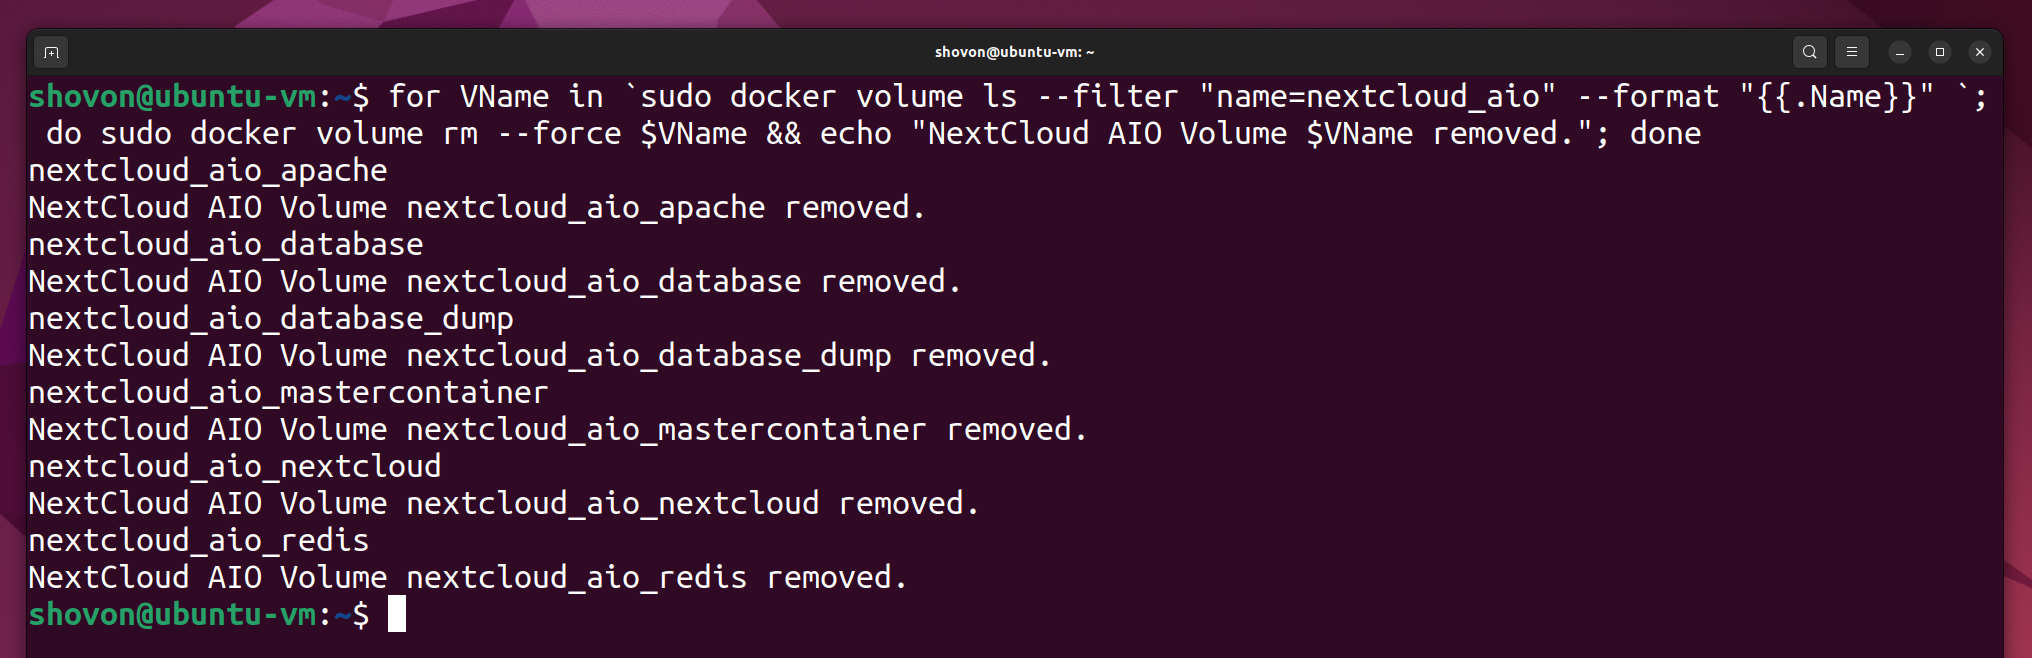
Removing All the NextCloud AIO Docker Volumes
To remove all the NextCloud AIO docker volumes, run the following command:
All the NextCloud AIO docker volumes should be removed.
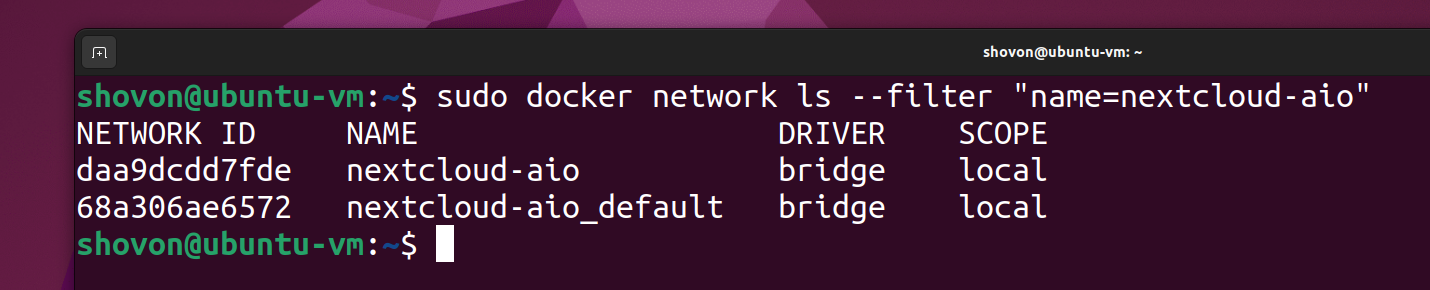
Listing All the NextCloud AIO Docker Networks
You can find a list of all the NextCloud AIO docker networks with the following command:
As you can see, all the NextCloud AIO docker networks are listed.
To properly reset/uninstall NextCloud AIO, you must remove all the NextCloud AIO docker networks.
Removing All the NextCloud AIO Docker Networks
To remove all the NextCloud AIO docker networks, run the following command:
All the NextCloud AIO docker networks should be removed.

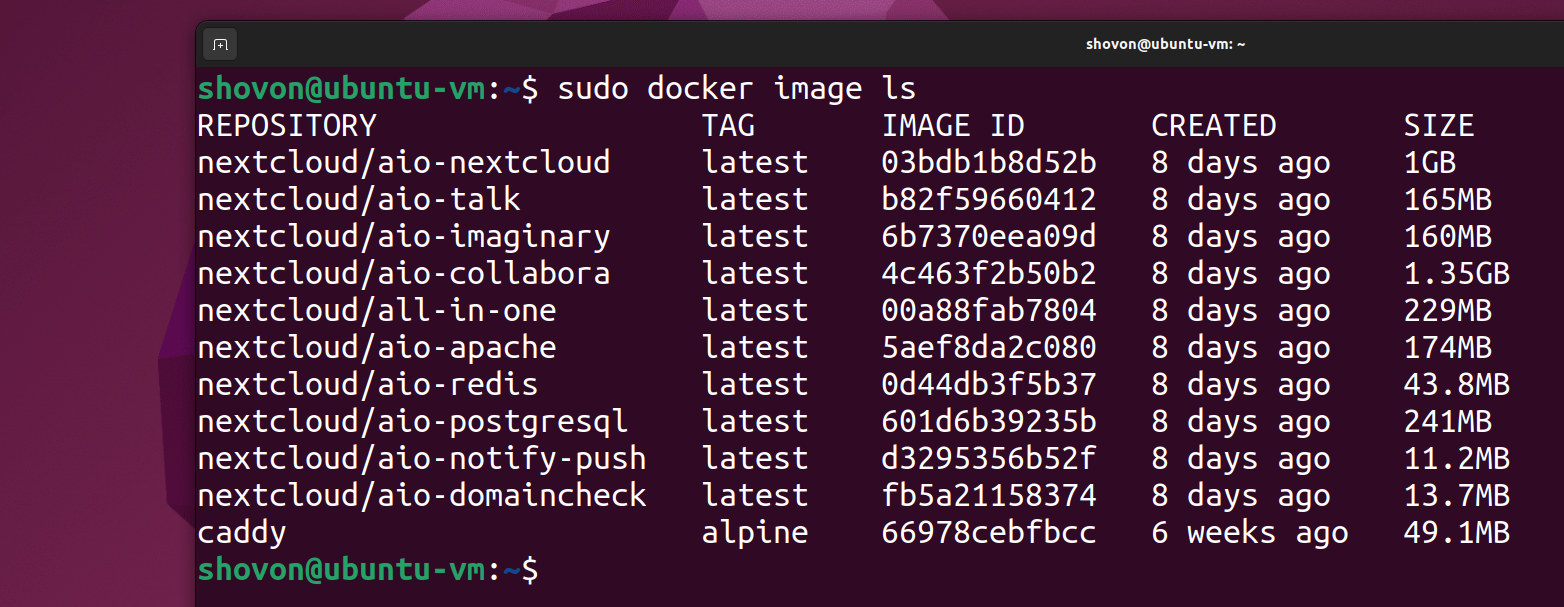
Removing All the NextCloud AIO Docker Images
You can find a list of all the cached NextCloud AIO docker images with the following command:
All the cached NextCloud AIO docker images should be listed. You can remove all the cached NextCloud AIO Docker images if you want. This is optional.
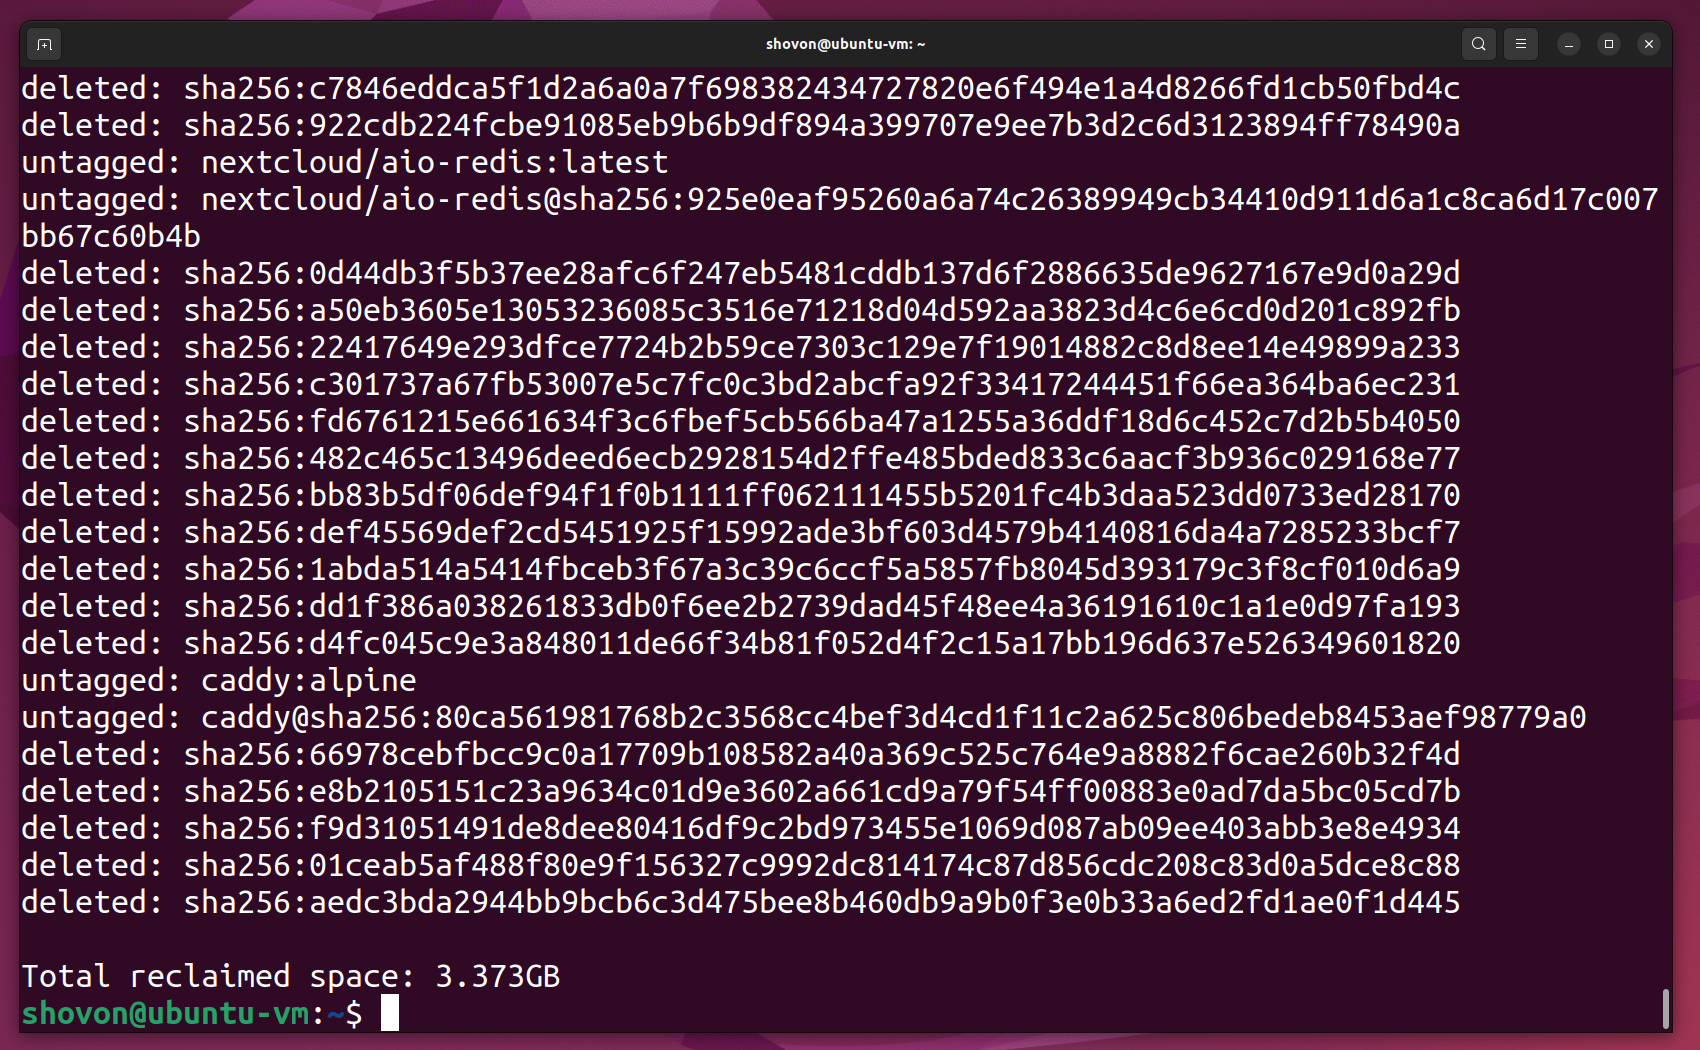
To remove all the unused cached docker images including the NextCloud AIO docker images, run the following command:
To confirm the operation, press Y and then press <Enter>.

All the cached Docker images including the NextCloud AIO images should be removed.
Cleaning the NextCloud Data Directory
If you have stored the NextCloud data in a directory instead of a Docker volume, you will need to clean that up as well.
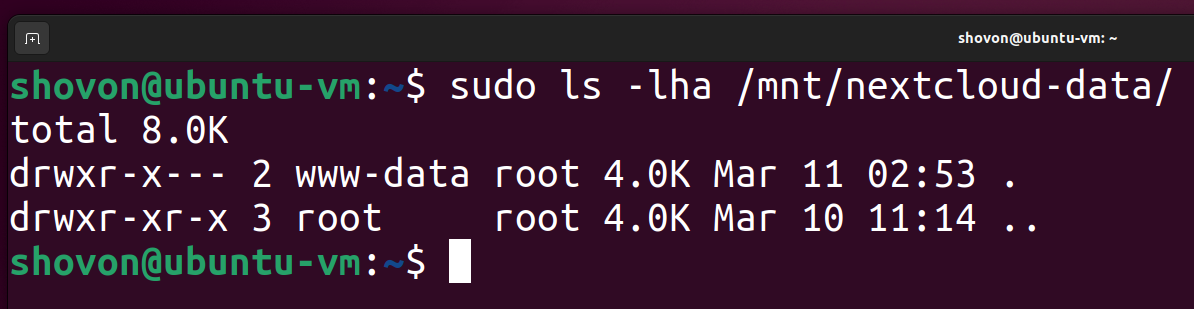
I have stored the NextCloud data in the /mnt/nextcloud-data directory as you can see in the screenshot below.

To remove all the contents of the NextCloud data directory /mnt/nextcloud-data (but not the NextCloud data directory itself), run the following command:
All the contents of the NextCloud data directory /mnt/nextcloud-data should be removed.
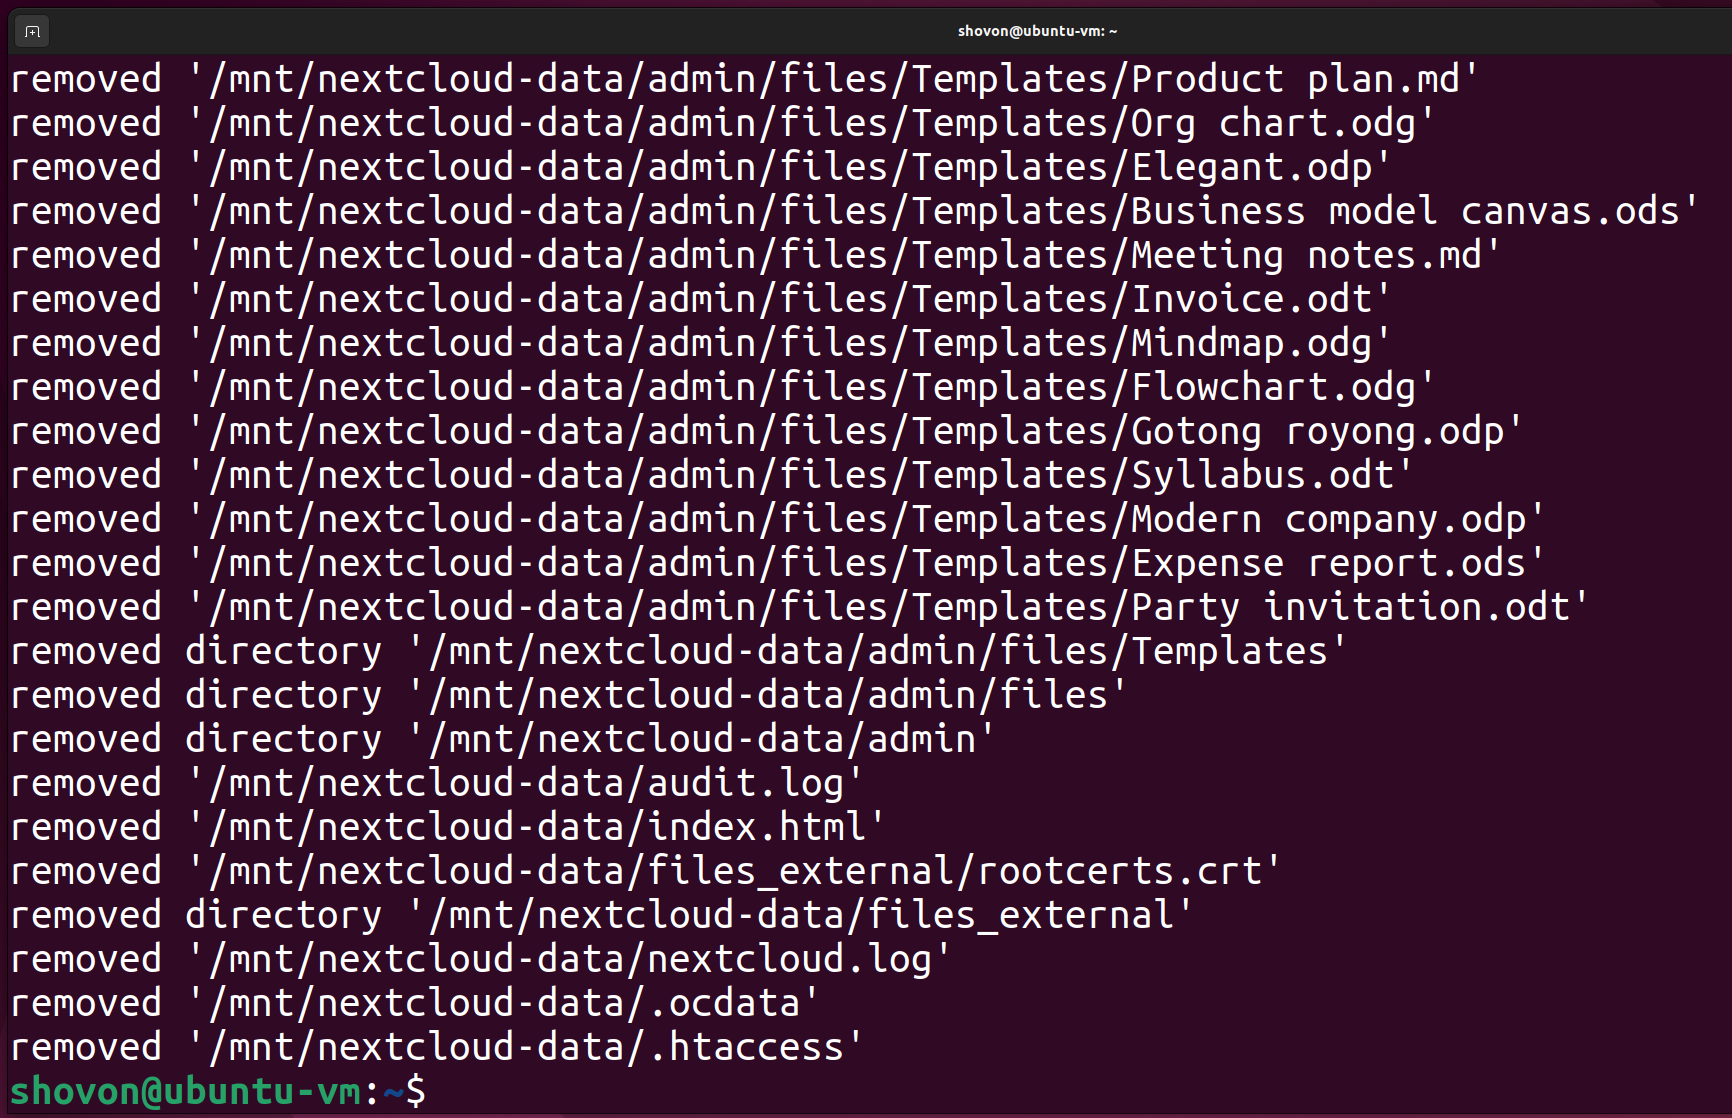
As you can see, the NextCloud data directory /mnt/nextcloud-data is now empty.
Conclusion
In this article, I have shown you how to reset/uninstall the NextCloud AIO docker instance completely so that you can start a new NextCloud AIO instance from scratch in case you’ve made a mistake installing NextCloud AIO.
References
- GitHub – nextcloud/all-in-one: The official Nextcloud installation method. Provides easy deployment and maintenance with most features included in this one Nextcloud instance.
- docker ps | Docker Docs
- docker container rm | Docker Docs
- docker volume ls | Docker Docs
- docker volume rm | Docker Docs
- docker network rm | Docker Docs
- docker network ls | Docker Docs
- docker image prune | Docker Docs
Source: linuxhint.com