How To Install Thunderbird Supernova on Ubuntu
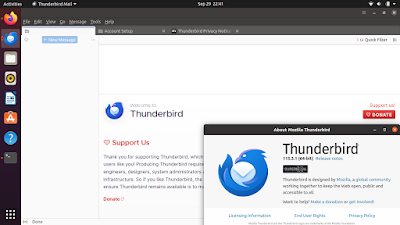
Thunderbird latest versions in 2023 also known as Supernova is the latest generation of the email client program also widely known as Ubuntu’s email client. It is different to the previous versions as it brings out major changes to its user interface as well as improvements to the underlying system behind it. This tutorial will help you to install Thunderbird Supernova or upgrade the one installed on your Ubuntu computer.
Subscribe to UbuntuBuzz Telegram Channel to get article updates.
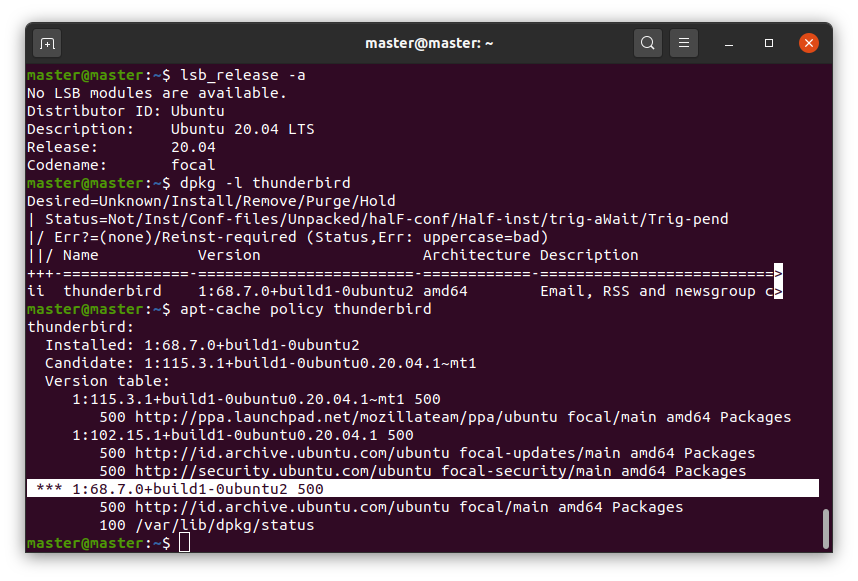
Checking
$ lsb_release -a
$ dpkg -l thunderbird
$ apt-cache policy thunderbird
First
command will show your Ubuntu version and codename. For example 22.04
and focal fossa. This information is required for choosing a suitable
PPA of Thunderbird.
Second command will show you whether an Thunderbird software version is installed or not on your system.
Third
command will show you same information in details. For example, the
line begins with triple stars (***) indicate installed version. See
example below.
Installation
$ sudo add-apt-repository ppa:mozillateam/ppa
$ sudo apt update
$ sudo apt install thunderbird
First command will add a new PPA into your Ubuntu system.
Second command refreshes your system so it recognizes the new PPA.
Third command installs Thunderbird 115 or upgrade the existing one.
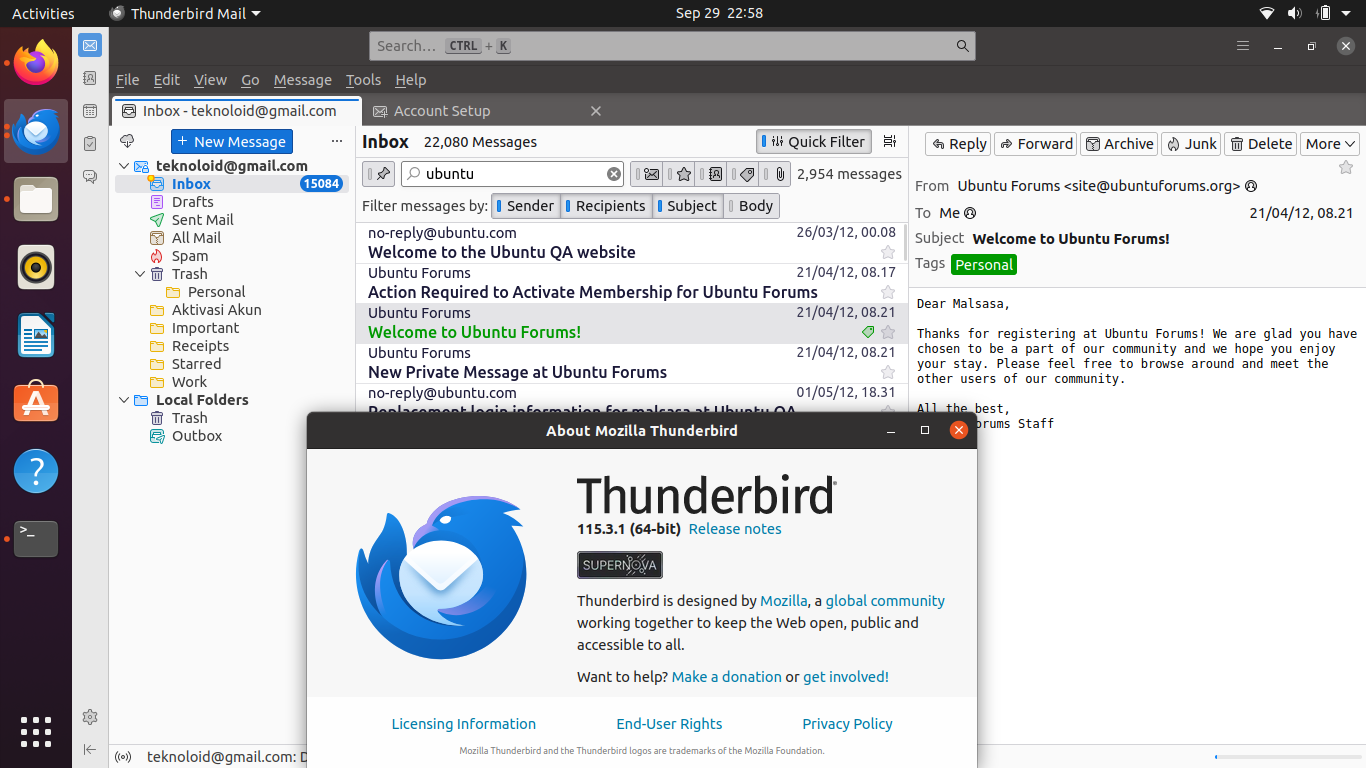
(Cards view, notice the double-line in every mail entry)
Email Configuration
If you have a Gmail, follow this IMAP tutorial to setup Gmail in Thunderbird.
References
This article is licensed under CC BY-SA 3.0.
Source: Ubuntu Buzz !