How to Install CodeCombat on Ubuntu
For any gamer who wants to learn to program, CodeCombat is a great coding gaming to learn it by playing games. The CodeCombat is a dungeon-delving-type coding game that helps young kids to learn how to code by playing games. You control the movement of the players by writing code in various languages, including Python and JavaScript.
CodeCombat is available online without needing to install it. But for someone who loves getting their grip on things, installing the game on your Ubuntu is a good idea. There are various steps to get CodeCombat up and running and this guide covers it.
How to Install CodeCombat on Ubuntu
CodeCombat is not available as a package that you can easily install. Instead, there are various requirements that you must first install before eventually having CodeCombat on your system. First, ensure you have a stable internet connection to save time.
You must install various dependencies for CodeCombat to run on Ubuntu. Install nodejs, build-essential. Python 2.7, and Git.
The command below installs the four packages.
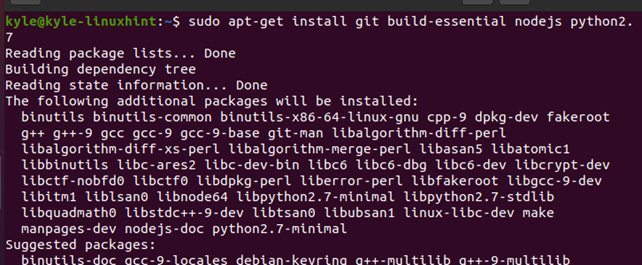
Ensure you allow all the packages to install. It may take time, depending on your internet speed.
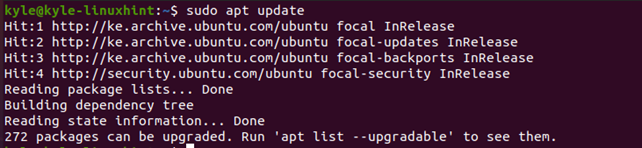
Once installed, update the apt database using the command below:
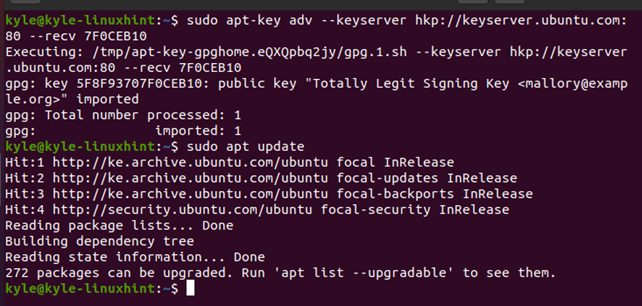
Next, we need to add the public gpg key for MongoDB. Copy the command below and paste it onto your terminal.
Once the public key is added, update the database, as in the image below.
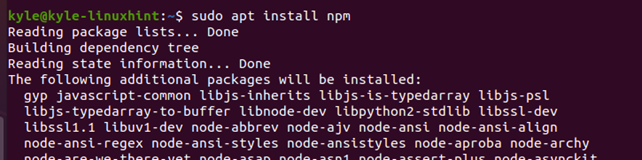
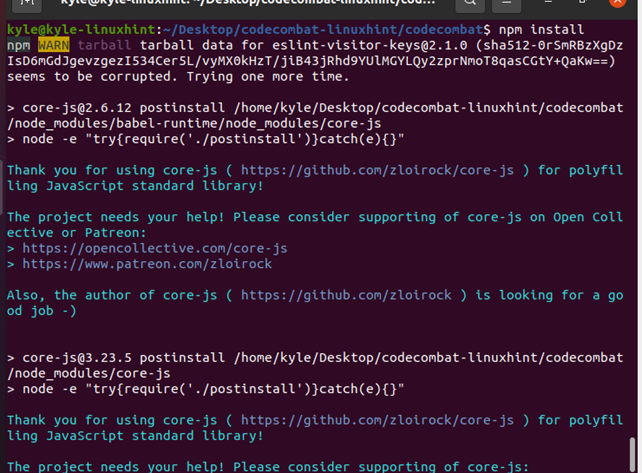
Also, it would be best if you install the Node Package Manager (npm) to help manage the needed dependencies by CodeCombat. Use the command below to install npm.
CodeCombat uses Python 2.7. Therefore, if your default python version is not 2.7, you must set it to use version 2.7. If you are running the latest Ubuntu versions, the default is Python3, so use the command below. Remember, you must have Python 2.7 installed as we did in the earlier section for you to set it as the default one.

We need Git for cloning the CodeCombat repository. Therefore, we must set up Git on your terminal, including the username and password. So, set up your Git with the syntax below.
$ git config –global user.email "$YOUR_EMAIL_ADDRESS"

With Git configured, we can now clone the CodeCombat repository. Use the command below.
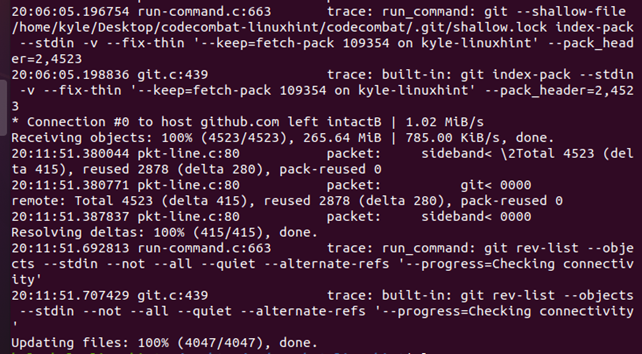
Once the cloning is done, you will note that updating all files will get completed at the bottom of the file, as in the image below.
Once cloned, navigate to the CodeCombat directory.

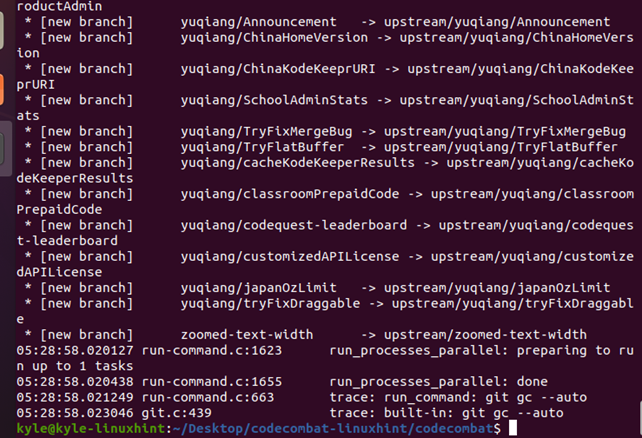
Now, track the upstream using the command below.
CodeCombat also relies on bower. Instead of installing bower separately, you can use rpm to install bower and build the asset files simultaneously. For that, run the command below.
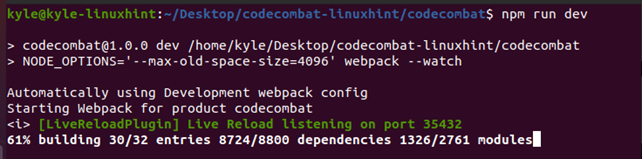
Once the bower dependencies are taken care of, we need to run the development server using Node Package Manager.
For that, we have two options. You can either start the brunch and nodemon using the command below.
Alternatively, you can use the commands below watch client files and route the server calls to the production servers of CodeCombat.

Now, run the command below to start the server.
Either of the two options will start the development server. You can open your localhost using the URL below and access the CodeCombat.
You should get the CodeCombat welcome screen like the one below.
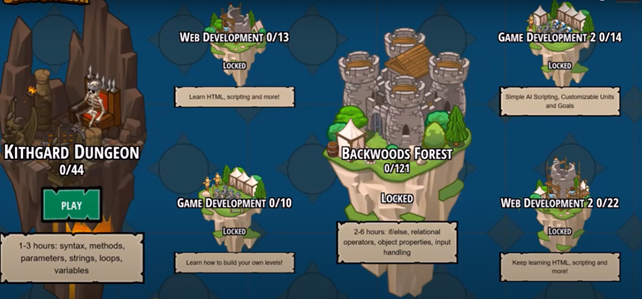
Have fun playing CodeCombat.
Conclusion
CodeCombat is a great way for beginners and kids to learn to code by manipulating how they want their game to be by writing code. This guide presented installing CodeCombat on Ubuntu.
Source: linuxhint.com