How to Import and Export Bookmarks in Google Chrome?
While browsing on the internet, the first thing you would probably do if you found anything interesting is save or bookmark the webpage so that you can access it in the future. A bookmark functions similarly to an extension to preserve a certain webpage. Almost everyone uses bookmarks in their computer browser to speed up browsing and avoid scrolling through their entire recent history each time they want to visit a certain website. One of the major features of a bookmark is that it not only stores the title but also the URL, icon, and web address of the desired web page. All you have to do to make a bookmark is tap on the star icon in the search field.
Google Chrome’s bookmark management system allows you to “bookmark” pages so you can access them easily later, like the majority of online browsers. You may also access those bookmarks from any Chrome-enabled device if Chrome is linked to your Google account. But what if you are not using your device and you don’t want to log in to your Google Account on someone else’s device or a different browser? What if you lose all your bookmarks? You don’t have to be concerned about your stored bookmarks since Google Chrome provides an easy way to store, export, and import your bookmarks if you need to relocate them to another browser or device. In this article, we will be demonstrating three different methods of how to import and export your saved bookmarks of Google Chrome onto a different device or browser.
Method 01: Exporting Bookmarks of Google Chrome in an HTML File Using the Bookmark Manager From the Bookmark Settings Option
Google Chrome enables you to store your bookmarks on an HTML page. So, they are portable and accessible later. This convenient little feature will enable you to import your bookmarks and store them with your backup files in addition to exporting them to your new browser.
In this method, we will be demonstrating how to export your bookmarks from Chrome into your device. This Method begins by clicking on the three dotted icons located in the top corner of the Browser’s Window. From the menu displayed, search for “Bookmarks”.
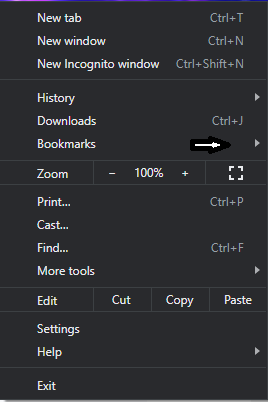
Hover the cursor on “Bookmarks” and this will display the pop-up menu from which “Bookmark Manager” must be looked for. Click on this:


Once the “Bookmark manager” page is opened, navigate to the three-dot button found on the top right, and click on it. A short menu will appear.

From this menu, click on “Export Bookmarks”. This will initiate a window to open to allow you to save the exported HTML file of bookmarks to the desired location on your device where you can find it easily.


Click on “Save” once the desired location is selected. The HTML file is saved and when opened, it will display the exported bookmarks as shown below.

Method 02: Importing Bookmarks of Google Chrome as an HTML File Using the Bookmark Manager From the Bookmark Settings Option
For the second method, we will focus on importing bookmarks. The majority of steps from Method 1 remain the same. So, we will begin by opening a Chrome tab and tapping on the three dotted icons at the top-right corner of the browser screen.

Once you have hovered your cursor on “Bookmarks”, you will be presented with a menu as discussed before. Choose “Bookmark manager” from the menu that displays.


When the page loads, open the dropdown menu of Google from the end of the search bar. A short menu will be presented to you from which “Import bookmarks” should be clicked.


After clicking on “Import bookmarks”, a small window will open asking for the selection of the form in which bookmarks are to be imported. When you have decided on a folder, click the “Open” button on the bottom edge of the tiny box.

This completes the steps that allow bookmarks to be successfully imported into Google Chrome.
Method 03: Shortcut Method for Importing Bookmarks From Google Chrome
This is a shortcut method to the latter example for importing bookmarks to Google Chrome. For this method, make sure your bookmark shortcut toolbar is turned on. This bookmark toolbar appears right below your search bar. Then, you just need to find double arrows at the very right of that toolbar and click on them as shown below.

After clicking on the double arrow, a dropdown menu will appear as shown in the screenshot below. You’ll find a “Bookmark manager” function there.


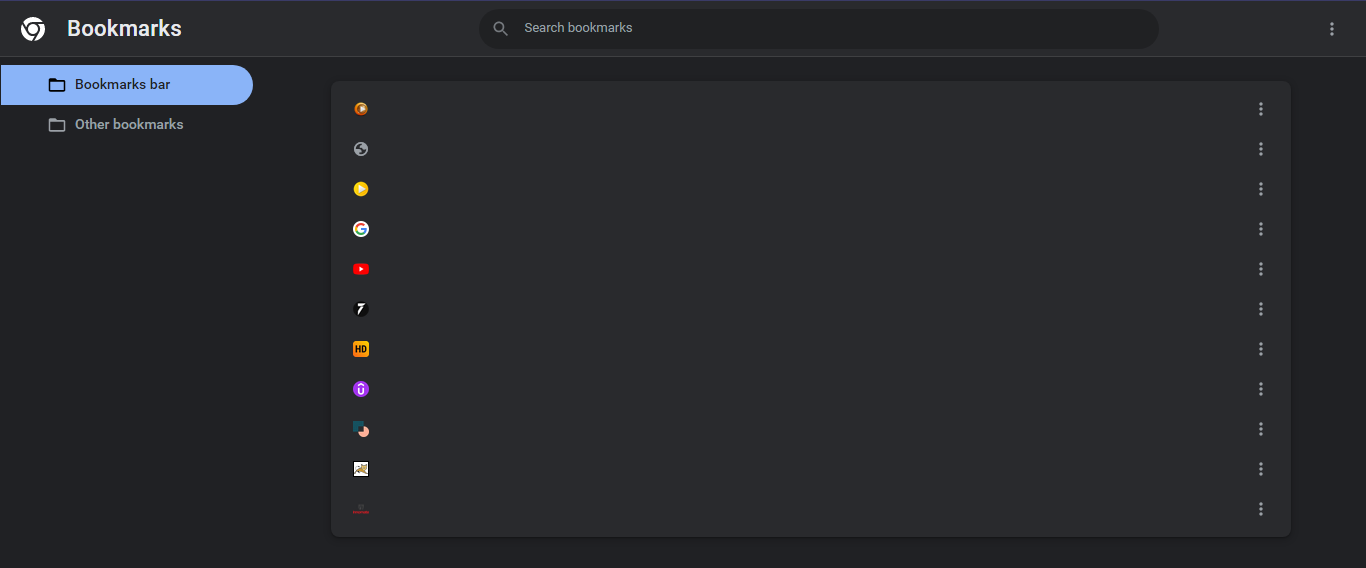
By selecting this item, you will be sent to a different page titled “Bookmarks,” as seen below.


As we can see in the snippet above, click on the icon at which the arrow is pointing. A short menu will appear on your window as shown in the snippet below. The option “Import bookmarks” is found here.


Now, click on the “Import bookmarks” option and a new window of file manager will appear on your screen. Now, you need to locate the HTML file containing your saved bookmarks and then select “Open” on the bottom right corner of the window.

The process of importing bookmarks into Google Chrome is now completed.
Conclusion
Google Chrome makes it simple to store and move all of your bookmarks, regardless of whether you recently purchased a new computer, or you simply want to switch to a different browser. To make a new computer or browser feel exactly like your old one, you may import them first from your account. A very important point to note about bookmarks is that they won’t be able to retain the web page’s content if it is deleted. This is because it does not preserve the page’s content from that specific website, but the website only.
Source: linuxhint.com