How to Check the CPU Temperature in Linux
Laptop overheating is one of the most heard complaints. As we know, the components in laptops are congested because of their thin body. Sometimes, it heats up and may cause damage to the internal parts of the laptop. For this reason, a regular checkup for the CPU temperature is necessary. Since the CPU is the central component of every desktop computer, monitoring the temperature of the CPU is extremely important. The device automatically shuts off if the CPU temperature rises to 90°C or above for a variety of causes that could impair the performance of the Linux kernel or even the apps. Even though the temperature does not reach that level, a temperature change can nonetheless damage any central processing unit. Monitoring the CPU temperature is a wise habit if you routinely work for extended periods on CPU-intensive tasks.
Checking the Temperature of CPU in Linux
To keep the necessary steps, we can prevent the rise in CPU temperature. There are some techniques to keep track of temperature in Linux.
Method 1: Using a Glance Instruction
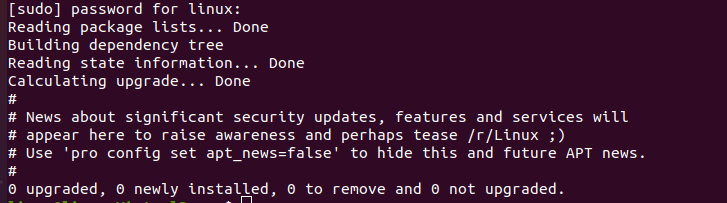
Monitoring the temperature of the CPU is not a hectic task. But for this method, we use a glance to monitor the system. It provides an extensive dashboard to get updated with your system. For this, let us first upgrade our system using the following command:
When you run the aforementioned command, you will be prompted for your password to confirm if you have the system’s privileges or not. After entering the correct password, you will see that the installation starts on the terminal like the sample that is shown in the following figure:
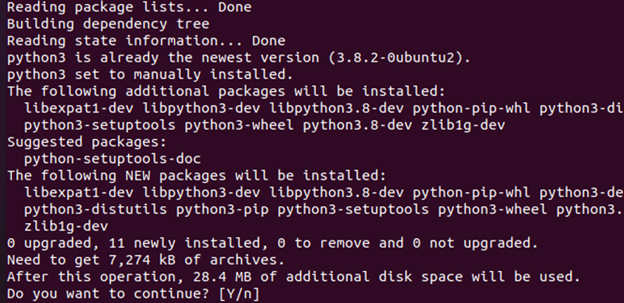
After updating the packages, we now install the Python3 package along with the pip and also the Python developer package. For that, we run the following command which is used to install the Python packages.
In the previous command, we pass the instruction to our compiler to install the Python3 package along with the pip and developer packages. After running the command, our package installation automatically starts after downloading all of the packages. It asks for your permission to install them or not. By entering the “y” keyword, you allow it to install the packages.
When the packages are successfully installed, it is now time to install the glances using the pip packages. To do so, we run the following command:
After running the previoius command installation for glances to get started, it takes some time to get installed. When it is successfully installed, you can verify it by running the “version” command.

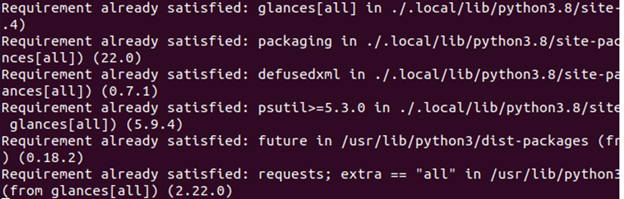
When the glances packages are installed, we install some additional modules of the glances that are necessary to run the glances. For that, we run the following command:
After running the following command, “all” packages of glances is installed. If you want to install some specified modules, you can install them by replacing the “all” keyword with the names of the modules that are needed to install. But in our case, we install all of the modules so we don’t miss anything. As shown, the following figure modules are now successfully installed.
Once the installation is done, we have to restart the system or simply log in again to the system. Now, we can run the next mentioned command. One thing to keep in mind is it is necessary to restart the system unless it may not allow the glances to work. After restarting, we run the following command to make it available:
When we run the previous command, it won’t display any output but just simply allows the glances service to get it available when called. Now, let us check the version of glances that are installed in our system by running the single line command as follows:
When the previously-displayed command is run on the terminal, it displays the version of glances. In our case, it is v5.9.4 along with its file path where the file logs are stored.

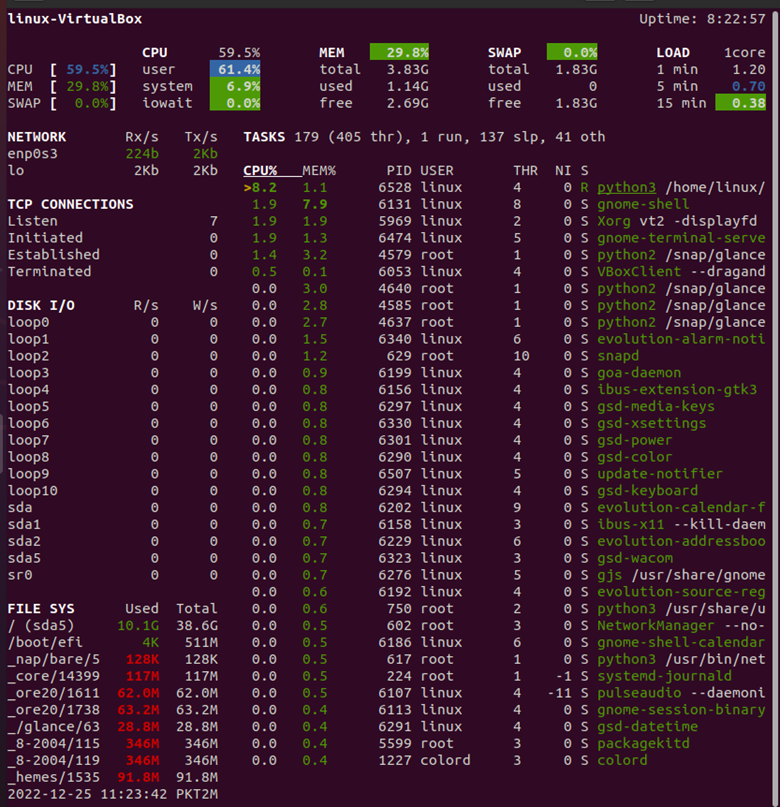
Once the glances service is started, we simply run the glances but run the following command:
The output of this command displays a detailed view of the CPU. On your keyboard, hit the “F” key to access all other information. As shown in the following screenshot, all details can be viewed regarding the CPU memory, etc.
Method 2: Using Psensor
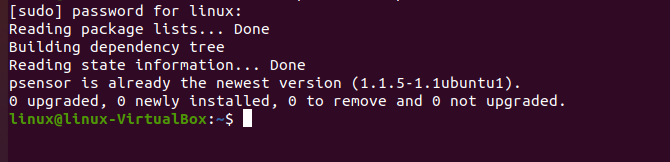
In this method, we try to check the temperature using the psensor. Psensor is also one of the most used applications to check the device’s temperature. Before moving to our main objective, we first need to install it manually or by a single-line command; it’s up to you. In our case, we install the psensor using the command. For that, we run the following command on the terminal:
When we run this command on our terminal, it asks you to enter the password. After entering the password, it starts the installation process as in the following displayed snippet:
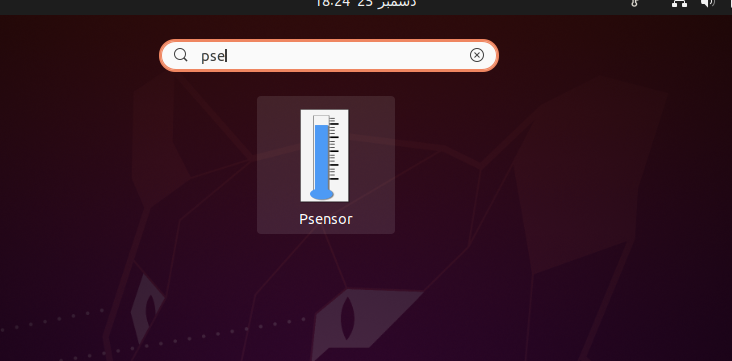
When we install the psensor application, we can go to our main menu in which we search for the psensor application. As shown in the following, we successfully installed it. Now, we simply run the application.
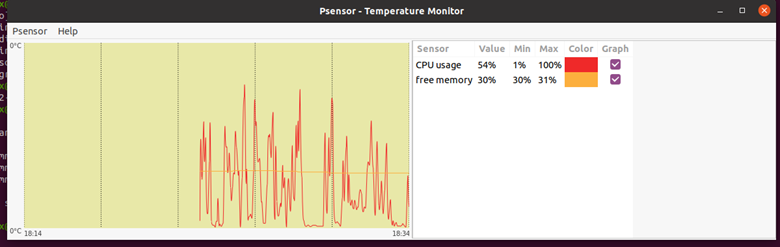
When the application is started, it displays the output as shown in the following in which the temperature graph is displayed along with the temperature in Celsius. We can change it to Fahrenheit by changing the preferences in the settings option.
Conclusion
We learned about how to check the temperature using different methods. In this tutorial, we tried two techniques to measure the temperature. We first introduced you to the glance method and then used the psensor application. To make the methodology clear, we then demonstrated it for you.
Source: linuxhint.com