“git apply” Command in Git | Explained
Patches can be used to swap changes between different version control systems. For instance, if users want to move changes from one version control system to Git, they need to generate patches from the previous system and apply them in Git to preserve the change history. Applying patches provides flexibility in incorporating changes into a codebase without the need for direct access to the source repository or committing changes directly. It allows for controlled integration of changes, easier collaboration, and better management of code updates.
This tutorial will demonstrate:
What is the “git apply” Command in Git?
The “git apply” command is used to apply patches to the codebase. A patch is a text file that contains a set of changes to be applied to a set of files in a Git repository. The “git apply” command reads the patch file and attempts to apply the changes described in it to the files in a particular repository.
Here, “<patchfile>” specifies the file containing the patch that a user wants to apply. This file can have the “.patch” or “.diff” extension.
When a user executes the “git apply” command, Git reads the patch file and attempts to apply the changes to the target files in the repository. It modifies the files in the working directory and staging area accordingly. The “git apply” command has several options that developers can use to control its behavior. Some of them are listed below:
- “–check”: Checks if the patch can be applied cleanly without actually modifying any files. It is useful for verifying the patch before applying it.
- “–ignore-space-change”: Ignore changes in whitespace when applying the patch.
- “–verbose”: Provides detailed output during the patch application process.
- “–3way”: Attempts a three-way merge if the patch does not apply cleanly. It uses the common ancestor of the patch and the target branch to apply the changes.
- “–reject”: Creates a “.rej” file for each rejected hunk in the patch. A rejected hunk is a part of the patch that Git cannot apply automatically.
How to Use the “git apply” Command in Git?
To use the “git apply” command in Git, try out the below-mentioned instructions:
- Go to the Git root directory.
- Check Git status.
- List all branches.
- Create a patch between two branches using the “git diff” command.
- Apply the patch with the help of the “git apply” command.
- Check the status of the working area.
- Add all changes in the staging area and commit changes.
Step 1: Redirect to Git Root Directory
First, specify the path of your desired repository along with the “cd” command and move to it:
Step 2: View Current Working Status
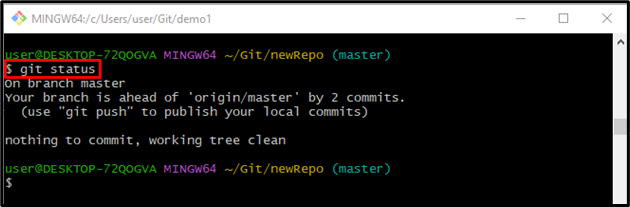
Execute the “git status” command to check the current working status of the Git local directory:
The below-provided image shows that there is nothing in the Git working area:
Step 3: List all Branches
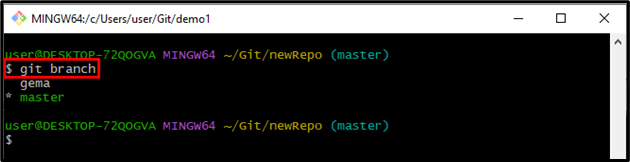
To list all local branches, run the “git branch” command:
It can be seen that the branches have been listed successfully. The asterisk “*” symbol beside the “master” branch indicates that it is the current working branch:
Step 4: Create a Patch Between the Branch
Use the “git diff” command to create and set the branch along with the “mypatch.patch”. Git will generate the patch file and save it as “mypatch.patch” in the current directory:

Step 5: View the Current Status
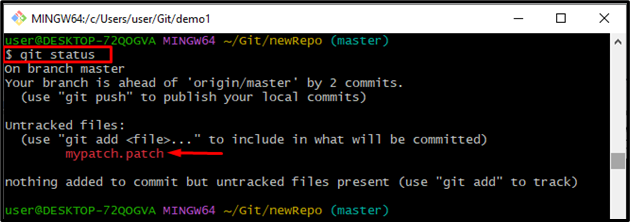
Execute the below-stated command to check the Status of the current working repository:
It can be observed that the patch has been created successfully:
Step 6: Apply Patch
Execute the “git apply” command to apply the patch. Users can also share the patch file with others or apply it to another repository using the “git apply” command:

Step 7: Verification
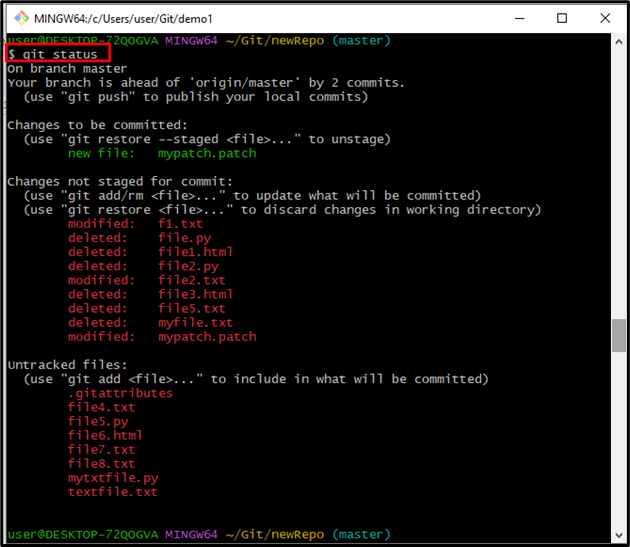
Check the Git status whether the patch has been applied or not:
The below-stated image indicates that the “git apply” removed all the files from the current directory and generated them again by applying patch:
Step 8: Track all Files
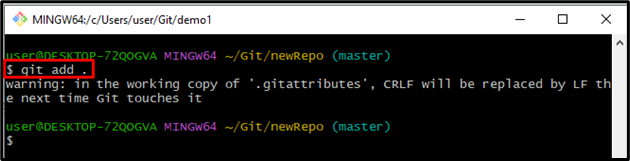
Add all the files in the staging area by running the “git add .” command:
Step 9: Check the Status of the Git
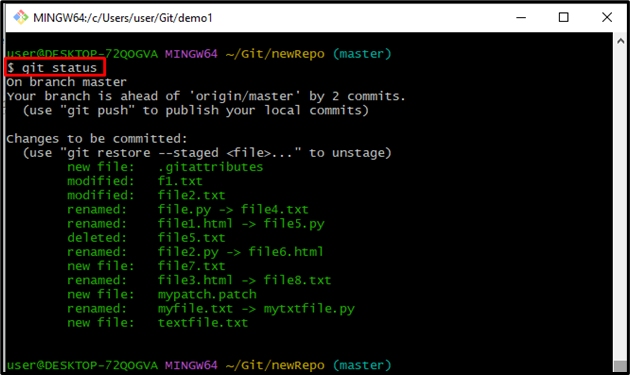
Check the current status of the Git working repository to verify the tracked file:
The resultant image shows that all the changes have been tracked successfully:
Step 10: Commit Changes
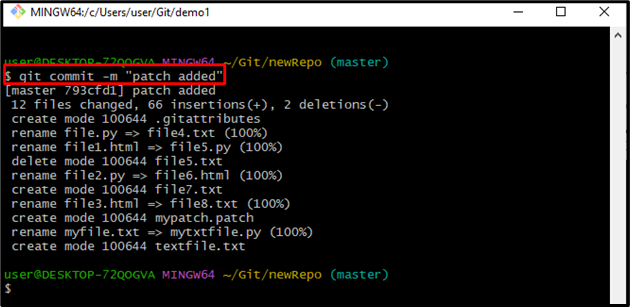
Lastly, commit all changes with the help of the “git commit” command and add a commit message using the “-m” option:
It can be noticed that all the changes have been committed successfully:
That’s all! We have provided a brief explanation of the “git apply” command.
Conclusion
The “git apply” command in Git is used to apply patches to the codebase. To use the “git apply” command in Git, list all branches and create a patch between two branches using the “git diff” command. Next, apply the patch by executing the “git apply” command. Then, verify the generated patch by checking the status of the working area. Lastly, add all changes in the staging area and commit changes. This tutorial has stated the “git apply” command.
Source: linuxhint.com