Enable SSH Server on Debian 12
Prerequisites:
To perform the steps that are demonstrated in this guide, you need the following components:
- A properly-configured Debian system. Check out how to install Debian on a VirtualBox VM.
- If you’re running an older version of Debian, check out how to upgrade to Debian 12.
- Access to root or a non-root user with sudo
SSH Server on Debian 12
SSH (Secure Shell or Secure Socket Shell) is a cryptographic network protocol that is mostly used for accessing the remote computers over a network. The protocol features a client-server architecture where an SSH client instance connects with an SSH server.
OpenSSH is currently the most popular implementation of the SSH protocol. It’s a free and open-source software available for all the major platforms. On Debian, all the OpenSSH packages are available from the default package repo.
Installing OpenSSH on Debian
Installing the OpenSSH Client
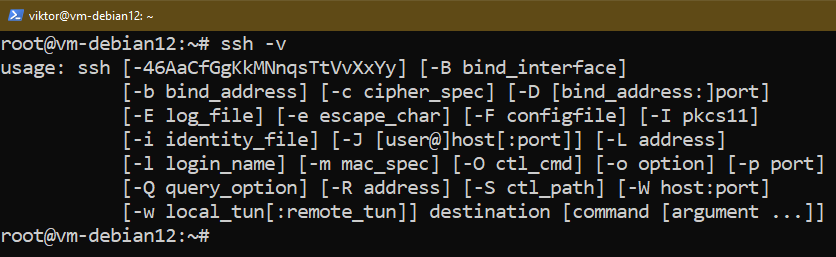
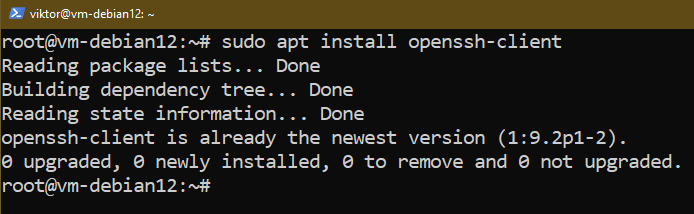
By default, Debian should come with the OpenSSH client pre-installed:
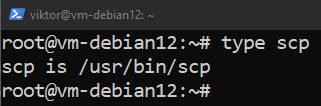
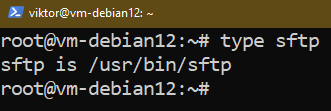
If the OpenSSH client is installed, your system should have the scp and sftp tools installed as well:
If the OpenSSH client isn’t installed, install it using the following commands:
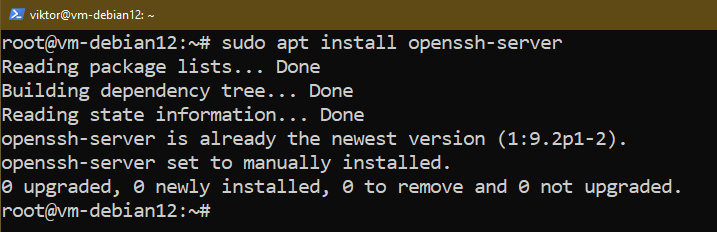
Installing the OpenSSH Server
The OpenSSH server allows the remote clients to connect to the machine. However, it doesn’t come preinstalled on Debian.
To install the OpenSSH server, run the following commands:
Firewall Configuration
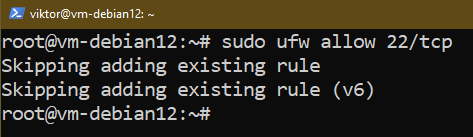
By default, the OpenSSH server is configured to listen on port 22. However, most firewalls will deny any connection request by default. To allow the remote SSH clients to connect to the SSH server, we need to open port 22 on the firewall.
In this section, we will demonstrate how to allow the SSH access on UFW. If you’re using any other firewall, please consult the respective documentation.
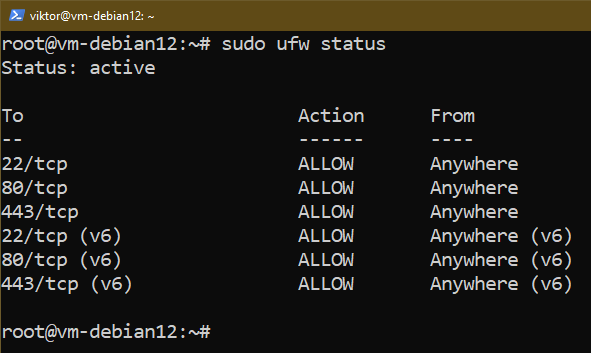
To allow access to port 22, run the following command:
Check out the list of UFW rules for verification:
Enabling the OpenSSH Server
Upon successful installation, the OpenSSH server should be manageable through the ssh service:

To ensure that the OpenSSH server starts at boot, run the following command:

Managing the SSH Server
To check the status of the OpenSSH server, run the following command:

To start the server, run the following command:
To stop the server, run the following command:
To restart the server, run the following command:
OpenSSH Configuration
There are a couple of SSH configuration files:
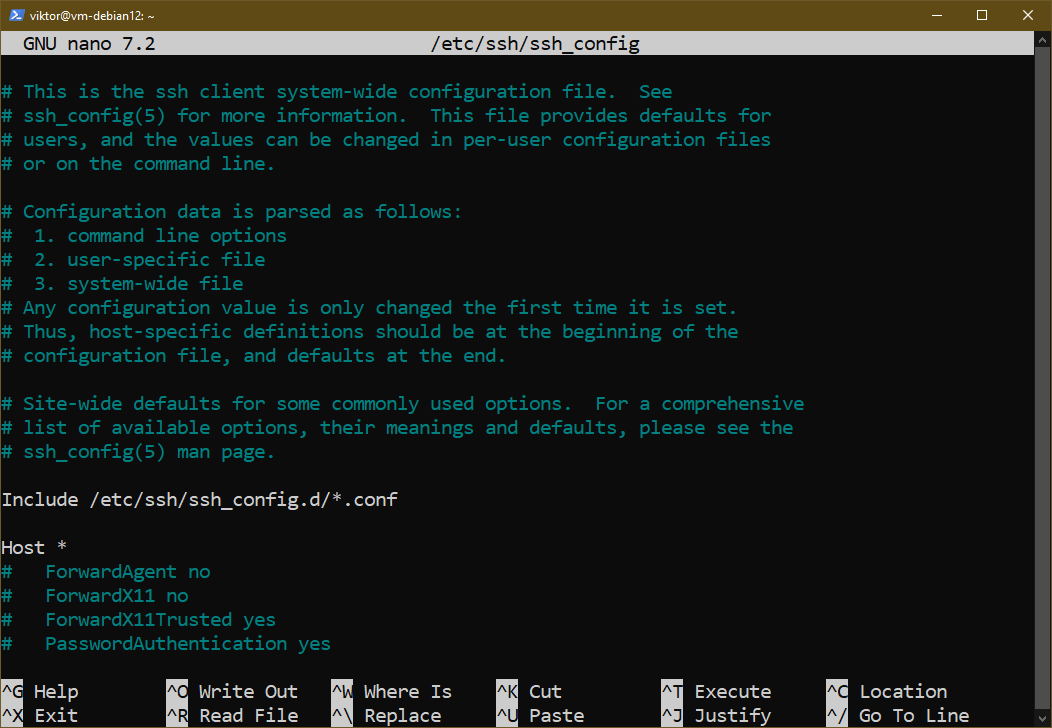
- /etc/ssh/ssh_config: Configuration file for the SSH client
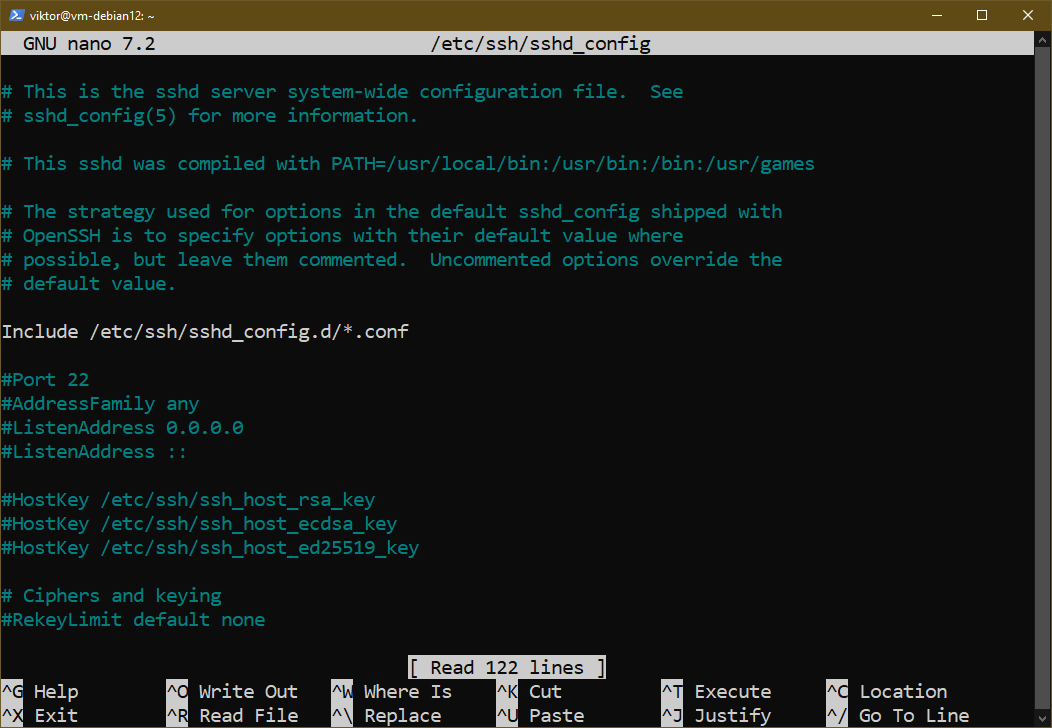
- /etc/ssh/sshd_config: Configuration file for the SSH server
By default, most options are commented out. To activate an option, uncomment by removing “#” at the beginning of the line.
Note that after tweaking the SSH server configuration, you have to restart the server to apply the changes.
Client Configuration
Here’s a short list of some important SSH client configurations:
- Compression: It specifies whether SSH uses compression over the connection. By default, compression is enabled (yes). However, it can be turned off (no).
- LogLevel: It determines the level of details where the SSH client logs the user activity. Logging can be disabled (QUIET) or enabled (FATAL, ERROR, INFO, VERBOSE, DEBUG1, DEBUG2, and DEBUG3).
- ServerAliveInterval: After the specified time (in seconds), if the server sends no data, the client sends a message requesting a response.
- ServerAliveCountMax: The number of server alive messages to be sent to the SSH server before disconnecting from the server.
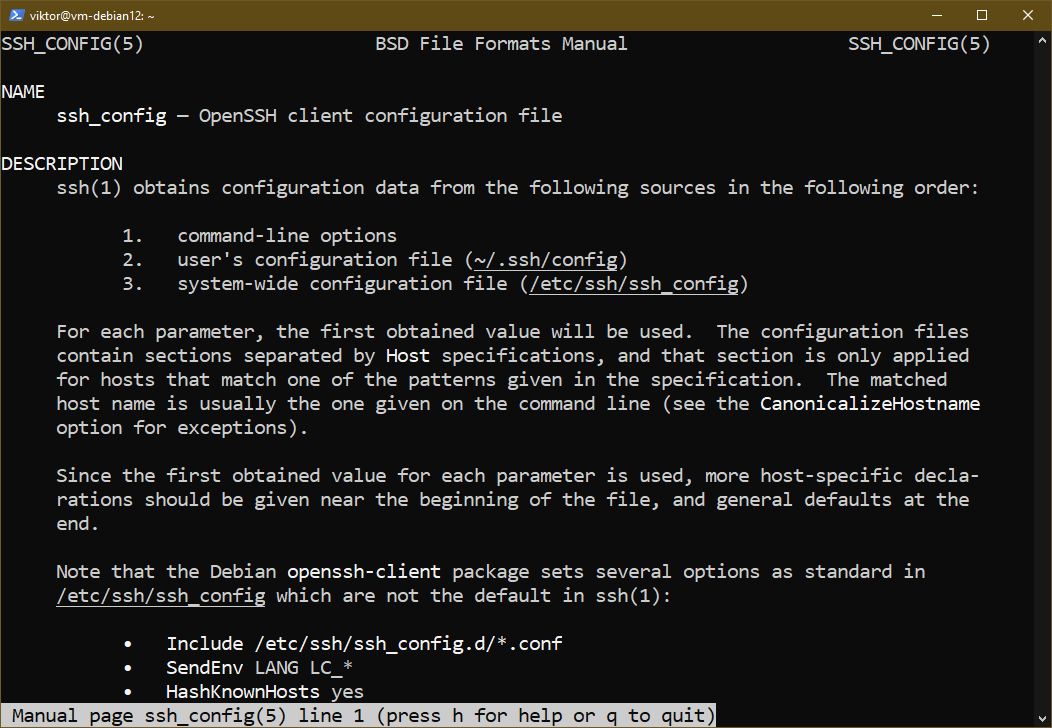
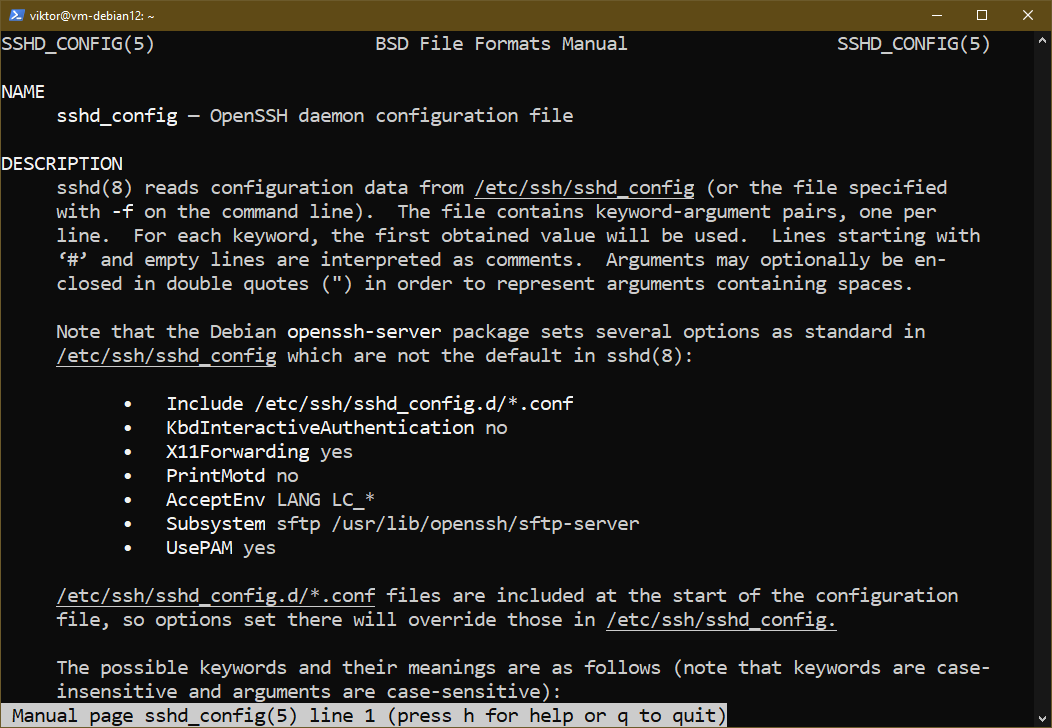
Check out the man page for all the available options:
Server Configuration
Here’s a short list of some important SSH server configurations:
- AllowUsers: Only the users who are listed here are allowed for SSH authentication. It can be a list of users or a pattern. By default, all users are allowed to authenticate over SSH.
- DenyUsers: Users who are listed are not allowed for SSH authentication. It can be a list of users or a pattern.
- LogLevel: It specifies the sshd logging verbosity level. Logging can be disabled (QUIET) or enabled (FATAL, ERROR, INFO, VERBOSE, DEBUG, DEBUG1, DEBUG2, and DEBUG3).
- Port: It defines the port that the SSH server listens to. The value is a port number (22 by default). Some admins may consider to switch to a different port as a means of preventing the incoming SSH attacks. However, it may just contribute to unnecessary inconvenience as port scanning (nmap for example) can reveal the open ports.
- PermitRootLogin: By default, the SSH server doesn’t permit logging in as root (no). Other valid arguments: yes, without-password, and forced-commands-only.
- PasswordAuthentication: This directive specifies whether the SSH server allows the password-based authentication (yes) or not (no).
Check out the man page for all the available options:
Conclusion
We demonstrated how to install and configure the OpenSSH server. We also showcased how to tweak the SSH server/client configuration files.
Besides the remote access, SSH can also be used for transferring the file. Check out how to copy the files with SSH and how to mount the remote locations using SSHFS. Even the DevOps providers like GitLab uses SSH as a means to authenticate the users.
Happy computing!
Source: linuxhint.com