CSS Delay
Example 1: Transition Delay on a div Widthwise Using the Style Tag Approach
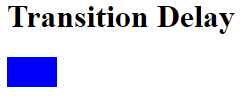
In this example, we will use the delay property to transition a div element width-wise using the style tag approach. The transition-delay property will be applied on a div, and the transition will happen at the div’s width.
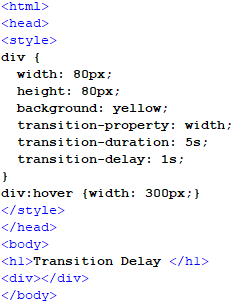
In this script, we will begin with the header of the file. We will open the style tag and create a styling class for the div element in this tag. In this styling class, we will add height and width for the default size of the div. After this, we will add the transition property on the width by using it as a keyword. Then, we will define the transition duration in seconds. At the end of this tag, we will also define the transition delay constraint by giving it a value in seconds.
After this, we will inherit this class for a hover function in which we will add the width property, which would be increased from the previous setting and activated when the div is hovered. This change in width will be administered by the transition properties, including the transition-delay property, which will decide the time gap for this transition. Then, we will end the styling properties and close the style tag to move toward the file’s body. We will give the page a heading in the body tag by using the h1 tag. After this, we will add a div element by a div tag where we will not add any value because it is all defined in the style tag in the file’s header.
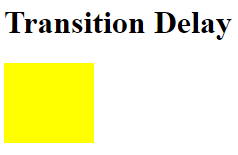
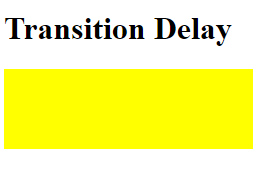
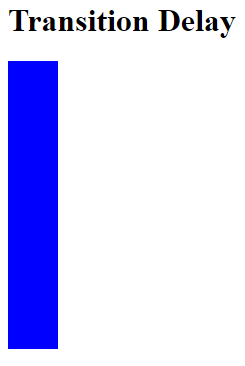
The first snippet shows that the div is in its default stage. After hovering on the div, the transition will happen according to the properties defined in the style tag that can be observed in the second snippet.
Example 2: Transition Delay on a div Height-Wise Using the Style Tag Approach
In this example, we’ll use the delay attribute to transition a div element vertically using the style tag technique.
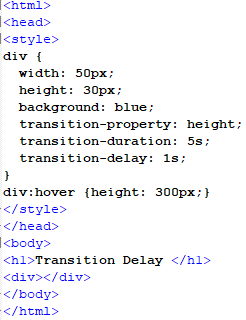
We’ll start with the file’s header in this script. We will open the style tag in this tag and build a styling class for the div element. In this style class, we will add height and width for the div’s default size. Following that, we’ll use a keyword to add the transition attribute to the height of a div. Then, after this tag, we will define the transition time in seconds and the transition delay constraint by providing it with a value in seconds. We will inherit this class for a hover function and add the height property, which will be increased from the previous value and activated when the div has hovered. This change in height will be managed by the transition properties, which include the transition-delay property and determines the time gap for this transition.
After that, we will add a div element with a div tag in the body. The file will then be closed by closing all the tags.
The first output shows that the div is in its default state. When we hover over it, the transition occurs according to the properties provided in the style tag, displayed in the second output.
Example 3: Animation Delay on a div’s Top Side Using the Style Tag Approach
In this example, we’ll utilize the delay property while employing the style tag approach to animate a div element from the top side.
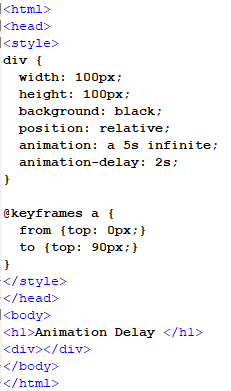
In this script, we’ll begin with the file’s header. We’ll open the style tag and create a styling class for the div element in this tag. We will add height and width for the div default size in this style class. Following that, we’ll use a keyword to add the div’s animation property. Then, at the end of this tag, we’ll provide the animation time in seconds and the transition delay restriction by supplying a value in seconds. We’ll make a new class for the animation and add a size property for the top side of the div that will be increased from the previous value and active after the delay period.
The transition properties will control the animation, including the animation-delay property, which controls the time gap before the animation begins. The styling attributes will then be removed, and the style tag will be closed, enabling us to go on to the file’s body. We’ll add a div element with a div tag but no value because everything is defined in the file’s style tag.
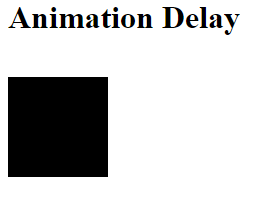
The first output shows that the div is in its default position. When the animation-delay time finishes, the animation occurs according to the properties provided in the style tag, as seen in the second output.
Example 4: Animation Delay on a div’s Left Side Using the Style Tag Approach
In this example, we’ll use the delay attribute in conjunction with the style tag method to animate a div element from the left side.
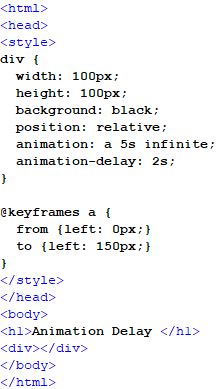
In this script, we’ll begin with the file’s header. We’ll open the style tag and create a styling class for the div element in this tag. We will add height and width for the div default size in this style class. Following that, we’ll use a keyword to add the div’s animation property. Then, at the end of this tag, we’ll provide the animation time in seconds and the transition delay restriction by supplying a value in seconds.
We’ll make a new class for the animation and add a size property for the top side of the div that will be increased from the previous value and active after the delay period. The transition properties will control the animation, including the animation-delay property, which controls the time gap before the animation begins. The styling attributes will then be removed, and the style tag will be closed, enabling us to go on to the file’s body. We’ll add a div element with a div tag but no value because everything is defined in the file’s style tag.
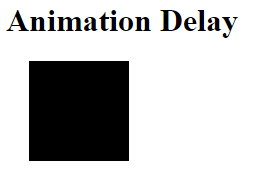
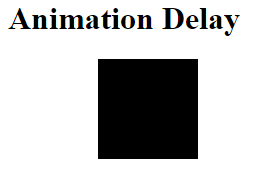
The div is in its default position, as shown in the first result. After the animation-delay timer expires, the animation happens according to the parameters specified in the style tag, as seen in the second output.
Conclusion
In this article, we have discussed using the CSS’s delay property in the Hypertext Markup language. The delay property is commonly used with CSS’s transition and animation property. This property is used as a sub-property for the animation and transition property, which helps define the individual property’s delay. We implemented these properties with the delay property as a sub-property in the Notepad++ environment.
Source: linuxhint.com