A Guide to Vuejs 3 with Examples
Vue is a web framework for creating user interfaces in the JavaScript programming language. Vue is designed to be gradually implemented into an existing application. It solves various problems at the presentation level (view), simplifies work with other libraries, and allows you to create complex single-page applications (SPA, Single-Page Applications).
By breaking down an application into components, Vue allows you to separate all your application code into components and assemble them into a single application. Components can be reused in any other application.
To work with the framework, you already need to know HTML, CSS, and, of course, JavaScript, at least at a basic level.
First Application
Let’s create our first Vue 3 application. First of all, we need to include the framework files on the web page. This can be done in many ways. The simplest one is downloading the framework files from the CDN via the link:
You can also install Vue 3 through the npm package manager.
Before proceeding, make sure that you have Node.js installed on your machine; otherwise, this will give you an error.
The next step is to install Vue CLI (Command Line Interface) using the command:
If you are using Linux, you may need to use sudo before the command as we install the package globally on the system.
Then, all we need is to use the command Vue create to bootstrap a new Vue project:
In my case, vue-example is the name of my project, but you can name it however you want.
To run our project, we first need to navigate to the project folder. In my case, is vue-example with the command:
And finally run the project with the command:
This will compile our application and if we hit localhost:8080 we can see our vue application running.
In this way, we have just created our first Vue projects.
If we check the files created with the Vue CLI command, we will see a bunch of files that we may not understand what they do or why we need them at the moment.

The Vue CLI will create many files for us, which might be distracting at the moment. So, let’s stick with the first method and use Vue in a single file with the Vue CDN.
To do this, create an HTML file with any name. In my case, I will name it vue.html, and let’s start exploring the magic of Vuejs.
<head>
<title>LinuxHint Vue3 Tutorials</title>
</head>
<body>
<div id="app">
<input type="text" v-on:input="setMsg" />
<p>{{msg}}</p>
</div>
<script src="https://unpkg.com/vue@next"></script>
<script>
Vue.createApp({
data() {
return {
msg: 'Welcome to Vue'
}
},
methods: {
setMsg(event) {
this.msg = event.target.value;
}
}
}).mount('#app');
</script>
</body>
</html>
To create an application object in Vue 3, the Vue.createApp function is used. An object is passed to this function that defines the data to use via the data parameter and the actions to be performed in the application via the methods parameter.
The data represents an object that contains one property (msg) some string that is displayed on the web page:
return {
msg: 'Welcome to Vue3'
}
}
Then, on the web page, using double curly braces, we can display the value of the message property and associate a section of the web page with this property.
The methods parameter defines the actions that are performed in the application:
setMsg(event){
this.msg = event.target.value;
}
}
There is only one setMsg method defined here, which is the input event handler for the input element on the page. Information about the event is passed to this method through the event parameter. So, through the property event.target.value, you can get the value entered in the text field and assign it to the message property. This keyword is used to get the message property, which was defined above in the data parameter.
To associate the input element with this method, an attribute is defined.
Finally, the mount() method is used to bind the created Vue object to a specific element on the web page. An HTML element selector is passed to this method:
So, in this case, we are specifying that the Vue object will be executed within the html element with the id app.
Now, let’s run the web page in a web browser. You can drag and drop the web page into the browser.
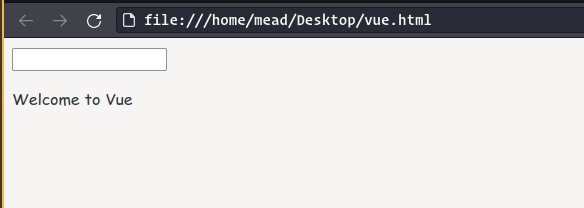
And as you type in the text field, the value that is displayed on the web page will automatically change.
Vue Application Object
To use the functionality of the Vue framework on a web page, you first need to create a Vue application object. Vue 3 uses the Vue.createApp function for this purpose. When creating an application object, an object with parameters is passed to this function, with the help of which the application is initialized:
After creating the application object, you can call the mount() method on it, with the help of which the created Vue application is attached to a specific HTML element on the web page. To do this, mount() the selector of the given HTML element is passed to the method:
myApp.mount(/* html_element selector */); // attach object to html element
For example:
<html>
<head>
<title>LinuxHint Vuejs 3 </title>
</head>
<body>
<div id="app"></div>
<script src="https://unpkg.com/vue@next"></script>
<script>
const myApp = Vue.createApp({});
myApp.mount('#app');
</script>
</body>
</html>
In this case, an empty object is passed to the Vue.createApp function with no parameters, but it’s still enough to create a Vue app object. So here, the variable vueApp will represent the Vue 3 app object. This object is then attached to the div element with the id app.
Application data
Now, let’s look at how we can set up and initialize a Vue app.
The parameter object that is passed to the Vue.createApp function uses the data() function to define application properties that will store some data:
data() {
return {
website: 'LinuxHint',
tutorials: 100
}
}
})
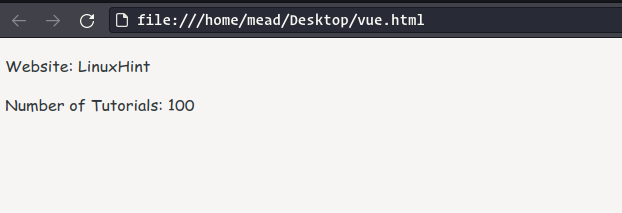
The data function returns an object with properties for storing data. In this case, it defines two properties: name and tutorials.
We will use this object on a web page:
<head>
<title>LinuxHint Vuejs 3 </title>
</head>
<body>
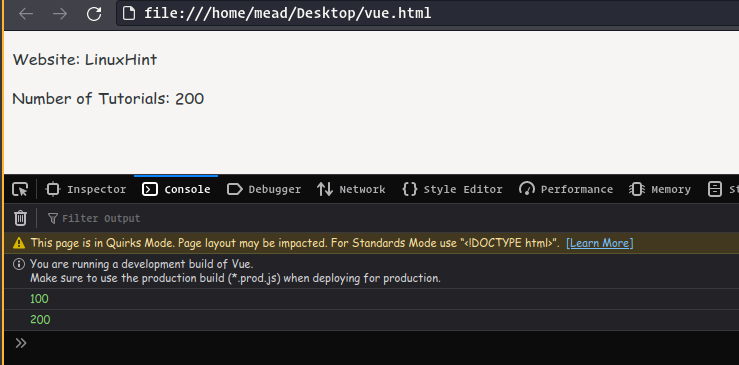
<div id="app">
<p>Website: {{ website }}</p>
<p>Number of Tutorials: {{ tutorials }}</p>
</div>
<script src="https://unpkg.com/vue@next"></script>
<script>
Vue.createApp({
data() {
return {
website: 'LinuxHint',
tutorials: 100
}
}
}).mount('#app');
</script>
</body>
</html>
Next, we can access the property and display its value on the web page using an expression enclosed in double curly braces, like this: {{ property_name }}.
Data can also be defined as an external object and then returned from the data function:
Vue.createApp({
data() {
return website;
}
}).mount('#app');
In addition, we can access the properties of a Vue object by their names and both retrieve and assign values to them:
<head>
<title>LinuxHint Vuejs 3 </title>
</head>
<body>
<div id="app">
<p>Website: {{ name }}</p>
<p>Number of Tutorials: {{ tutorials }}</p>
</div>
<script src="https://unpkg.com/vue@next"></script>
<script>
const vueApp = Vue.createApp({
data() {
return { name: "LinuxHint", tutorials: 100 }
},
mounted() {
// receiving data
console.log(this.tutorials); // in this case its 100
// changing data
this.tutorials = 200;
console.log(this.tutorials); // changed to 200
}
});
vueApp.mount('#app');
</script>
</body>
</html>
It is worth noting that the properties of the Vue application object are “reactive” when their values change, the view (the element of the web page associated with this Vue application object) will be automatically updated.
For instance, in the example above, the web page will display the changed value of the age property. To change the value for the Vue object, we define a method mounted() that fires automatically when the Vue app is attached to the html element. In this method, we first display the initial value of the tutorials property, then change it and display the new value.
The method mounted() is not the only place where you can change the properties of the Vue application object, but in any case, changing them will change the view, which allows us to easily create interactive applications.
Methods
In addition to storing state, a Vue application can define behavior in the form of a method parameter. This parameter points to a set of methods. Each method represents a standard JavaScript function.
numberOne(){
// body of method 1
},
numberTwo(){
// body of method 2
},
numberThree(){
// body of method 3
},
}
For example, let’s define a number of methods:
<head>
<title> LinuxHint Vuejs 3 </title>
</head>
<body>
<div id="app">
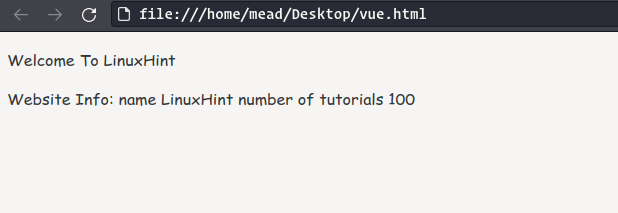
<p>{{ message() }}</p>
<p>{{ website() }}</p>
</div>
<script src="https://unpkg.com/vue@next"></script>
<script>
Vue.createApp({
data() {
return { name: "LinuxHint", tutorials: 100 }
},
methods:{
message(){
return "Welcome To" + this.name;
},
website() {
return "Website Info: name " + this.name + " number of tutorials " + this.tutorials;
},
}
}).mount('#app');
</script>
</body>
</html>
Two methods, message() and website(), are defined,to return some value. To access the properties of a Vue object in methods, use the this keyword, for example, this.name.
If the method returns a value, then we can get its value on the web page by referring to this method using interpolation:
Methods can also be accessed in JavaScript code:
<head>
<title> LinuxHint Vuejs 3 </title>
</head>
<body>
<div id="app">
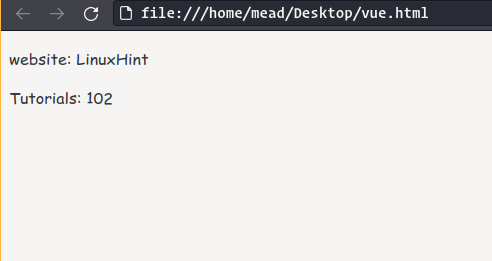
<p>website: {{ name }}</p>
<p>Tutorials: {{ tutorials }}</p>
</div>
<script src="https://unpkg.com/vue@next"></script>
<script>
const app = Vue.createApp({
data() {
return { name: "LinuxHint", tutorials: 100 }
},
methods:{
addTutorials(){
this.tutorials++;
},
plusTuto(){
this.addTutorials();
this.addTutorials();
}
}
}).mount('#app');
app.plusTuto();
</script>
</body>
</html>
In this case, the addTutorials method is defined, which increases the value of the tutorials property by one. In addition, a method is defined plusTuto() that calls the plusTuto() method two times; that is, it increases the value of the tutorials property by two. To access methods of an object within the object itself, as well as to access properties, use this.
this.tutorials++;
}
Also, using the name of the object, we can call its method in the JS code:
As a result, when the example is executed, the tutorials variable will increase by two:
Data Binding
Vue 3 allows you to declaratively set binding between web page elements and Vue object data. There are various forms of binding.
Interpolation
The simplest form of binding is interpolation; the value being bound is enclosed in double curly braces:
<head>
<title> LinuxHint Vuejs 3 </title>
</head>
<body>
<div id="app">
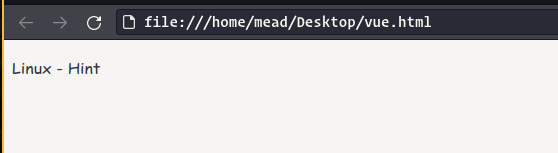
<p>{{firstName}} - {{lastName}}</p>
</div>
<script src="https://unpkg.com/vue@next"></script>
<script>
Vue.createApp({
data() {
return { firstName: "Linux", lastName: "Hint" }
}
</script>
</body>
</html>
When rendering expressions with brackets, {{}} will be replaced by the corresponding values:
However, any valid JavaScript expression can be used in the interpolation.
<head>
<title> LinuxHint Vuejs 3 </title>
</head>
<body>
<div id="app">
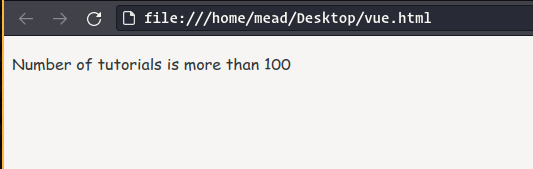
<p>{{tutorials > 100?'Number of tutorials is more than 100':'Number of tutorials is less than 100'}}</p>
</div>
<script src="https://unpkg.com/vue@next"></script>
<script>
Vue.createApp({
data() {
return { tutorials: 110 }
}
}).mount("#app");
</script>
</body>
</html>
The result will be like this:
v-text
To display simple values, as an alternative to interpolation, you can use the v-text attribute, which passes the value that needs to be displayed in the html element:
<head>
<title> LinuxHint Vue3</title>
</head>
<body>
<div id="app">
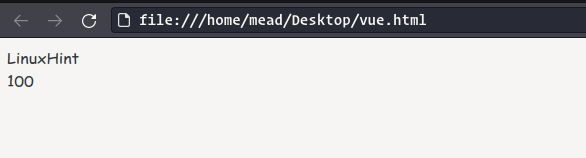
<div v-text="website"></div>
<div v-text="tutorials"></div>
</div>
<script src="https://unpkg.com/vue@next"></script>
<script>
const vueApp = Vue.createApp({
data() {
return { website: "LinuxHint", tutorials: 100 }
}
}).mount('#app');
</script>
</body>
</html>
The output:
Binding to Attributes
The v-bind directive is used to bind to the attributes of html elements:
<head>
<title>LinuxHint Vue3</title>
</head>
<body>
<div id="app">
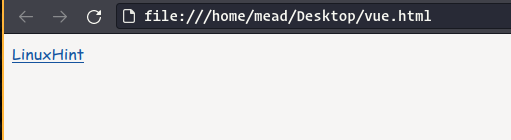
<a v-bind:href="link" v-bind:title="title">{{name}}</a>
</div>
<script src="https://unpkg.com/vue@next"></script>
<script>
Vue.createApp({
data() {
return { name: 'LinuxHint', title: 'linuxhint.com', link:'https://linuxhint.com'}
}
}).mount('#app');
</script>
</body>
</html>
To bind to an attribute, specify the attribute itself after v-bind with a colon, indicating the attribute to which the binding should be performed.
The result will be like this:
You can also use the shorthand form to bind attributes:
One Time Binding
By default, if the value of a property changes, then the visual interface elements update to reflect the updated value. But if you want the HTML element to display only the first value of the property before it changes when you change the value of a property, then the v-once directive is used:
<head>
<title>LinuxHint Vue3</title>
</head>
<body>
<div id="app">
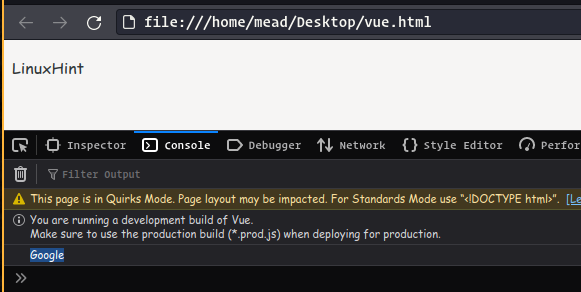
<p v-once>{{name}}</p>
</div>
<script src="https://unpkg.com/vue@next"></script>
<script>
const myApp = Vue.createApp({
data() {
return { name:'LinuxHint'}
}
}).mount('#app');
myApp.message = "Google";
console.log(myApp.message); // Google
</script>
</body>
</html>
In this case, despite the change in the value of the message property, the web page will display its old value, the string “LinuxHint.” This feature can be useful if we need to display the original value on the web page before all its changes.
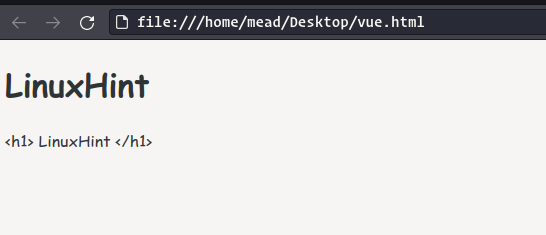
Binding to HTML
To bind an element to html code, use the v-html directive:
<head>
<title>LinuxHint Vue3</title>
</head>
<body>
<div id="app">
<div v-html="name"></div>
<div>{{name}}</div>
</div>
<script src="https://unpkg.com/vue@next"></script>
<script>
const vueApp = Vue.createApp({
data() {
return { name:'<h1> LinuxHint </h1>'}
}
}).mount('#app');
</script>
</body>
</html>
With the v-html directive, the value being bound will be treated as html code. At the same time, with simple interpolation, the html code will be interpreted as a regular string:
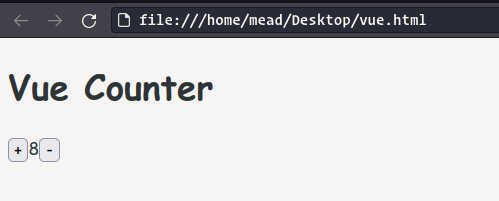
Event Handling
To handle user input and html element events, Vue 3 uses the v-on directive, followed by a colon to indicate the type of event to handle:
The event type is any standard event of the html elements on the web page. This directive is then passed, in quotation marks, as instructions to be executed if this event happens. For example:
<head>
<title>LinuxHint Vue3</title>
</head>
<body>
<div id="app">
<h1> Vue Counter </h1>
<button v-on:click="counter++"> + </button>
<span>{{ counter }}</span>
<button v-on:click="if(counter>0) counter--;">-</button>
</div>
<script src="https://unpkg.com/vue@next"></script>
<script>
const myApp = Vue.createApp({
data() {
return {counter:0}
}
}).mount('#app');
</script>
</body>
</html>
The output:
You can pass any valid JavaScript operation as an action to the directive v-on. In this case, since we have a property defined in Vue counter, we can manipulate the value of this property:
<span>{{counter}}</span>
<button v-on:click="if(counter>0) counter--;">-</button>
In fact, the directives v-on are passed a piece of JavaScript code, where properties from Vue are available as ordinary variables.
We can also use shorthand syntax to define event handlers:
<span>{{counter}}</span>
<button @click="if(counter>0) counter--;">-</button>
However, if event handling involves many more actions, then this approach is not optimal. And in this case, as a rule, all the operations that need to be called when generating an event are taken out in separate methods of the Vue object. For example, let’s rewrite the previous example as follows:
<head>
<title>LinuxHint Vue3</title>
</head>
<body>
<div id="app">
<h1> Vue Counter with separate methods </h1>
<button @click="addOne">+</button>
<span>{{counter}}</span>
<button @click="minesOne">-</button>
</div>
<script src="https://unpkg.com/vue@next"></script>
<script>
const myApp = Vue.createApp({
data() {
return {counter:0}
},
methods:{
addOne(){
this.counter++;
},
minesOne(){
if(this.counter>0) this.counter--;
}
}
}).mount('#app');
When one button is pressed, the addOne method is triggered, which increases the value of the counter variable by 1. When you click on the second button, the minesOne method is called, which reduces this value by 1.
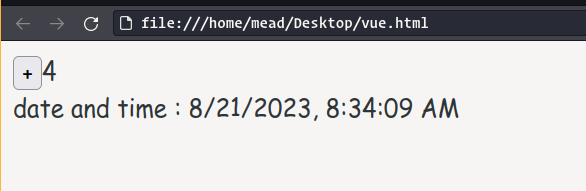
Multiple Event Handling
In the examples above, the button click event was associated with one handler, in this case, the addOne or minesOne method. But you can also attach multiple handlers to an event at once:
<head>
<title>LinuxHint Vue3</title>
</head>
<body>
<div id="app">
<button v-on:click="addOne(), getTime()">+</button>
<span>{{ counter }}</span>
<div> {{ showTime }} </div>
</div>
<script src="https://unpkg.com/vue@next"></script>
<script>
const myApp = Vue.createApp({
data() {
return {counter:0 , showTime: ''}
},
methods:{
addOne(){
this.counter = this.counter + 1;
},
getTime(){
this.showTime = "date and time : " + new Date().toLocaleString();
}
}
}).mount('#app');
In this case, two handlers, addOne and getTime, are attached to the click event. When the button is pressed, both methods work simultaneously. The getTime method uses the expression new Date().toLocaleString() to get the current time (actually the time the button was pressed) and changes the showTime property that is displayed on the web page.
The v-model Directive
Previously, we discussed examples of one-way binding using interpolation. In addition, Vue 3 supports two-way binding achieved through the v-model directive. However, it’s worth noting that this directive can only be applied to HTML <input>, <select>, <textarea>, and Vue components.
Let’s look at a simple example:
<head>
<title>LinuxHint Vue3</title>
</head>
<body>
<div id="app">
<p>Enter Your Name:
<input type="text" v-model="name" placeholder="website name" />
</p>
<p>name: {{ name }}</p>
</div>
<script src="https://unpkg.com/vue@next"></script>
<script>
const myApp = Vue.createApp({
data() {
return {name: 'LinuxHint'}
}
}).mount('#app');
</script>
</body>
</html>
Here, a text field is defined on the page input, which is bound to the name property of the Vue object using a directive v-model. In this case, we do not need to add an input event handler to the text field and manually change the value of the name property in this handler; it will change automatically when the text in the text field changes. That is, a two-way binding will work.
On one hand, the text field receives a value from the Vue object, and on the other hand, the Vue object, based on the value entered in the text field, changes its property.
Conclusion
Vue is a powerful and beginner-friendly Javascript framework with a straightforward and understandable syntax. In this tutorial, we provided an introduction to this remarkable framework and covered some of the basics.
Source: linuxhint.com