CSS Remove Scrollbar
Example 01:
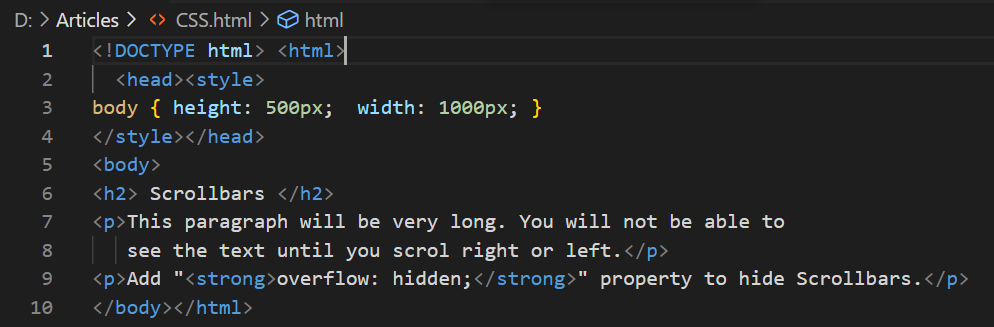
Let’s take at HTML to create an automatic scrollbar in the webpage. For this, you don’t need to add many properties or tags other than normal usual tags for paragraphs and headings. We have been starting this example with the creation of a new HTML file named “CSS”. By opening this file in the Visual Studio code, we have started adding an HTML script to it. The very first tag we have added within it is the “html” main tag followed by the “head” and “body” tag.
When we look at the body of this HTML page, it has one heading of the second largest size (i.e., h2), and two paragraphs via the “p” tags. The first paragraph tag contains a long text type data moving to the next line while the second paragraph contains a simple one-line data. The second paragraph also contains a simple “strong” tag within it to make two words bold. Within the “style” tag of “head”, we have been setting the value for the height and width of a whole “body” of an HTML page: 500px, and 1000px respectively.
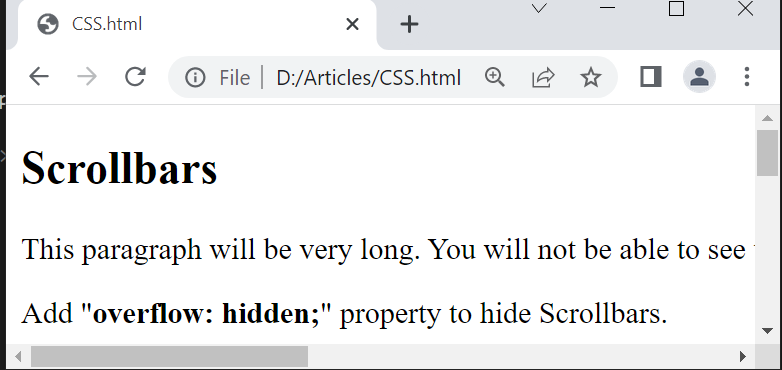
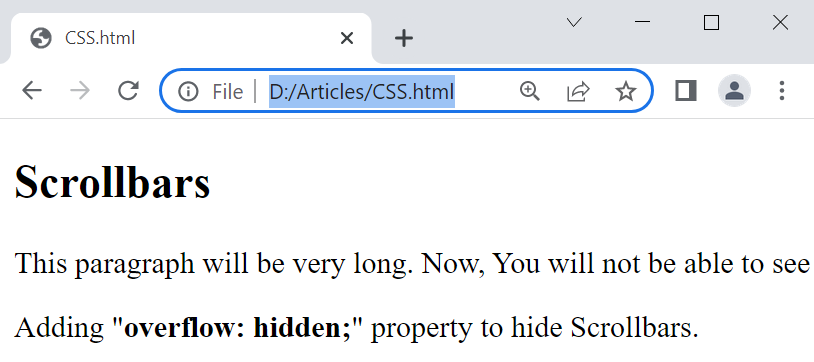
Save the just added HTML script with Ctrl+S, tap on the “Run” menu from the Visual Studio taskbar, and click on the “Run without debugging”. It would be asking for the tool in which our code will be executed. Select the “Chrome” browser and you are good to go. The output below has been showing that the heading and its two paragraphs have been displayed. Due to very long text data in the first paragraph and small window usage in Chrome, we have got the automatic scrollbar generated at the right and bottom of the browser. This is because, any browser has embedded scrollbars that would be generated upon the use of a large amount of data.
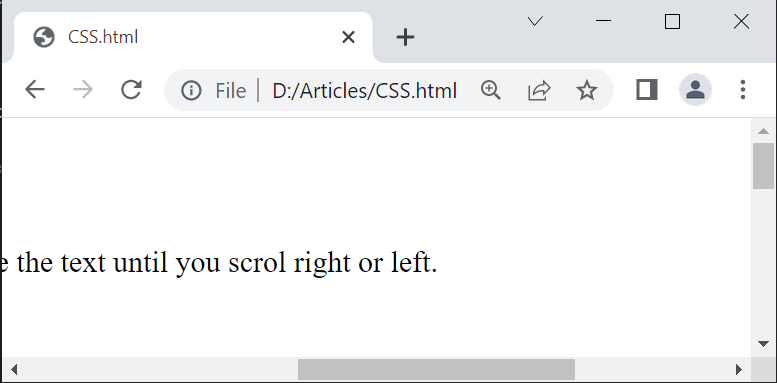
Now, to see the remaining line on the webpage, scroll right using the scrollbar as shown.
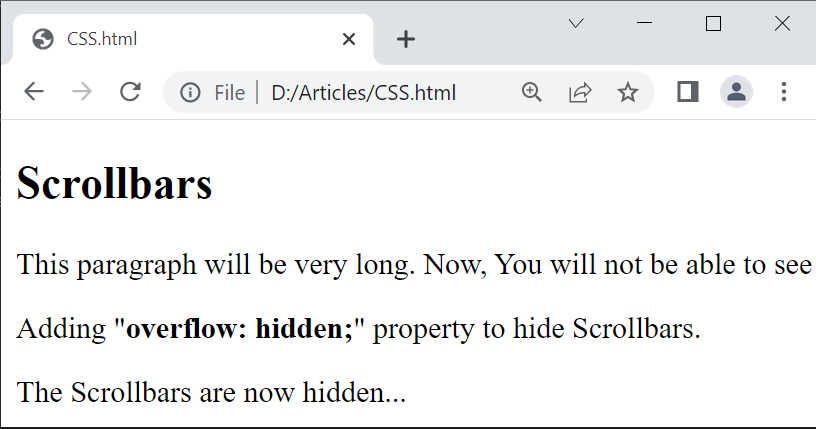
Let’s try to remove the scrollbar from the webpage. We will be using the overflow property set to “hidden” within the style tag for the “body” of a webpage. It will not let the browser generate automatic scrollbars even if we add a large amount of data to the webpage. Let’s save and run it.
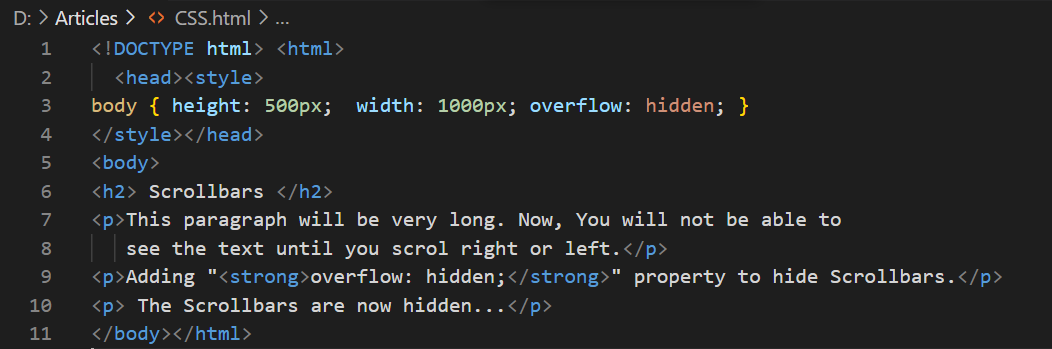
After executing it in the chrome browser, we have the output as we expected. Even though the first paragraph contains the long text data, the browser hasn’t generated the scrollbars to see the remaining hidden line. The third paragraph is also hidden in this size browser window.
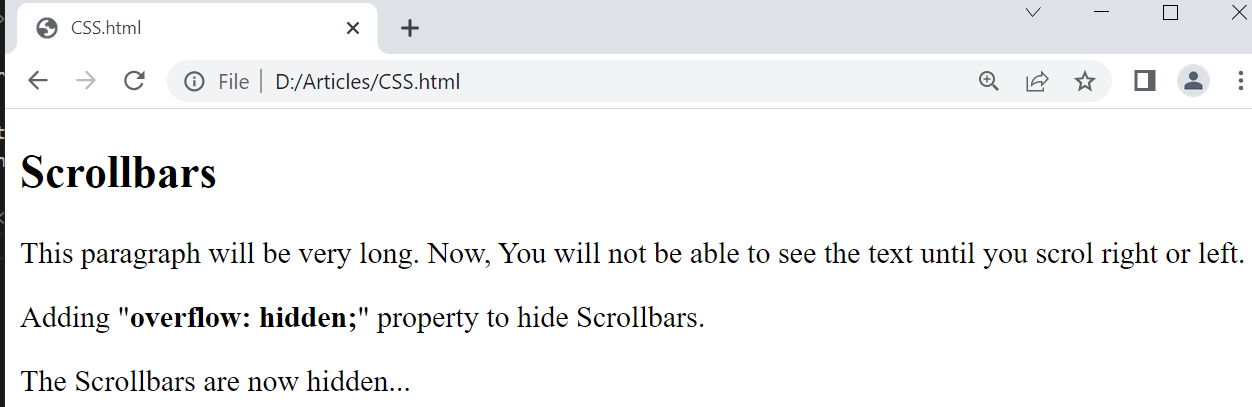
By changing the size of the chrome browser using the mouse pointer, the third paragraph has been displayed now as shown below.
When we enlarge the browser window from its right side, the rest of the hidden line will be displayed without the use of any scrollbars.
Example 2:
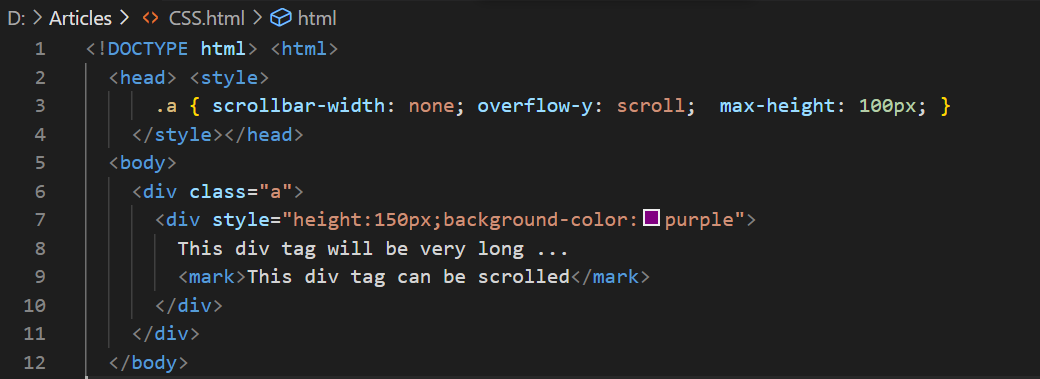
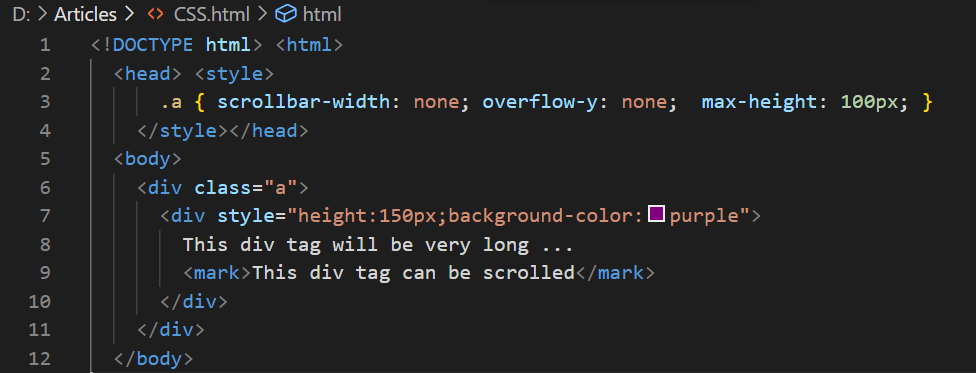
Let’s create another brief example to see how we can create more than 1 scrollbar for different divided sections of an HTML page. Also, we will see how we can remove one of those scrollbars as well. Starting with the html tag, we have added two “div” tags within the “body” main tag. The first “div” tag has been specified with the class “a” for differentiation at the styling level. The second “div” tag has not been using the “class” because we have been using the in-line styling for this particular tag. We are using the specific height of 10px and background-color property to color the section “purple”. This “div” section contains two lines. One of those is marked with the “mark” tag. The “mark” tag is used to highlight the text specified within it to yellow color and make it prominent within the webpage. We have added the marked line as this tag will be using the scrollbar. Both the “div” tags have been ended here after the “mark” tag. The body tag has also been closed here.
Let’s have a glance at the style tag used within the head tag of this HTML script. We have been using the class “a” object to style the outer “div” section. We are setting the width of the scrollbar to “none” for the outer “div” section using the scrollbar-width property and overflow in the vertical direction has been enabled by setting the “scroll” value for property “overflow-y”. Along with that, we have been setting the maximum height of an outer “div” section to 100px using the max-height property for the class “a”. The style and the head tag have been completed here and we have saved our code for testing the output in the Chrome browser via Visual Studio Code.
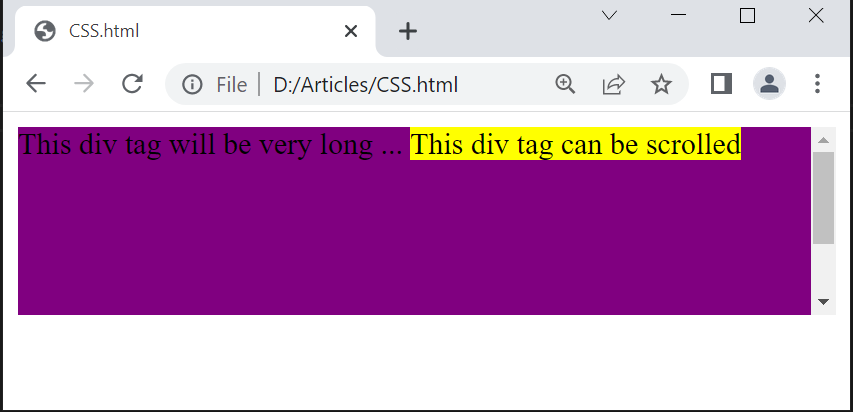
The webpage display for this HTML script would look-like similar to as shown in the below image. The scrollbar for the second “div” section of purple color having 10px height has been generated within the other “div” section due to its height, 150px. The text used within it is also highlighted with the use of the “mark” tag. On the other hand, the outer “div” section has no visible scrollbar generated at this window size. It’s because we set the value for the “scrollbar-width” property of outer “div” to “none”.
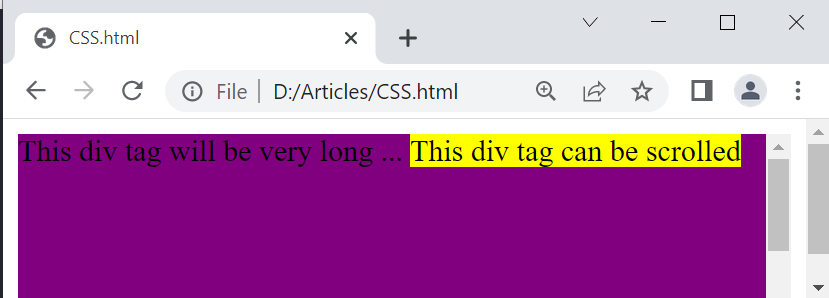
You can make the scrollbar visible by changing the size of a window too small as shown. Only the vertical scrollbar would be generated as we have used an overflow-y set to “scroll”. Even if you shorten the window from the right side, the horizontal scrollbar would never be generated.
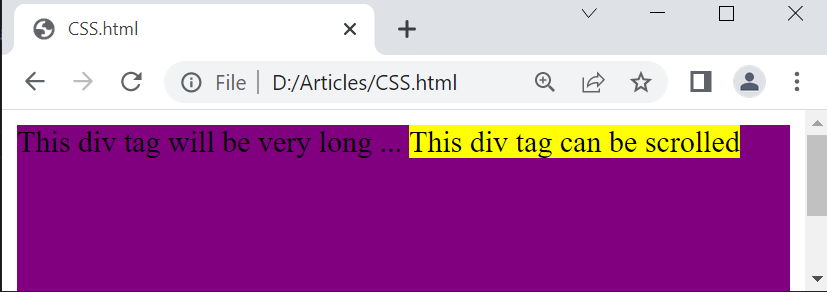
Let’s try to remove the automatic vertical scrollbar from the webpage as well. For this, we will be trying the same HTML code by updating the value of its property “overflow-y”. We have been setting it to “none” so that no vertical bar for the outer “div” section would be generated.
Without updating any other thing within this script, we have executed it and got the shown-below output. Now, even if we change the size of a Chrome window to much smaller from left-right or top-bottom, it won’t generate any vertical or horizontal scrollbar for the outer “div”.
Conclusion:
Today’s article is a collection of some HTML examples to illustrate how browsers generate automatic scrollbars and how you can remove them from the browser. Within the first example, we have tried the paragraph tags to add a large amount of data to automatically generate scrollbars and used the overflow property to hide those scrollbars. Along with that, we have tried to specifically remove the one-directional scrollbars from the webpage using the “overflow-y” property of HTML pages. The use of the “div” sections was quite a help throughout.
Source: linuxhint.com