What Would I Use Git-worktree for?
In this write-up, we will illustrate how to use Git worktree.
How to Use Git Worktree?
By using Git worktree, Git users can easily switch to another directory, such as the feature directory. After completing the work, you can move back to the main directory.
To use the Git worktree, the user only needs to add a new worktree. For this purpose, we have provided a procedure that is mentioned below.
Step 1: Launch Git Terminal
First, launch the “Git Bash” terminal from the Start menu:
Step 2: Open Git Repository
Next, move to the Git local repository as shown below:

Step 3: Check Git Status
Check out the Git status to see if there are any staging and unstaging files exist:

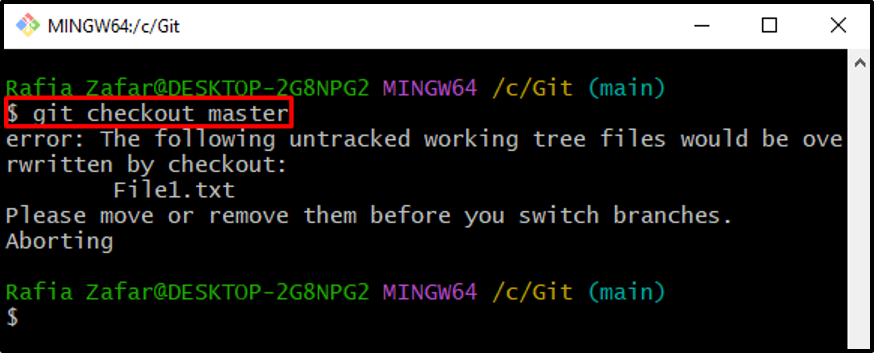
Step 4: Switch Git Branch
Try to switch the branch. For instance, we are trying to switch to the “master” branch:
To avoid the encountered error, it is required to add a new worktree through which we can easily switch to another branch without getting errors:
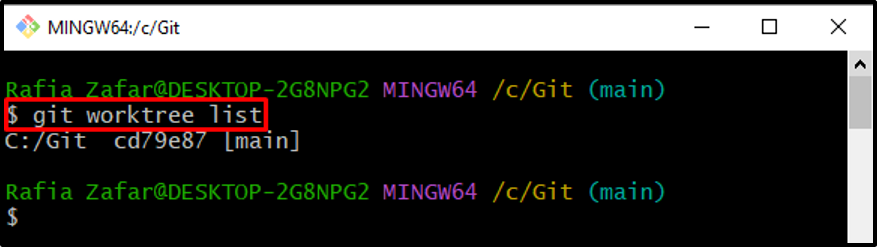
Step 5: List Down Git Working Trees
List down all current working trees using provided command:
Here, you can see there is only the main working tree is present:
Step 6: Add New Worktree
For switching to another branch easily, add a new worktree using the “git worktree add” command. Also, provide the branch name along with the path:

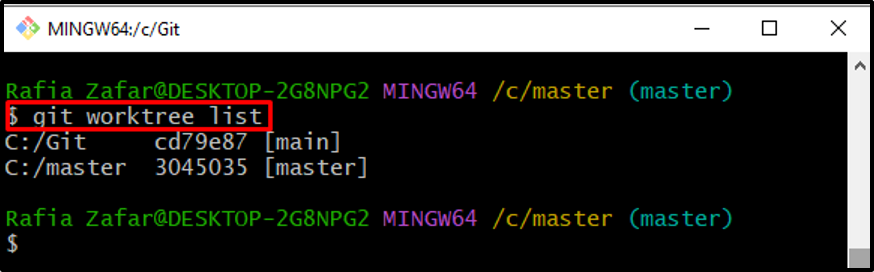
Now, again list down all working trees to verify whether the new worktree is created or not:
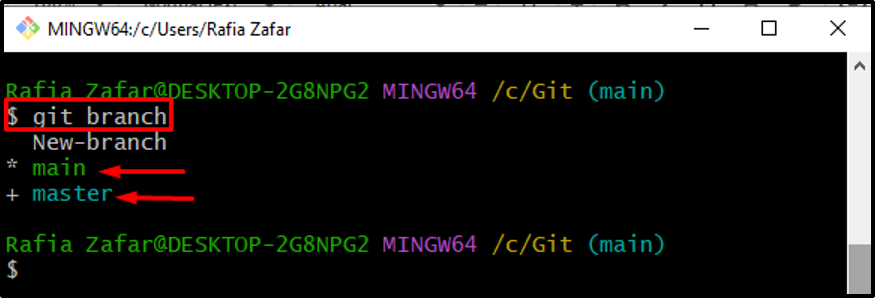
Alternatively, users can list down all branches and verify whether the worktree is added or not:
Here, the branch with the “*” symbol refers to the active branch, and the branch with the “+” symbol indicates the worktree:
Step 8: Move To WorkTree
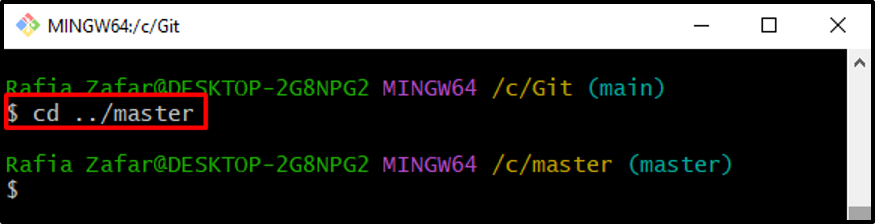
Switch to the newly added worktree or branch easily using the “cd” command:
Here, you can see we have not got any error message while switching the worktree:
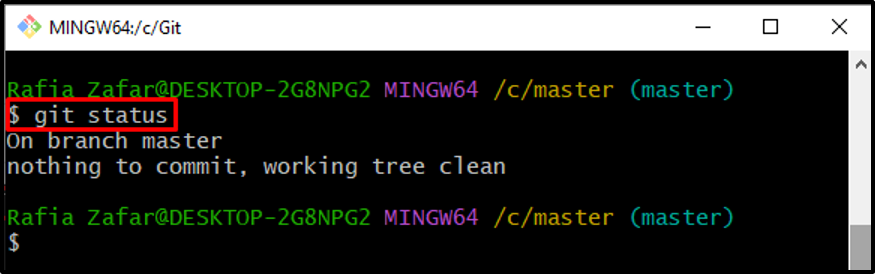
You can also add, commit the changes, and check the Git status in Git Worktree and easily switch back to the main working tree or branch:
How to Remove Worktree in Git?
Git users can easily remove the worktree if they do not need it anymore or revert changes using the “git worktree remove” command. To do so, follow the below-listed steps.
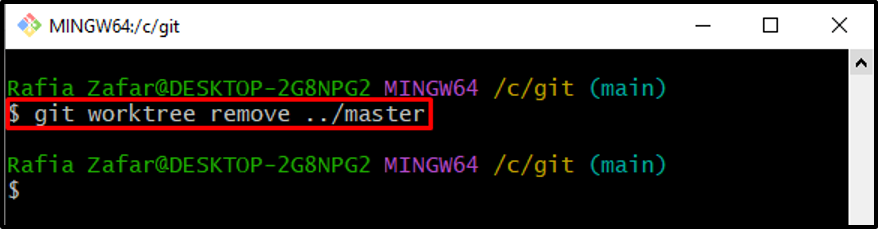
Step 1: Remove Worktree
Remove the worktree by utilizing the below-given command and provide the worktree path:
Step 2: Check the Worktree List
To verify whether the worktree is deleted or not, view the worktree list:
The below output indicates that we have successfully removed the Git worktree:

We have illustrated why and how to use Git worktree.
Conclusion
To use the Git working tree, Git users are required to add it first to their local Git repository. To do so, first, open the Git working repository and list down all worktree to verify if any worktree exists or not. Next, add the new worktree by utilizing the “$ git worktree add <branch path>” command and start using Git worktree. In order to remove the Git worktree, utilize the “$ git worktree remove <worktree path>” command. In this article, you have learned how to use Git worktree.
Source: linuxhint.com