What is a Tracking Branch?
Git is a tracking tool people use for development projects. They work on local repositories without the other team member’s interruption. After completing their task, developers push source code into the GitHub remote repository and update it with the latest version of the code. To do so, they need to build a connection between them for pushing code by setting a local branch as tracking a remote branch.
The outcomes from this write-up are:
What is a Tracking Branch?
A tracking branch is a Git branch that is used to build a connection between local and remote branches for pushing and pulling data. Git branches independently have nothing to do with each other. Therefore, developers need to build a connection between remote and local branches to push/pull source code files.
How to Set a Local Branch as a Tracking Branch?
To set a local branch as a tracking branch, check out the given instructions:
-
- Navigate to the Git working branch.
- Shows all existing remote URLs list.
- Create a new local branch and verify by viewing the branch list.
- Run the “$ git push -u <remote-name> <branch-name>” command.
Now, practically implement the above-discussed steps!
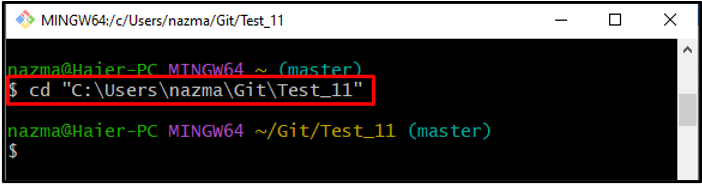
Step 1: Go to Git Working Directory
First up, move to the desired Git working directory through the provided command:
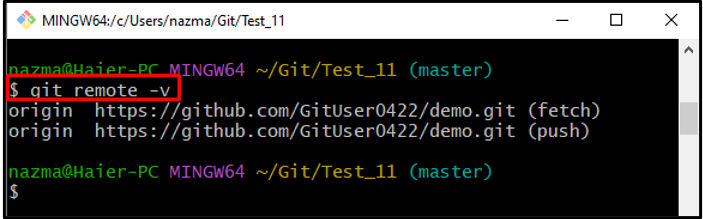
Step 2: Check Remote URL
Use the “git remote” command with the “-v” flag to check the list of remote URLs:
According to the below-listed output, the remote URL named “origin” exists, which indicates that the current directory is connected with the remote repository:
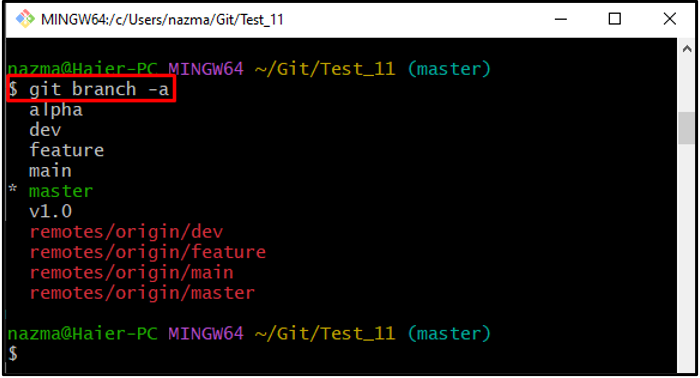
Step 3: Show List of Branches
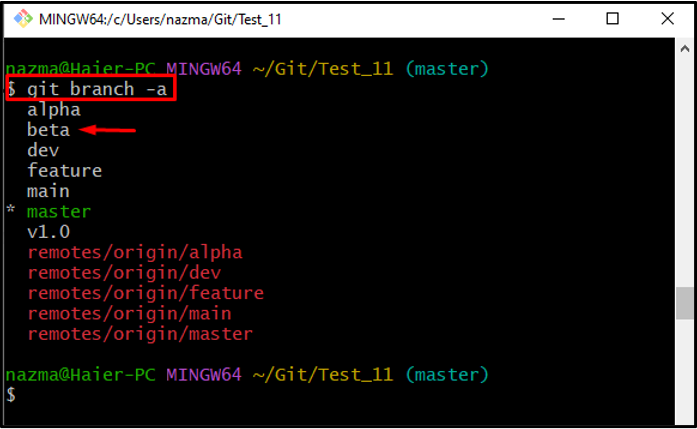
Now, execute the “git branch” command to view the list of existing branches with the “-a” option for all:
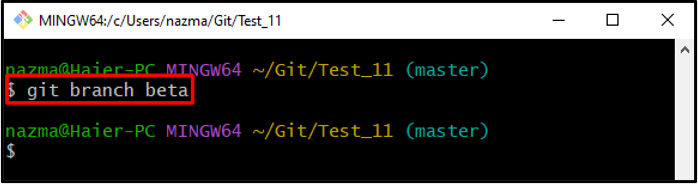
Step 4: Make New Branch
Next, create a new local branch by utilizing the below-given command with the new branch name:
Step 5: Verify Newly Created Branch
Verify if the new branch is created and exists in the list by running the provided command:
As you can see, the new branch “beta” is created successfully:
Step 6: Set Local Branch as Tracking Branch
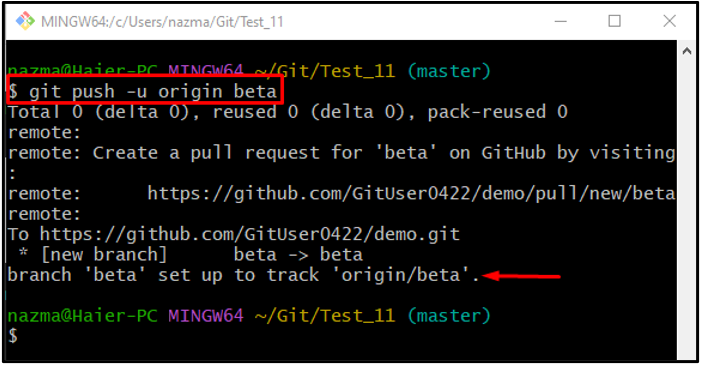
Finally, execute the “git push” command along with the “-u” flag to force Git to set the specified branch as a remote tracking branch for the first time:
It can be seen that the newly created local branch is now set up to track a remote branch:
That’s all! We have discussed the procedure for setting up a tracking branch.
Conclusion
A tracking branch is basically a Git branch that is used to build a connection between local and remote branches for pushing and pulling data. To set a local branch as a tracking branch, first, open up the Git terminal and go to the Git working branch and check the remote URL. Then, create a new local branch and view the branches list. Lastly, run the “$ git push -u <remote-name> <branch-name>” command. This write-up described the procedure for setting up a new tracking branch.
Source: linuxhint.com