What is a Git Remote? | Beginner Git Tutorial
When multiple people work on similar development projects, they collaborate and merge their modules using a GitHub code hosting service with other project members, which contain repositories, commits, and branches. Additionally, users can create new remote repositories, branches, tags, and commits. They can also push local branches, tags, files, and folders to the remote repository.
This manual will describe what Git remote is and how to create it.
What is Git Remote?
In Git, a remote repository is the main repository project teammates use to share and update each other about the changes. It is saved on a code hosting service called GitHub, like an internal server. A remote repository only contains “.git” versioning data, and it does not offer a file tree of the developing project’s recent state as an alternative.
How to Create Git Remote Repository?
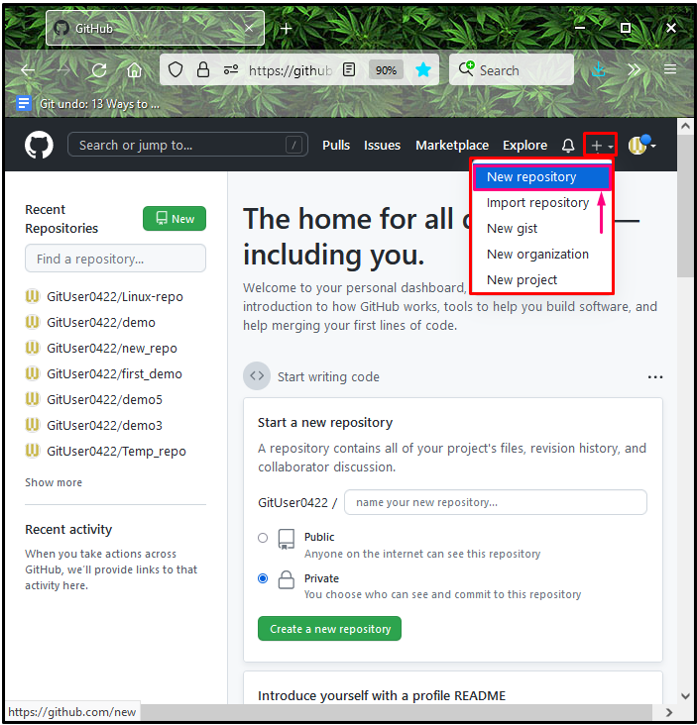
To create a Git remote repository, first open your GitHub account, click on the plus “+” icon, and hit the “New repository” option. After that, enter the name and mark it public, which means it will be accessible to everyone. In the end, click on the “Create repository” button.
Let’s move toward the implementation of the above-given scenario!
Step 1: Create Remote Repository
First, open up your GitHub account, click on the “+” plus icon, and select the “New repository” option from appeared drop-down menu:
Step 2: Specify Repository Name
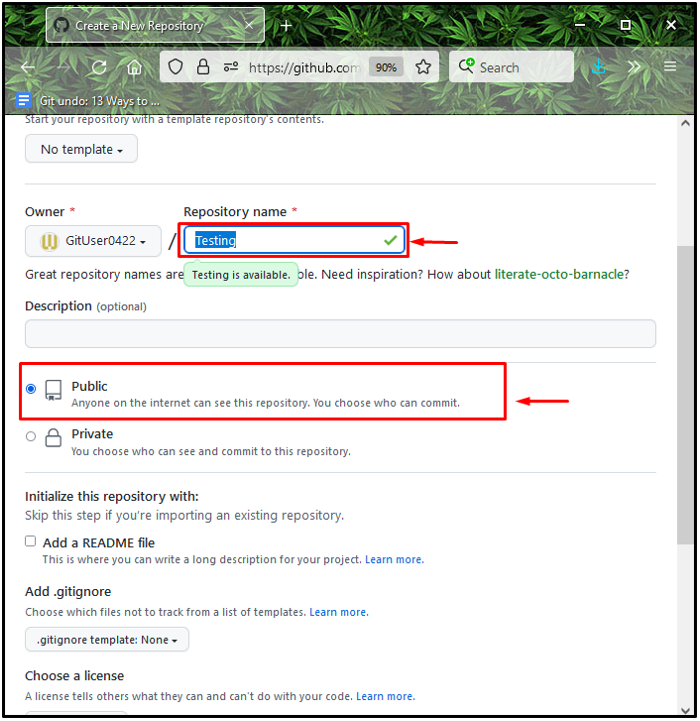
Next, specify the repository name in the required field, and mark it as “Public”, which means that it will be visible to everyone on GitHub. For instance, we have entered “Testing” as the repository name:
Step 3: Initialize Remote Repository
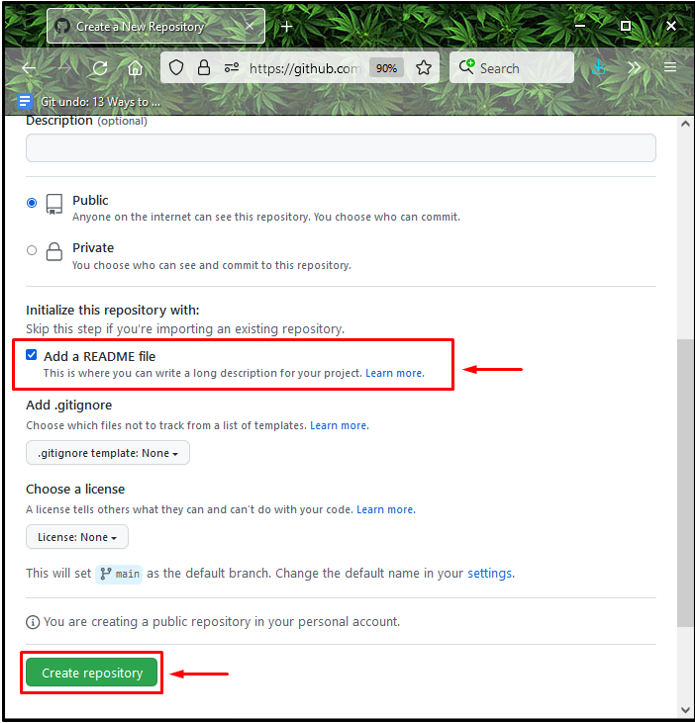
To initialize the remote repository, mark the “Add a README file” checkbox, and then press the “Create repository” button:
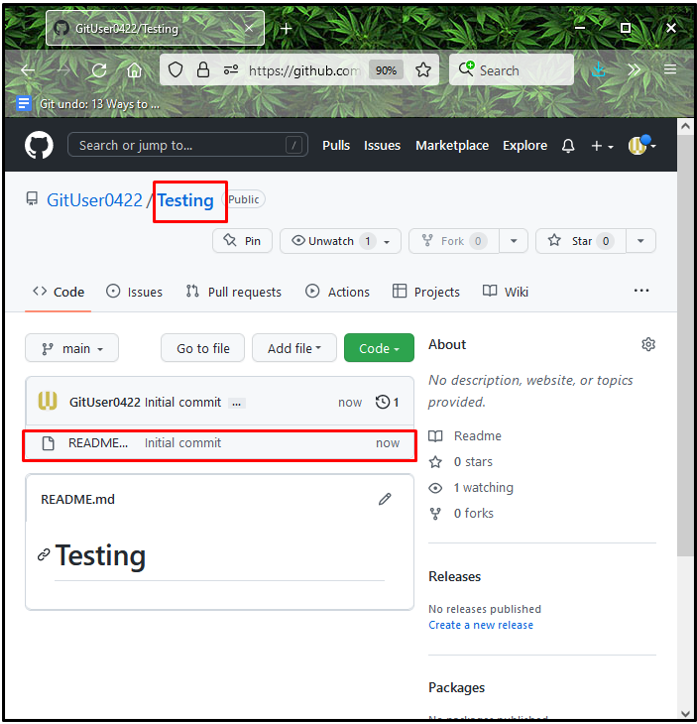
In the below-given image, you can see that the remote repository named “Testing” is created successfully:
That’s all! We have explained what a remote repository is and how to create it.
Conclusion
The remote repository is the common repository that project team members can utilize to share and update each other about the added changes in source code files. To create a Git remote repository, first, open up the GitHub account, click on the plus “+” icon, and select the “New repository” option. Then, specify the name and mark it public to enable its access for everyone on the internet. Lastly, click on the “Create repository” button. In this manual, we have demonstrated Git remote and how to create it.
Source: linuxhint.com