Tkinter Progress Bar
Let’s start with the configuration of a Tkinter library of Python. After the successful launch of the terminal, try the following query to configure the Tkinter package. Make sure to have Python already installed before using this instruction.

Example 1
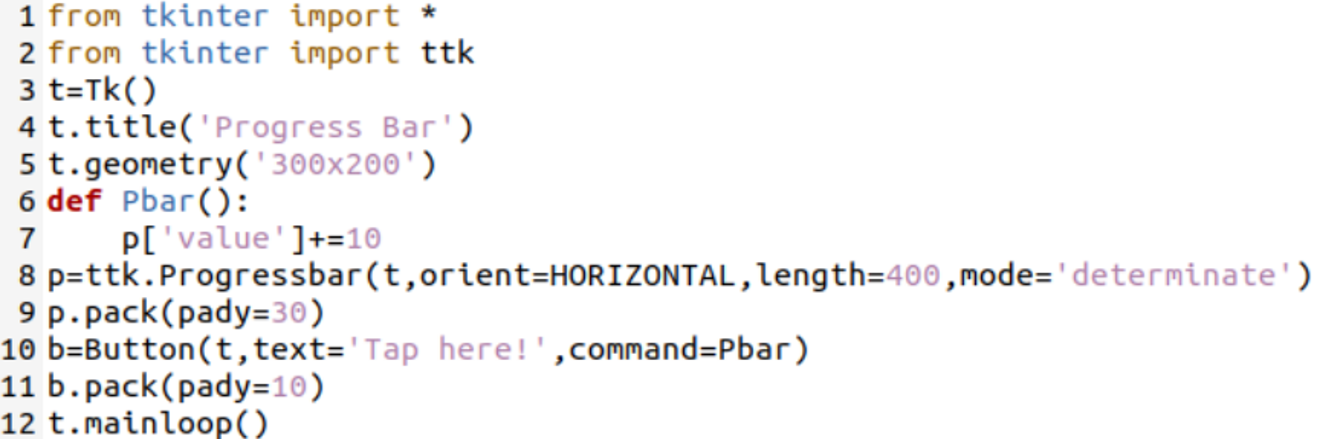
Let’s start with our first example of Python to use the Tkinter module to create a determinate progress bar at its GUI. Thus, we have created a new Python file named “new.py” and added the following code. We started this code by importing all child objects from the Tkinter library of Python at the first line. After that, we imported the “ttk” class object from the Tkinter module in the second line of code.
The Tk() class constructor has been called and saved its object in the “t” variable. The “title” function has been reached with the “t” object variable to create a title for the GUI. The size of a GUI Tkinter window has been set to “300×200” via the geometry() function. The progress bar would be generated by a “Pbar()” user-defined function. We will be taking a look at this function in the latter part of this article.
We have created a variable “p” at the 8th line of this Python code that has been using the Progressbar() function via the “ttk” class object to create a progress bar at the GUI screen. The object “t” has been passed to it while its orientation has been set to Horizontal, its length set to 400, and its mode is determinate, i.e., it will be moving in a particular direction only. The “y” axis padding has been set to 30 by the use of the “pack()” function for this progress bar.
After this, we have been creating a new button “b” by the use of the Button() function and passing it the object “t”, some text, and the command to be executed after clicking on the button, i.e., function called the “Pbar” function. The Pbar() function would be incrementing the value of progress bar “p” by ten and returning to the variable “b”. The “y” axis padding for the button has been set to “10” using the pack() function, and the mainloop() function is here to loop out the whole execution.
After completing a Python code, we saved it and executed it on the console via the “python3” query followed by the name of a file “new.py”:

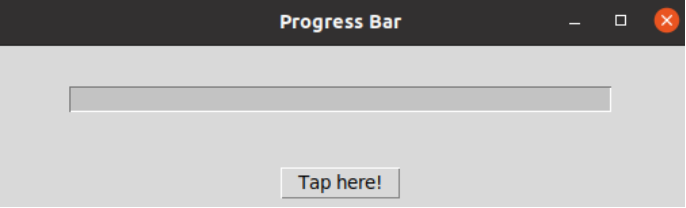
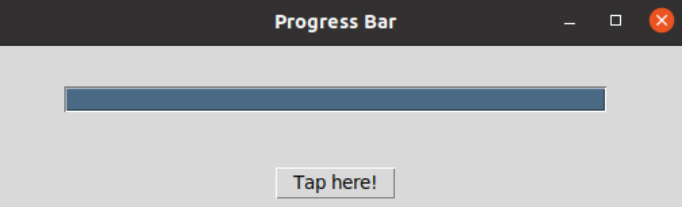
It has launched the Tkinter GUI of Python with the title “Progress Bar” on our console screen. In the following image, there is only a progress bar with no processing. You need to tap the button first.
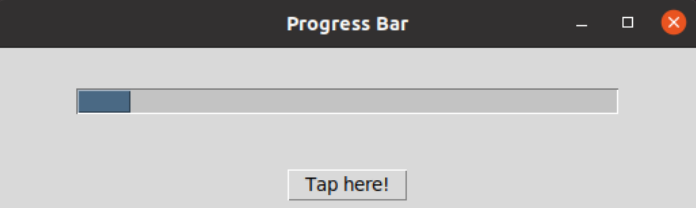
After tapping the button, “Tap here!”, the blue progress bar has been shown as follows:
After three consecutive clicks, we received the following progress with no movement:
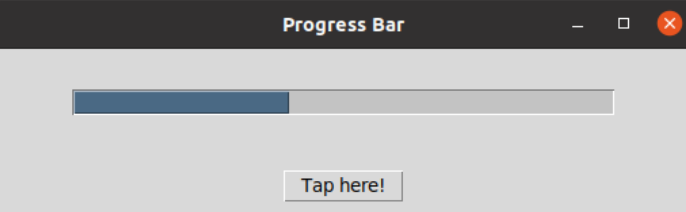
After reaching the end of the progress bar, we can’t move further, i.e., determinate progress bar.
Example 2
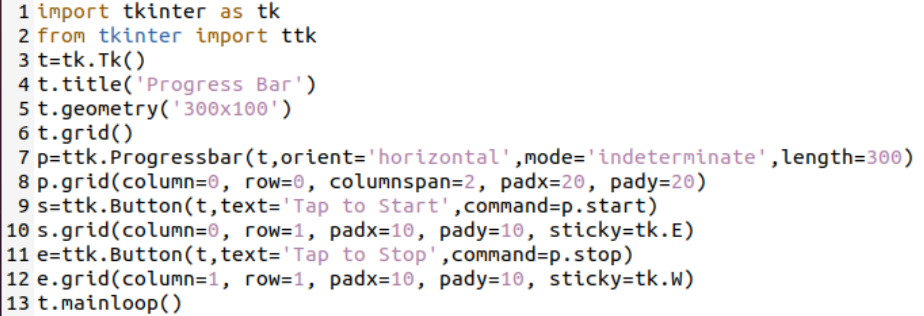
Let’s look at creating an indeterminate progress bar that can move backward and forward within the progress area using the Tkinter GUI Python module. So, we have started this Python code by importing the Tkinter module as”tk” and the ttk object from the “ttk” class. The tk object has been cast off to get the constructor “Tk()” result and saved to the variable “t”.
The “t” variable has been used with the title() function to add a title for GUI alongside the geometry() function to determine the size of a GUI window to be displayed. The grid() function has been called with the “t” variable to organize the GUI in a tabular format.
After that, we have been using the variable “p” to create a progress bar via the Progressbar() function of the ttk class object with the same “t” variable, horizontal orientation, 300 lengths, and the indeterminate mode. The progress bar has been organized in a tabular way via the “grid()” function that has been using the specific padding for the “x” and “y” axis. We have created two buttons, “s” and “e”, for starting the movement of the progress bar, ending it, and moving it back and forth.
The sticky parameter of the grid() function for both the buttons defines the direction, i.e., East and West. The commands, “start” and “stop”, has been set for both the buttons at the 9th and 11th line. With the execution of the mainloop() function, our program has been completed and ready for use after saving it.
The execution has taken place using a similar way.
![]()
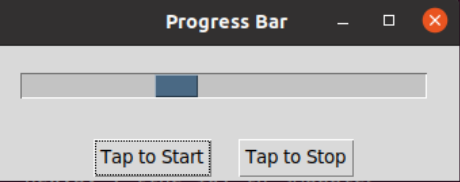
On GUI launched, the following screen has been presented:
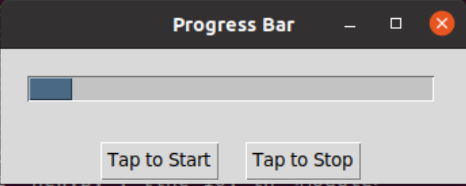
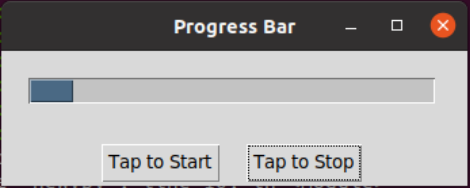
After pressing the “Tap to Start” button, the progress bar began to move forward.
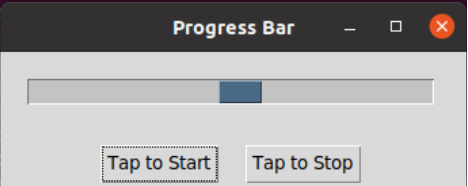
After reaching the end, it moves in the opposite direction, i.e., West.
Once done tapping the “Tap to Stop” button, the progress bar has been set at the initial position again.
Conclusion
This article showed the use of the progress bar in Tkinter GUI. We have simply utilized the objects of the Tkinter class to call different widgets to make the Python GUI more interactive. We have discussed using determinate and indeterminate progress bars in our examples. We hope you enjoy implementing these.
Source: linuxhint.com