SSH Key Setup for GitHub
To work on GitHub, we create the repositories where we can upload and synchronize our code. It is up to us whether we want to keep those repositories public or private since GitHub provides us with that option. To configure Git on our machine, we first have to make sure that we have a Linux terminal that has an installed Git command line on it. Second, and the most important, is having a GitHub account. First, we generate an SSH key on our local machine using the Git command. After that, we add that key to our account on the GitHub website. It enables the authentication for Git operations for SSH.
Setting Up the SSH Keys for GitHub
Setting up the SSH keys for GitHub is a quick and easy process that only involves a few straightforward steps. The SSH (Secure Shell) keys are a secure way to authenticate with a remote server, such as GitHub, without the need for a password. Instead of a password, a unique key pair is generated. One key is stored on the remote server while the other is stored on the local machine. When a connection is made, the two keys are compared. If they match, the user is granted with an access.
Verify if there are any existing SSH keys. It’s a good idea to see whether there are any existing SSH keys on your local machine before creating a new one. Enter the following command after opening a terminal window:
![]()
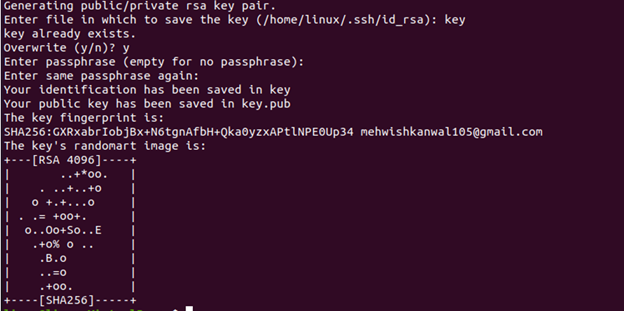
In our case, there is already another existing key. If there are any existing keys, they are listed in the terminal window. If there are no existing keys, the terminal window is empty. We generate a new key by executing the following command:
This command creates a new RSA key pair with a key size of 4096 bits and associate it with the provided email address. You will be prompted to either choose a file to save the key in or press Enter to use the default location. You will also be prompted to enter a passphrase which is optional but recommended for added security. In our case, we enter “empty” because we do not want to provide any passphrase. The passphrase is a security measure that is used to make your private key secure from a third party.
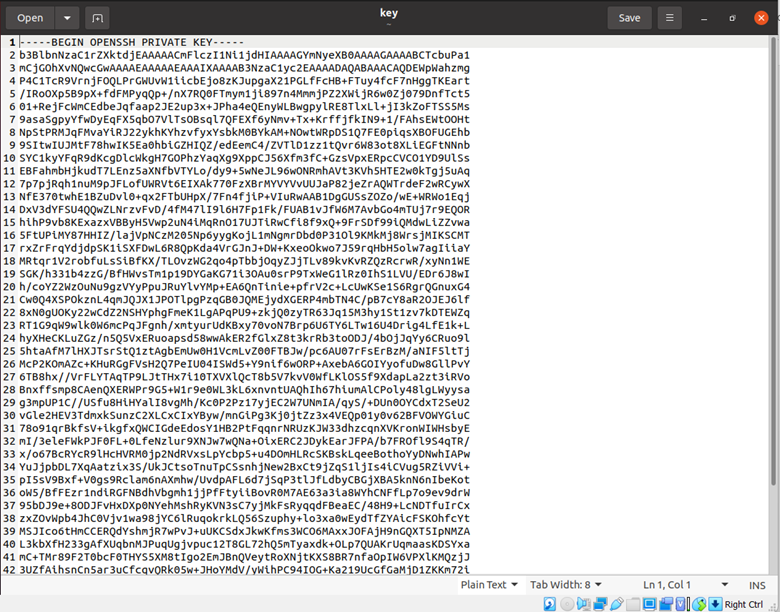
Now, to check whether the key is successfully saved in our home directory or not, we go to the home directory. As we can see in the following figure, there are two downloaded files in our directory which are are named “key” and “key.pub”:

After opening the file, we see the content in the file as shown in the following. It is the key that we use to set up the GitHub:
Now, we will try to add the new SSH key to the GitHub. To add the new SSH key to the GitHub, you need to copy it to your clipboard. The key can be copied to your clipboard using the following command:
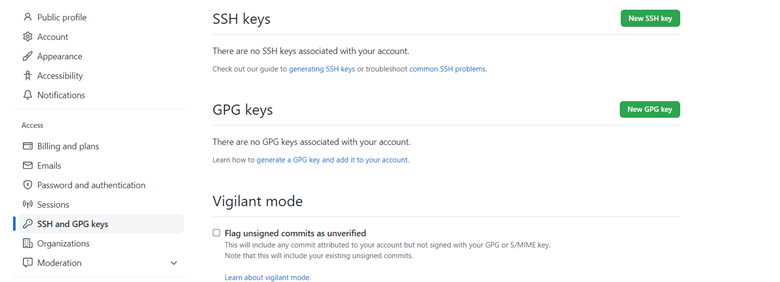
Or we can copy the content by pressing the “CTRL+A” where all of the content of the file are selected. Then, by simply pressing “ctrl+c”, we can copy the key from the file. Next, we simply log in to our GitHub account and navigate to the "Settings" page. On the left sidebar of the settings window, click on "SSH and GPG keys". The window navigates to the new screen as shown in the following snippet:
On the “SSH keys” tab, click on “New SSH key”. After that, the following screen opens which asks you to enter the title, type of the key, and the key:
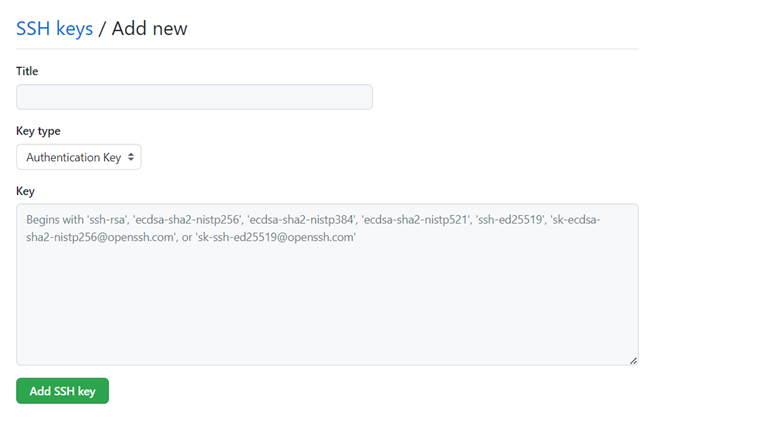
Give the key a title (for example: “my work”) and paste the key from your clipboard into the “Key” field. Click “Add SSH key” to save the key. Now, test the connection using the following command:
You should see a message that is similar to this: “Hi your_username! You’ve successfully authenticated it, but GitHub does not provide a shell access.” If you see this message, your SSH key is set up correctly and you can now use Git to interact with GitHub without the need for a password.
In addition to the previously listed precautions, it’s important to safeguard your SSH keys. This can be done by setting a passphrase when generating the key and by regularly rotating your keys. It is also a best practice to use a different key pair for each computer or device that you use to access the GitHub. A remote service like GitHub can be accessed securely and quickly using the SSH keys. By following the previously outlined steps, you can easily set up the SSH keys for your GitHub account and start using Git without the need for a password.
Conclusion
We studied how the SSH key is set up on GitHub. Before moving to that particular discussion, we briefly discussed about the SSH keys and GitHub because it is necessary to understand the concept of SSH keys. After that, we implemented an example to make it easy to understand the method of setting up the Github using the SSH key.
Source: linuxhint.com