Setting Language for Spell Check in MS Word
The spellchecker in Microsoft Word is a helpful tool for identifying errors in your document, even though it may never be as effective as a human proofreader. The spell check feature in Microsoft Word highlights or underlines errors in the text and prompts you to correct them, ensuring the correctness of your document. Understanding how to utilize this feature if you use MS Word for work is critical. Although the spelling and grammar-checking tool is often operated automatically, there are many ways to personalize it.
This tutorial will explain spell check and how to set the language for spell check in Microsoft Word.
What is MS Word’s Spell Checker?
Spell checking is a special feature in Microsoft Word that helps you check your work for grammatical and spelling errors. The software tool enables you to find and fix misspelled or incorrect words in a document. Additionally, it helps us search for a word in your text that you are sure you misspelled across your entire document.
When you enter text or write content in Microsoft Word documents, the spell check feature is set to check or verify your spelling automatically. Different types of errors in your text are marked by different colors of underlining in Microsoft Word: grammatical errors are highlighted in green, spelling errors in red, and contextual spelling errors in blue.
Let’s first look at how to activate or enable the automatic spell check if it is not activated or enabled before moving on to the method for changing the spell check language in Microsoft Word.
How to activate MS Word’s spell checker
As previously stated, the spell check tool is configured to check spelling automatically, but if it’s not activated, you can turn it on by following the instructions below. Follow these steps to enable spell checking in Word:
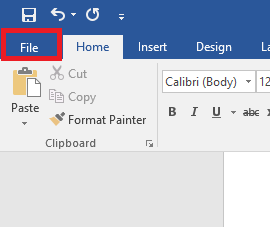
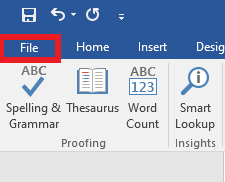
Step 1) Select the “File” tab after opening the Word app. This can be found in the ribbon tabs of Word in the upper left of your screen.
Step 2) Click on “Options”. The Word options window will appear or pop up on the screen.
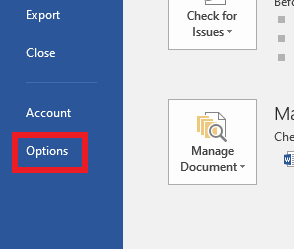
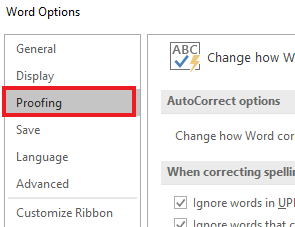
Step 3) Click the “Proofing” option from the side pane or menu of the window.
Step 4) Check the boxes for “Check spelling” and “Mark grammar errors” under the correcting spelling and grammar section.
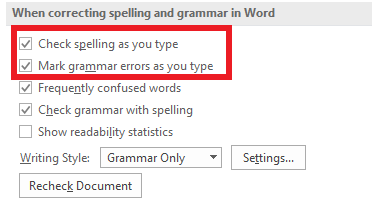
You can simply uncheck the “Check spelling” and “Mark grammar errors” boxes to turn off automatic spell checking.
Setting Language for Spell Check in MS Word
Microsoft Word’s spell check usually uses the language settings in your PC’s Control Panel, but it can also auto-detect the language based on your typing. You can also choose different language settings for specific documents or parts of text.
The most typical cause of incorrect language and grammar checking is opening a file or document created in a foreign or different tongue. You can also change the spell-checking language for selected text by copying and pasting text from another document.
Sometimes, a document may have some parts with spell-checking enabled and others disabled. Or, one paragraph may be spellchecked in Spanish while the rest of the document is spellchecked in US English. And, of course, sometimes the entire document is spellchecked in the wrong language.
Method 1: Using the Review Tab
You can set the language for spell checking in Word using these steps:
Step 1) Open a Microsoft Word document.
This can be any document, including a blank document. If you are already working on a document, then simply skip this step.
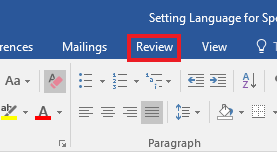
Step 2) Click the Review tab.
The Review tab contains all of the tools you need to check and correct your work, including spelling and grammar checks, translation tools, and commenting tools.
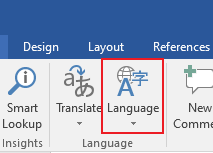
Step 3) Click the ‘Language’ button.
The Language button contains all the options you need to change the language settings for your document.
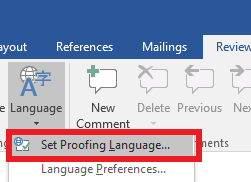
Step 4) Click Set Proofing Language.
By selecting this option, the Language dialog box will open, allowing you to choose the language for spell-checking.
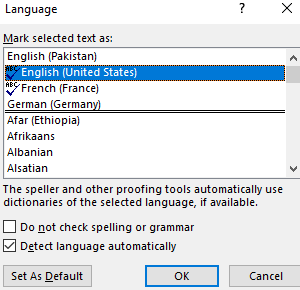
Step 5) Select the language
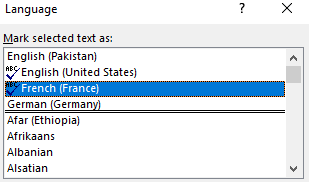
In the Language dialog box, there is an alphabetical list of languages in this window, and you can select any language for the spell checker. Select your desired language and click OK.
You can now write the document or project in your chosen language, and the words will not be underlined as misspelled.
You can also choose this language as the default for all future documents by selecting the “Set as Default” button.
Method 2: Using the MS Word’s Bottom Bar
The second method is even easier:
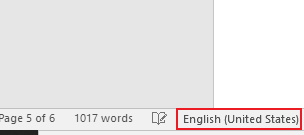
Step 1) On the Word page, click the language that can be seen in the lower left corner.
Step 2) From the pop-up menu, choose your preferred language.
Step 3) If you want to spell check in a language other than English, deselect the “Detect language automatically” checkbox.
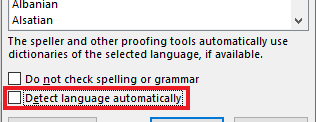
Step 4) Click OK.
Changing the Language for Proofreading in MS Word
The language for Spell Check can be changed by changing the editing language in the MS Word settings. Follow these steps to set the proofing languages in your Word app:
Step 1) Open Microsoft Word.
Step 2) Open or create a document.
Step 3) Navigate to the File tab.
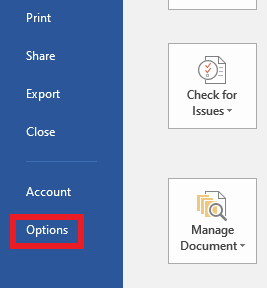
Step 4) In the file tab, select Options.
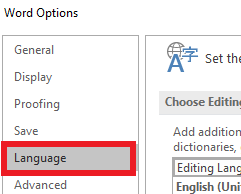
Step 5) Choose Language from the pop-up options box’s side menu.
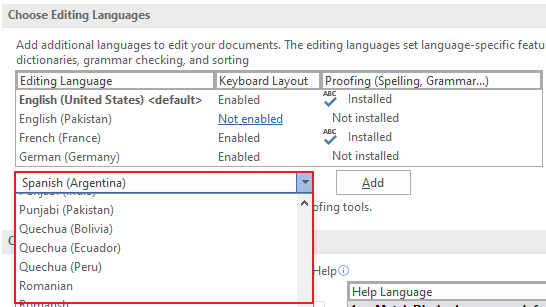
Step 6) In the “Choose Editing Languages” section, pick any language to check your content’s spelling and grammar.
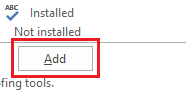
Step 7) Press the Add button.
Note: Repeat steps 6 and 7 if you work with several languages to enable proofreading support for more languages.
Step 8) Choose the recently added language and press the OK button.
Restarting Word after completing these procedures will make the modifications take effect.
Conclusion:
The spell checker in Microsoft Word is a helpful tool for anyone who writes and edits documents in the application. The spell-check feature makes your work easier and saves time by instantly underlining spelling and grammar mistakes. This article has explained how to enable automatic spell checking in Microsoft Word and how to set the language for Spell Check in MS Word.
Source: linuxhint.com