Set up Raspberry Pi Proxy Server using Privoxy
In this tutorial, you will learn how to set up a Privoxy server on your Raspberry Pi so that you can browse the web on your other devices without ads.
Raspberry Pi Proxy Server using Privoxy
Setting up Privoxy on Raspberry Pi is a straightforward process and you can do it easily using the following steps:
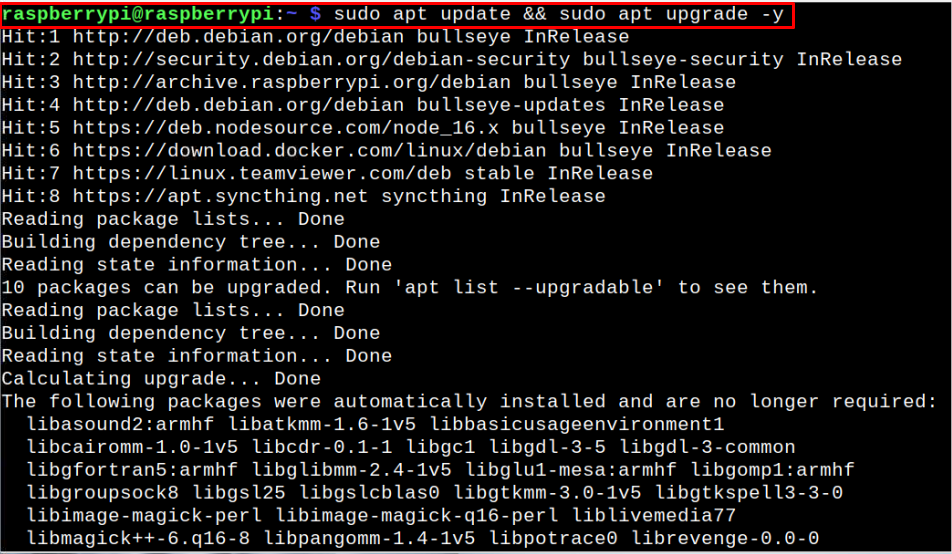
Step 1: Update Raspberry Pi Packages
At the beginning, you should ensure that your Raspberry Pi packages are up to date and if not, you have to execute the following command to successfully update them.
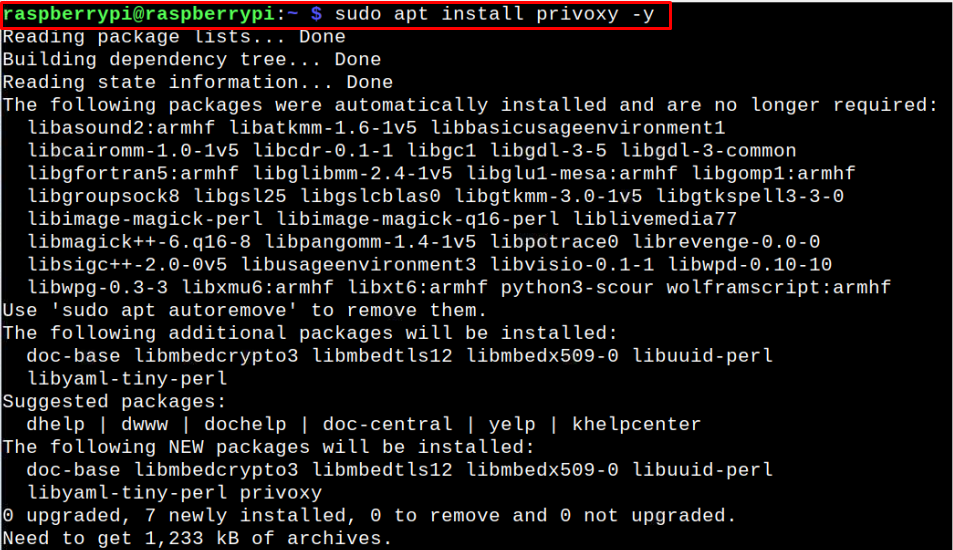
Step 2: Install Privoxy on Raspberry Pi
After ensuring the packages are up to date, you can now install Privoxy on your Raspberry Pi device through the following command:
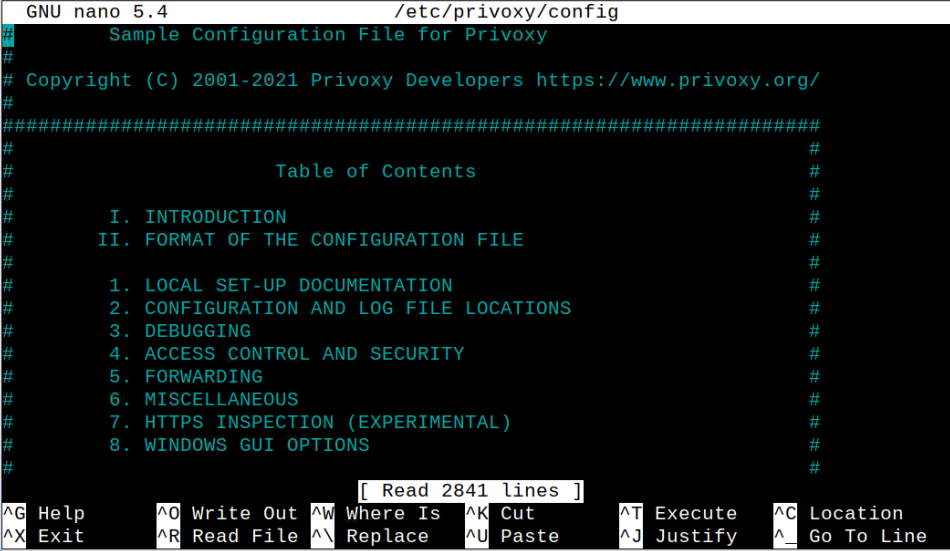
Step 3: Configure Privoxy on Raspberry Pi
Once your complete the Privoxy installation on your device, you have to do a change in its configuration file and for that you first need to open the configuration file through following command:
With the file open, you have to find the following lines using “CTRL+W” keys.
listen-address [::1]:8118
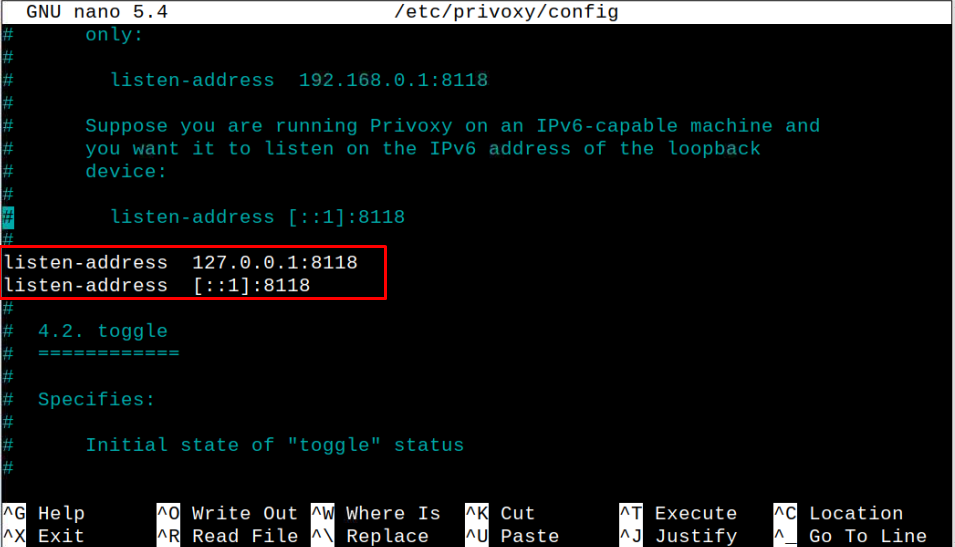
Replace the above lines with the following line so that it will allow the outside device to access your proxy server.
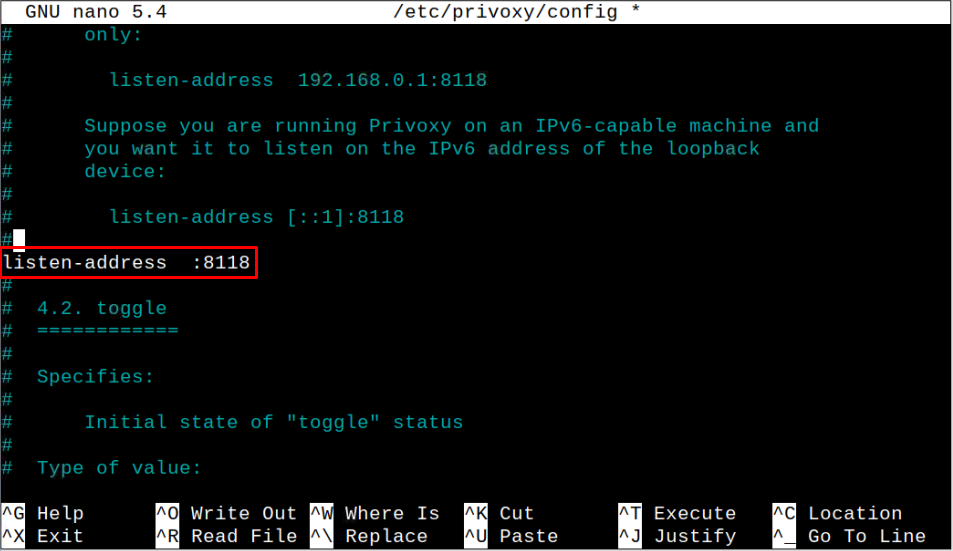
After applying the changes, save the file using the “CTRL+X” key with adding Y afterwards and press enter in the last to go back to the terminal.
Step 4: Restart Privoxy on Raspberry Pi
With the above changes successfully done, you will need to restart Privoxy server on your Raspberry Pi device using the following command:

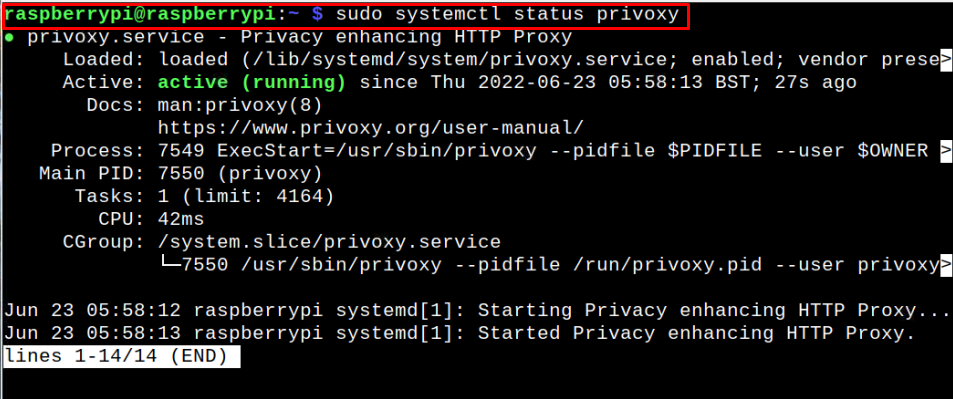
After the restart, ensure that Privoxy server is running on your device using the following command:
Using Privoxy Server on Windows OS
On Windows, you can use the Proxy server by doing the following steps:
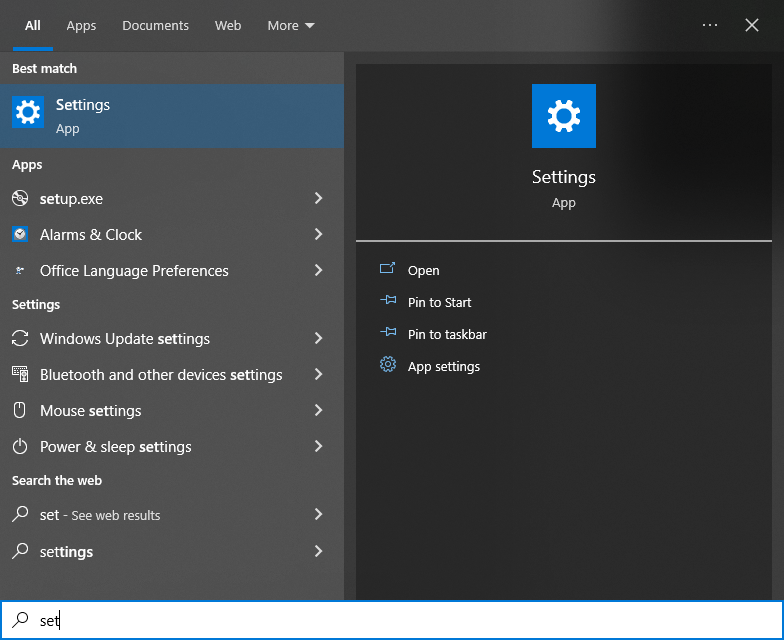
Step 1: Go to the system “Settings” option:
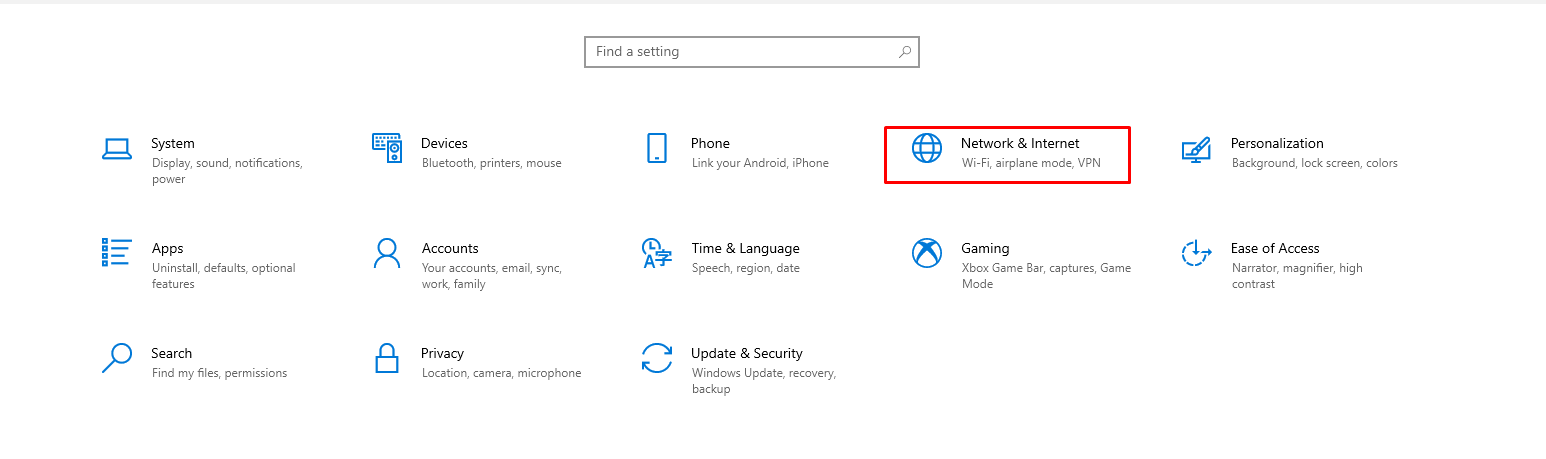
Step 2: There, click on the “Network and Internet” option:
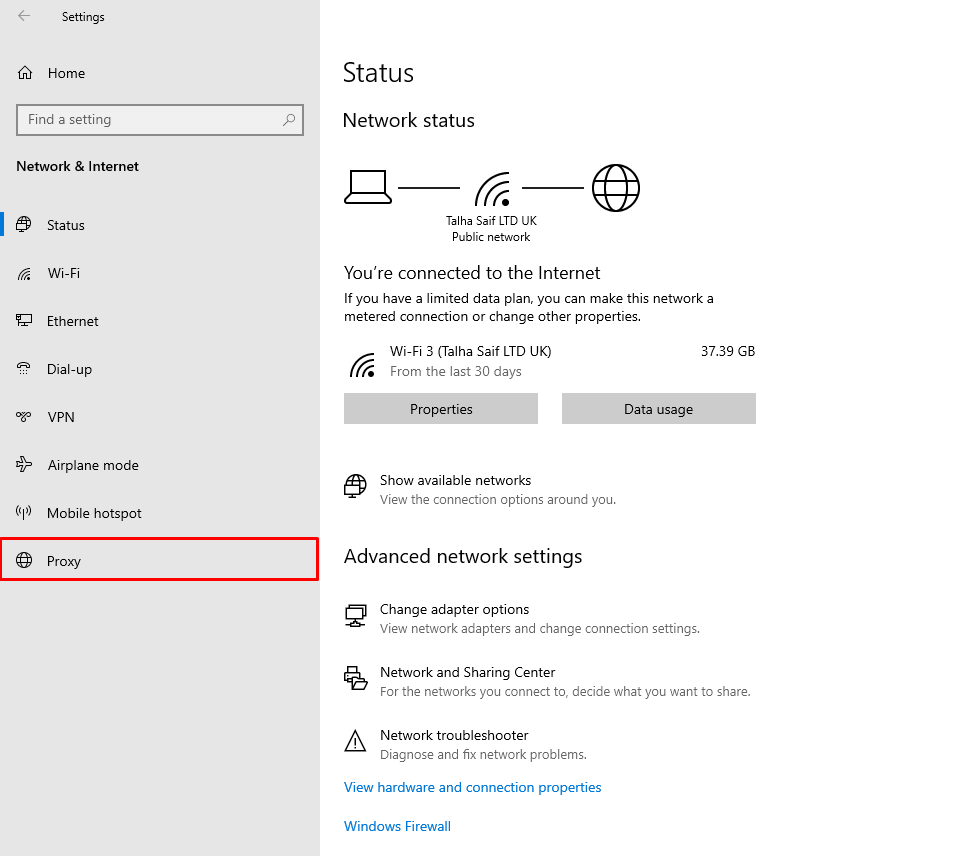
Step 3: Click on the “Proxy” option:
Step 4: Enable the “Use a proxy server” option and in the address, use your Raspberry Pi IP address and port number as “8118”:
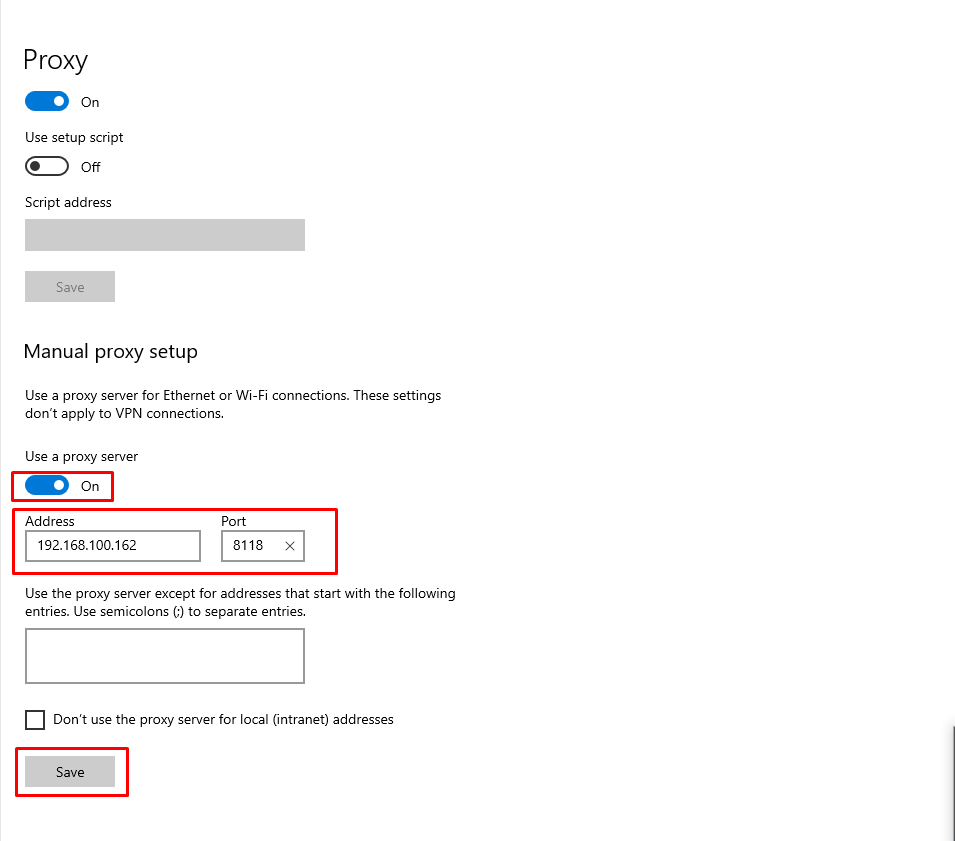
You can find your Raspberry Pi IP address through the following command:

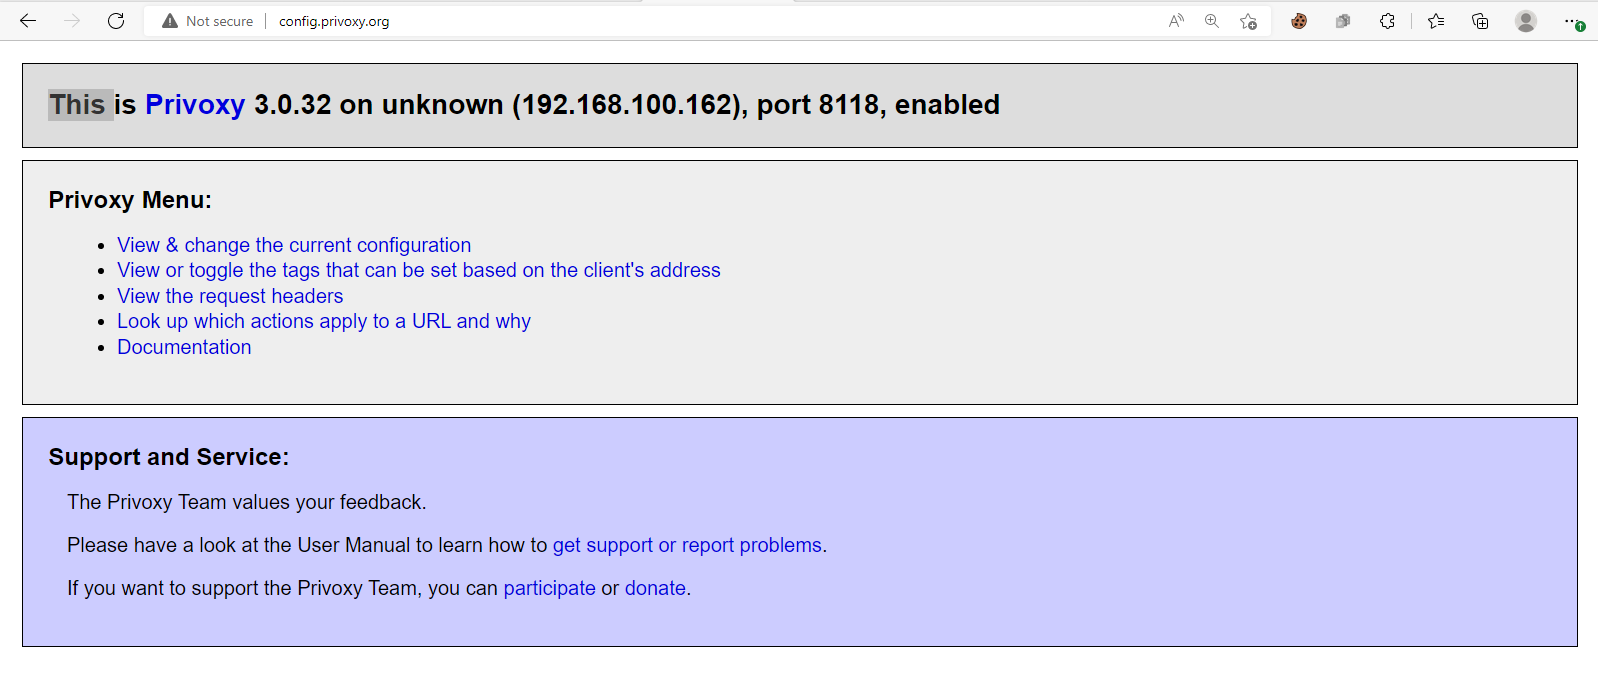
Step 5: Now, go to your browser and enter the address http://config.privoxy.org/ to ensure that Privoxy server is successfully enabled on your Raspberry Pi device:
After that, you can browse a webpage and enjoy an ads-free browsing experience on your system. The below images are provided before and after applying Privoxy on Raspberry Pi.
Using Privoxy Server on macOS
For macOS users, they can set up Privoxy server using the following steps:
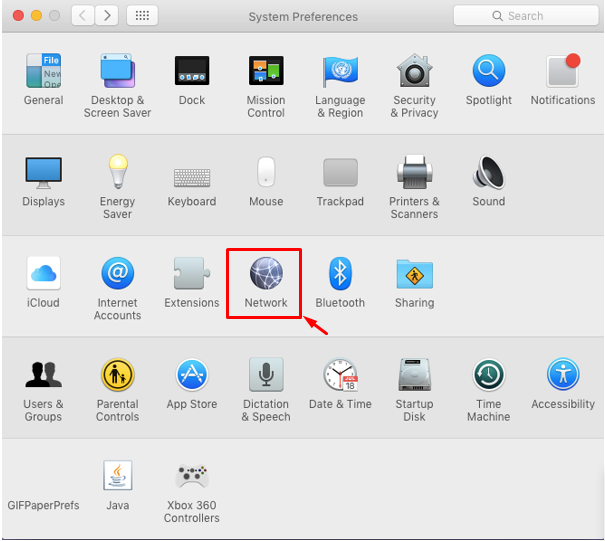
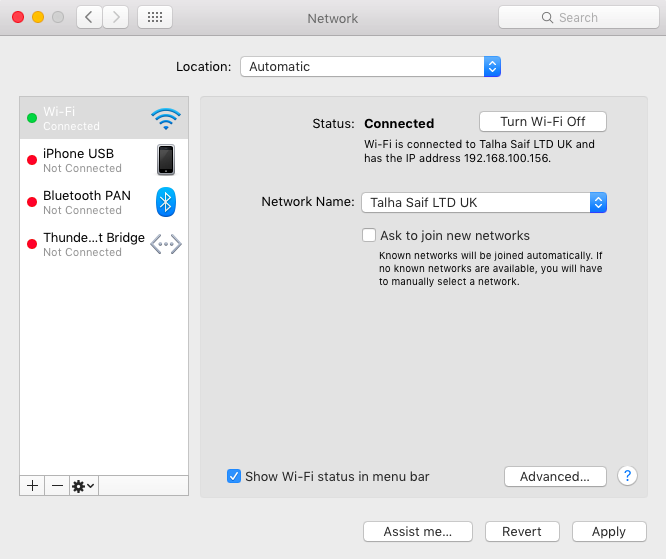
Step 1: Go to the “Network” option in the “System Preferences”:
Step 2: Navigate to the “Proxies” section, select “Web Proxy” and provide your Raspberry Pi IP address with port number:
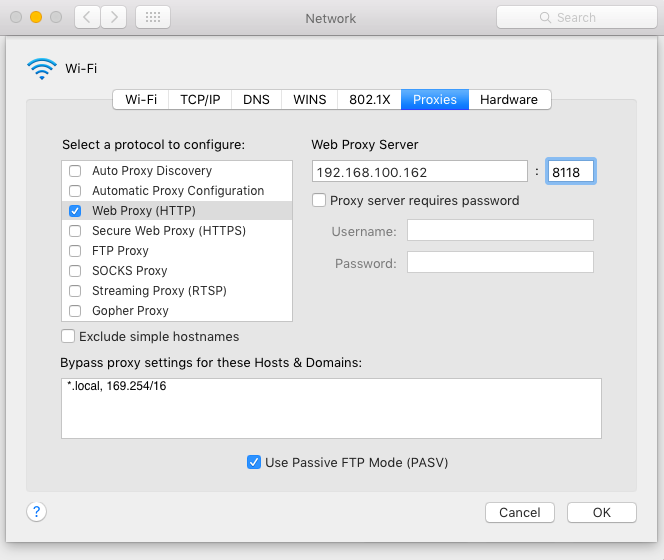
Step 3: Click on the “Apply” option to make the changes and afterwards you can surf the Internet without ads on your macOS.
Conclusion
Privoxy is an excellent proxy tool for users for browsing the internet without any ads. You can easily convert your Raspberry Pi into a proxy server using the Privoxy tool and the above-given instructions are vital in helping you set things up on your device. After successfully converting your Raspberry Pi into a Proxy server, you can browse the internet on your Windows or macOS systems using the device’s IP address without any ads.
Source: linuxhint.com