Set Up a Jenkins Build Server – AWS
This guide contains the following sections:
How to Install and Set up Jenkins on AWS EC2?
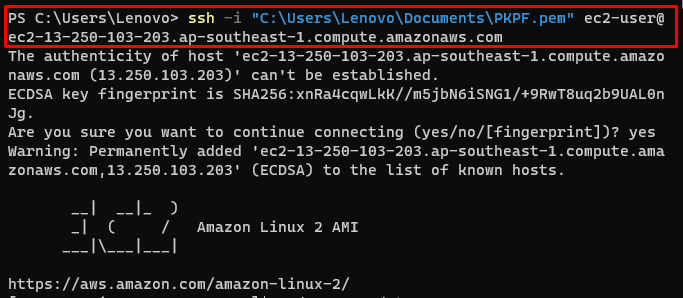
To set up a Jenkins Build Server, create and connect to the EC2 instance. To look at the creation and connection process, click here:
Update the yum packages:
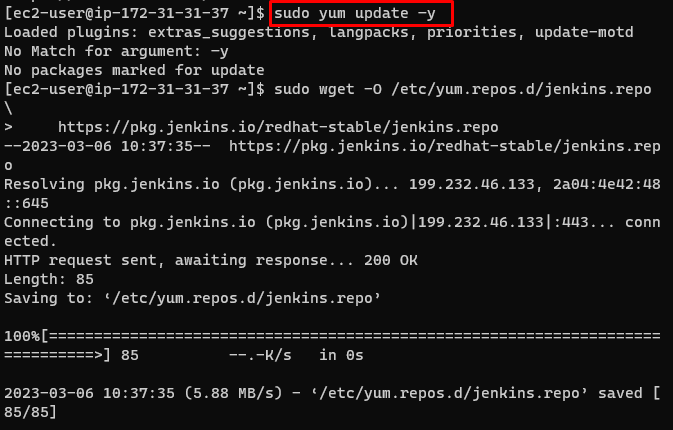
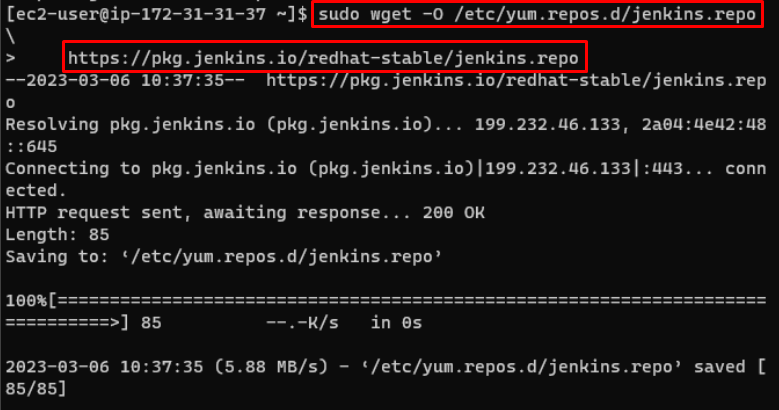
Get extra packages from the Jenkins repository:
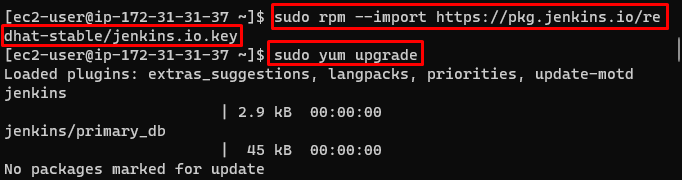
Import packages from the link:
Upgrade the yum packages:
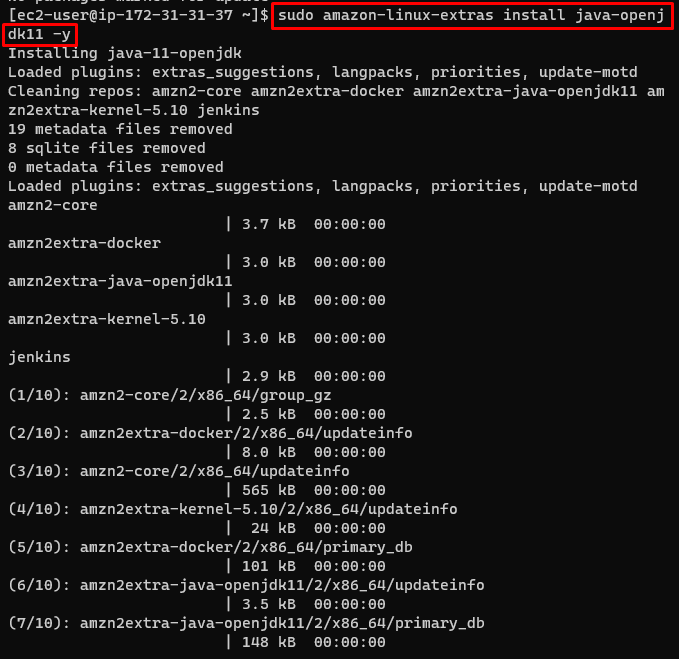
Install Java JDK 11 on the Amazon Linux instance:
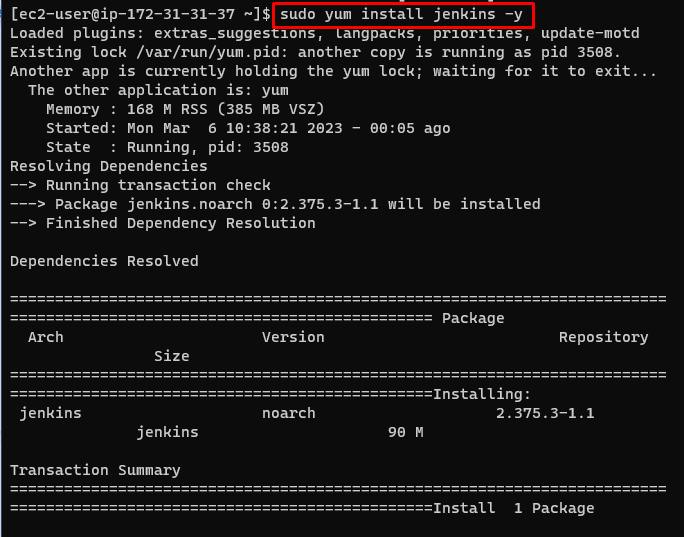
Install Jenkins using the following command:
Enable Jenkins service:
Start Jenkins service:
Verify that the Jenkins is started:

Head into the EC2 dashboard and copy the IP address of the instance:
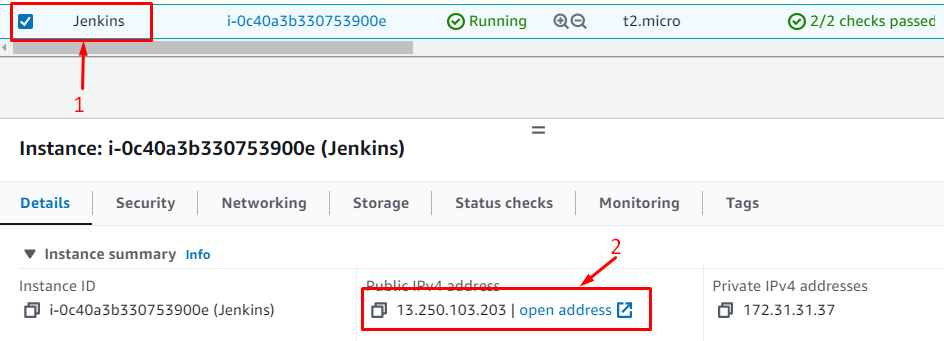
Paste the IP address with port 8080 on the web browser:

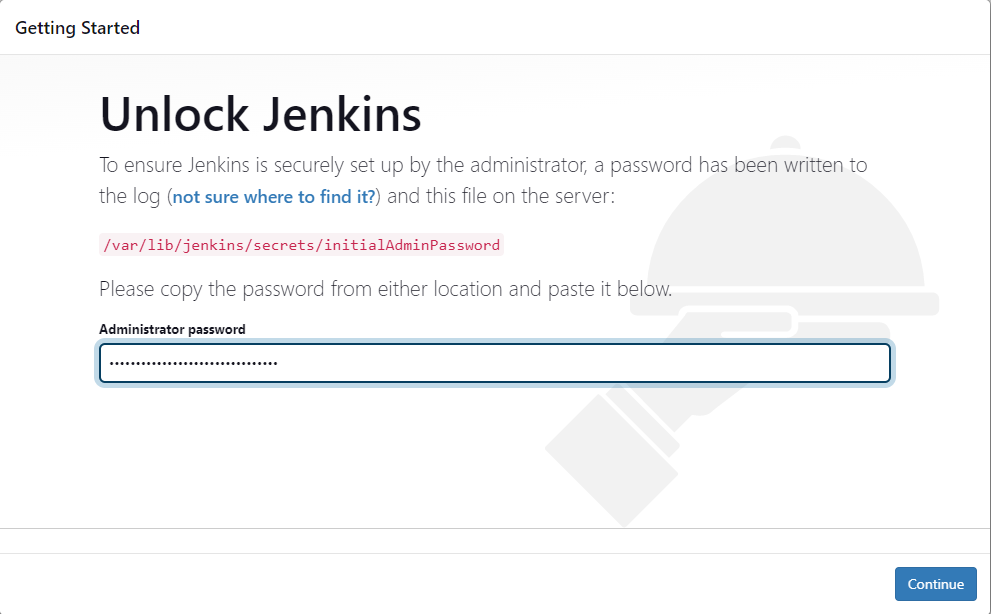
Get the password to log in to the Jenkins Server:
Copy the password provided upon the execution of the above command:

Paste the password and click on the “Continue” button:
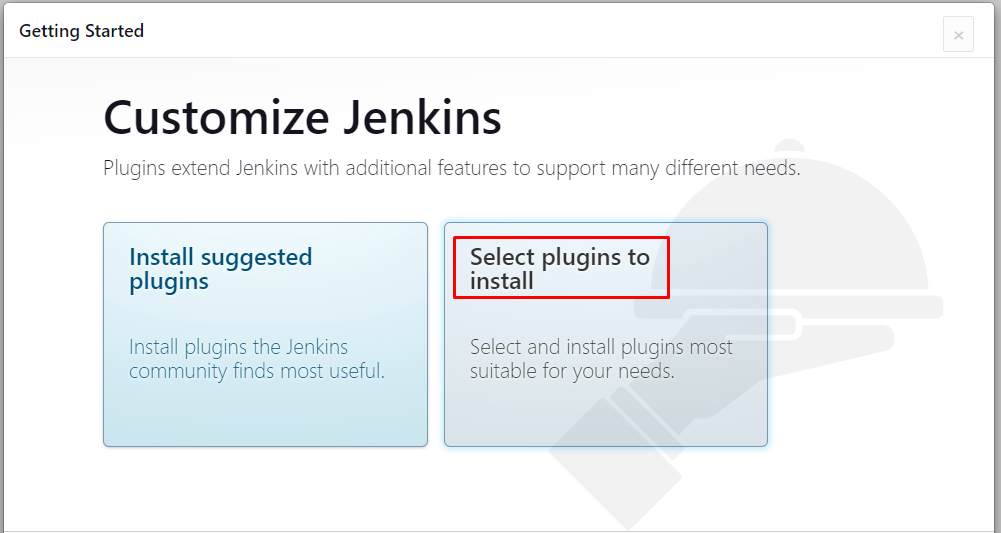
Select the plugins to be installed on the Jenkins server:
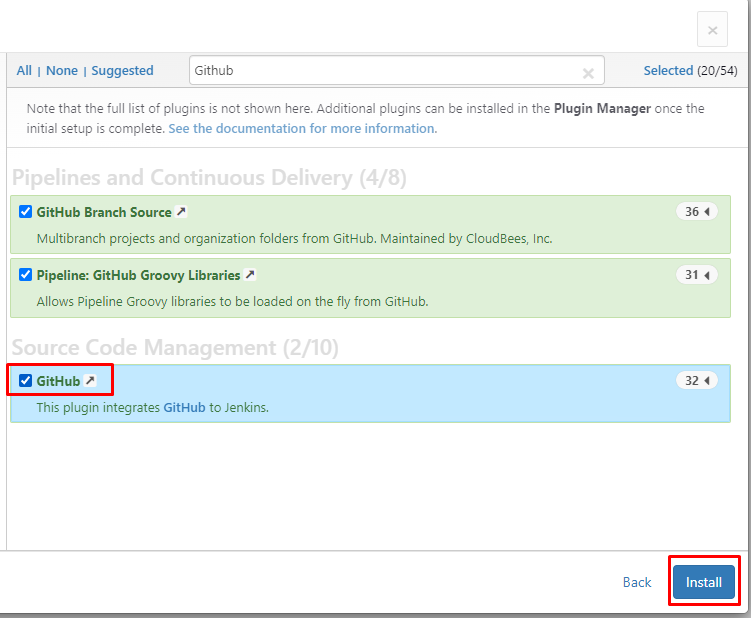
Type GitHub in the search bar of Jenkins and click on the “Install” button:
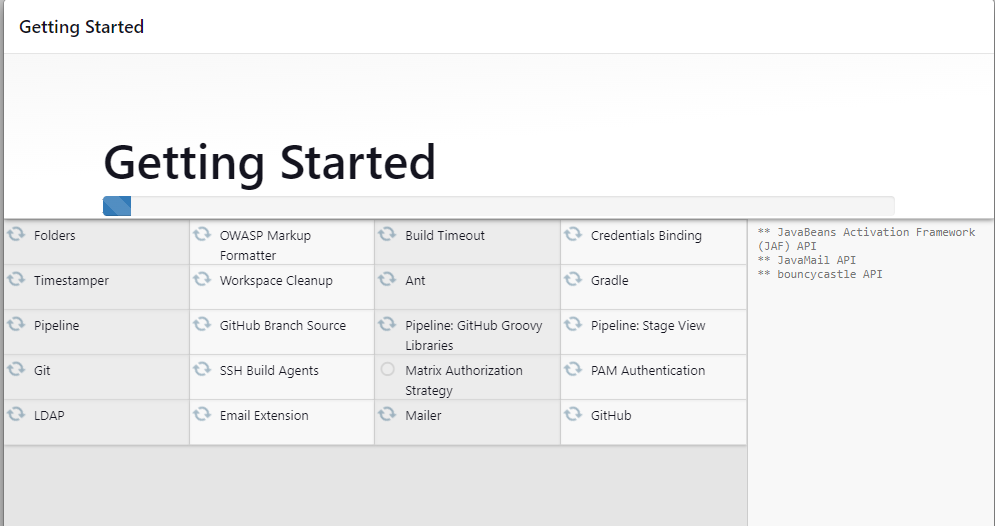
It will take a few moments to install the plugins on Jenkins:
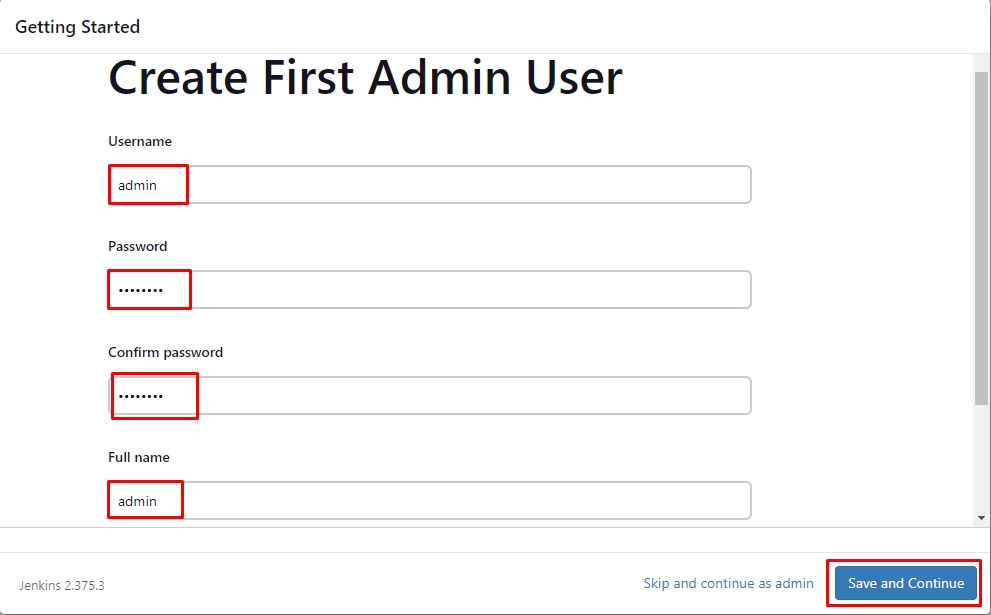
Create a user on Jenkins by providing credentials and then clicking on the “Save and Continue” button:
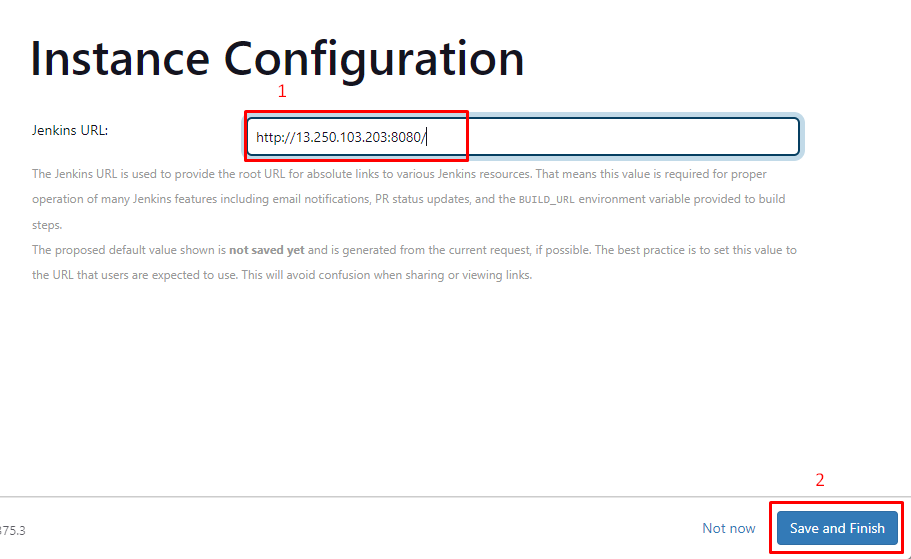
Verify the address and click on the “Save and Finish” button:
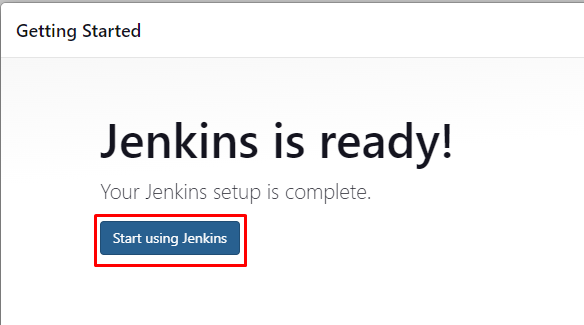
The Jenkins server is ready to be used by clicking on the “Start using Jenkins” button:
How to Set up a Build Server Using Jenkins?
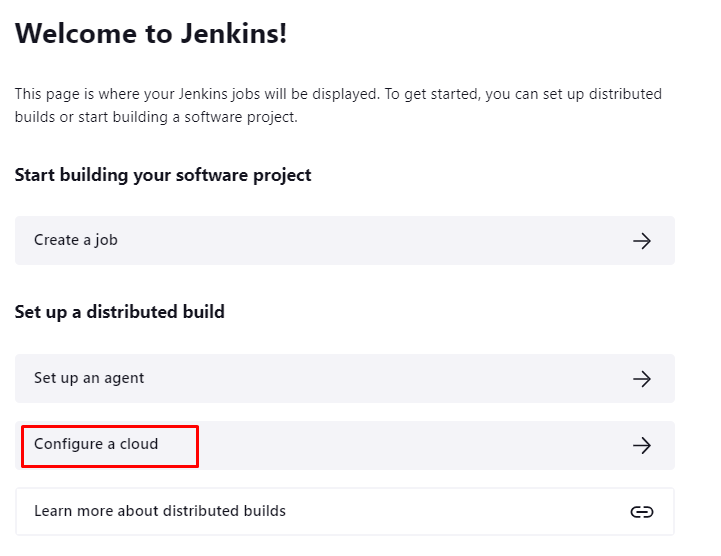
To build a server click on the “Configure a cloud” tab:
Install cloud plugins by clicking on the link:

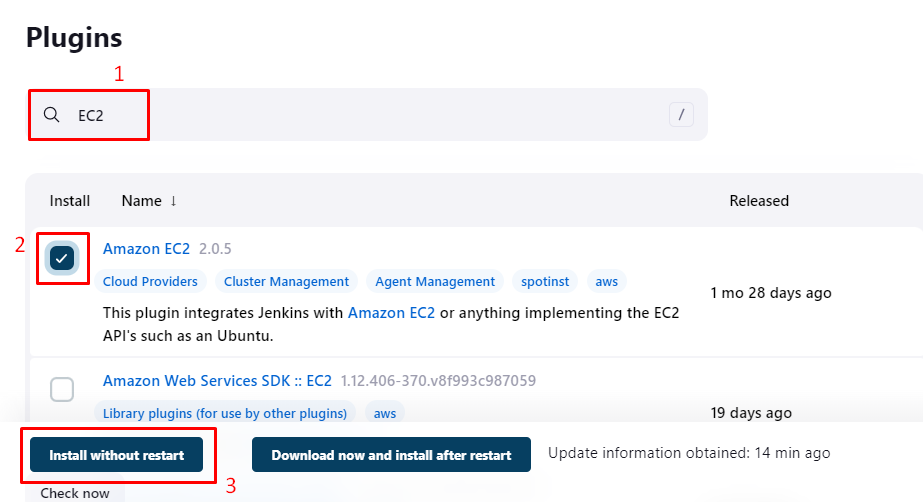
Search for the EC2 instance and install its plugins by clicking on the “Install without restart” button:
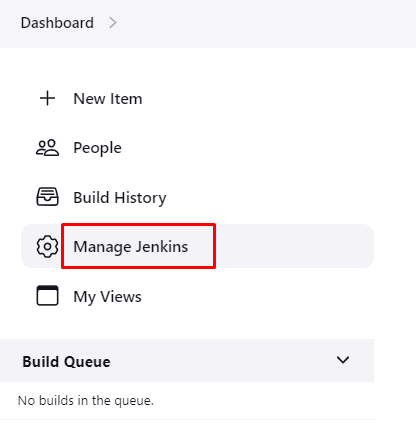
After installing plugins, locate “Manage Jenkins” from the left menu and click on it:
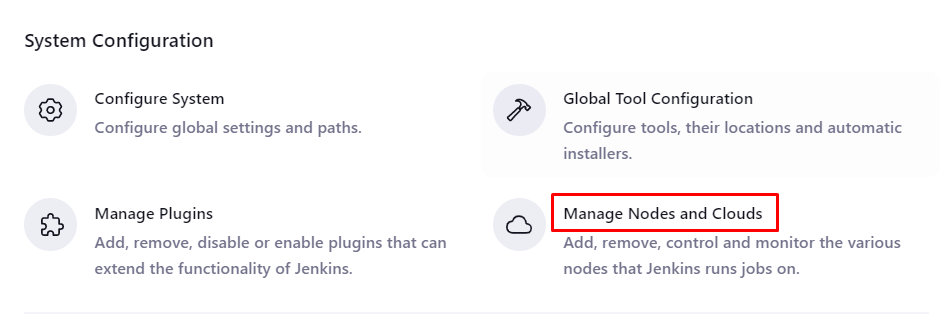
Click on the “Manage Nodes and Clouds” button:
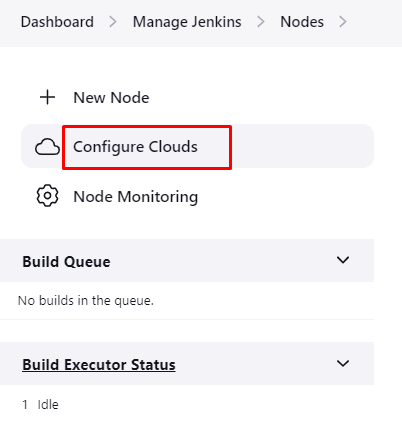
Click on the “Configure Clouds” button:
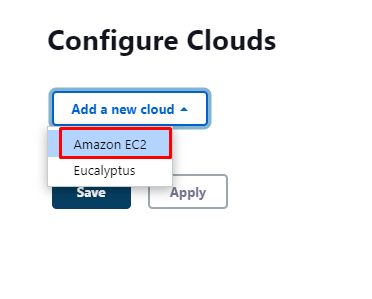
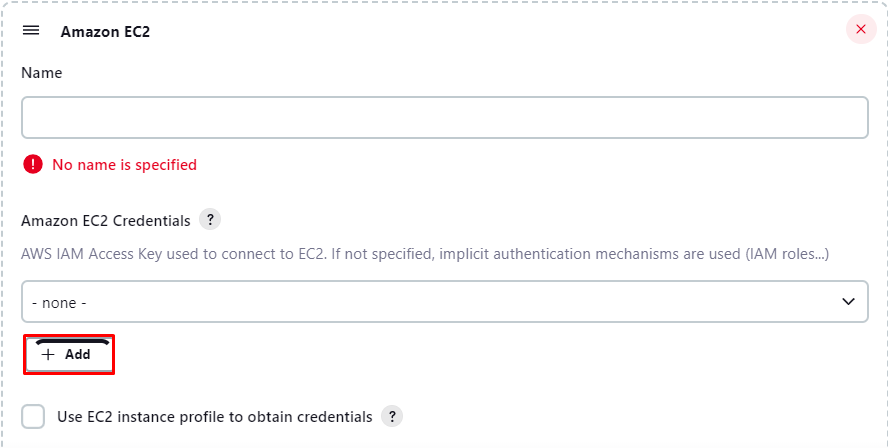
Add Amazon EC2 service to be used in Jenkins server:
Click on the “Add” button under the EC2 credentials tab:
Provide the IAM credentials to the Server:
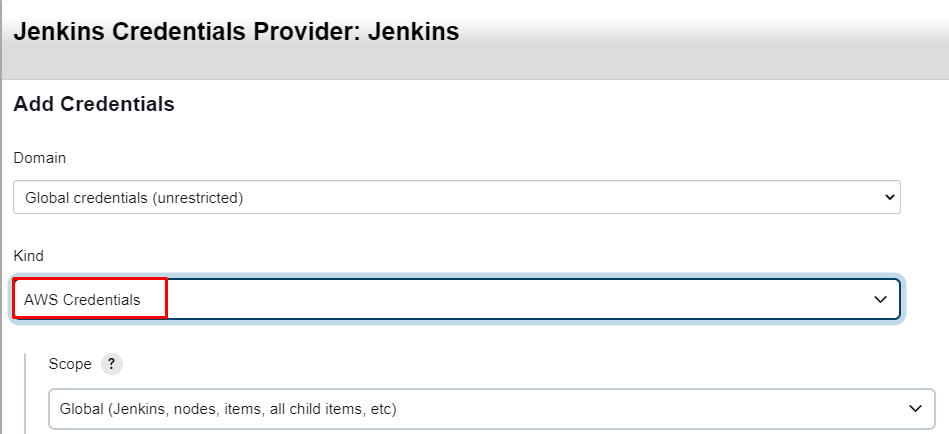
Add Access and Secret keys and then click on the “Add” button:

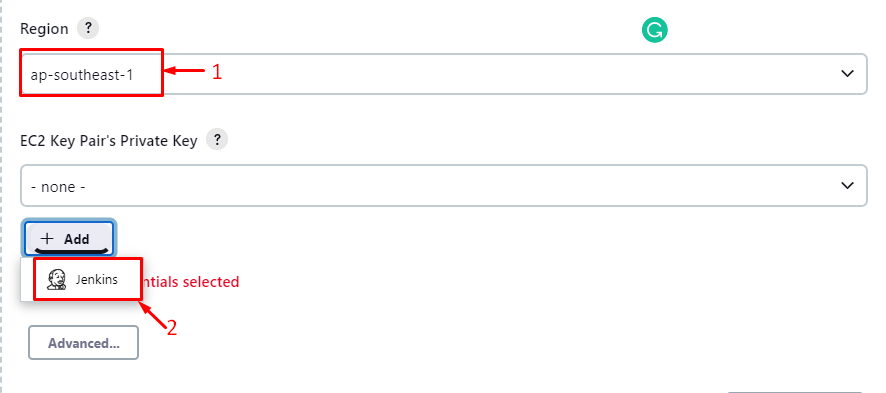
After that, provide the Region and click on the “Add” button for EC2 private key pair section:
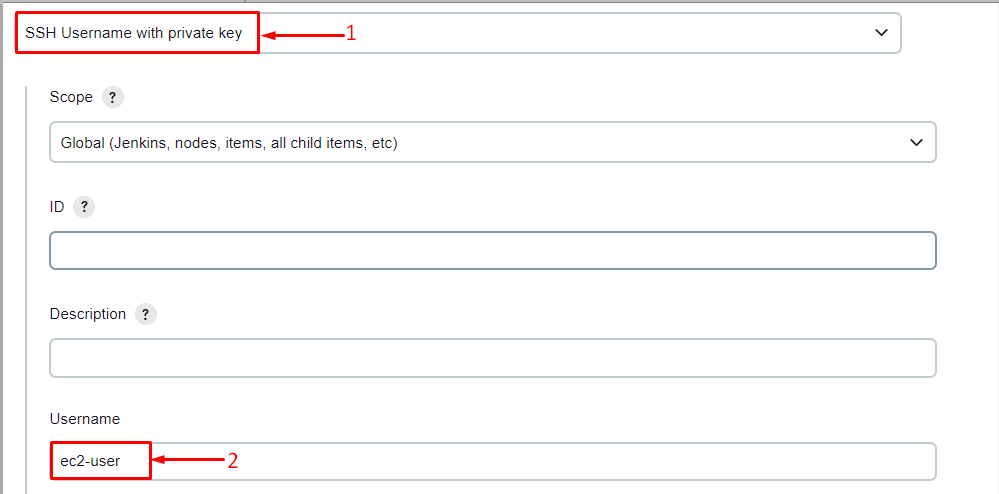
Select the “SSH Username with private key” and enter “ec2-user” as Username:
Select the “Enter directly” option and paste the contents of the private key pair:
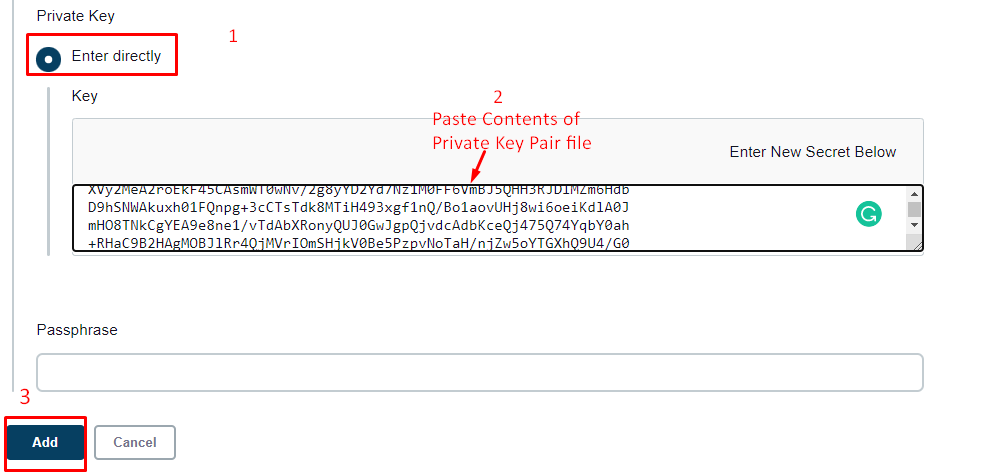
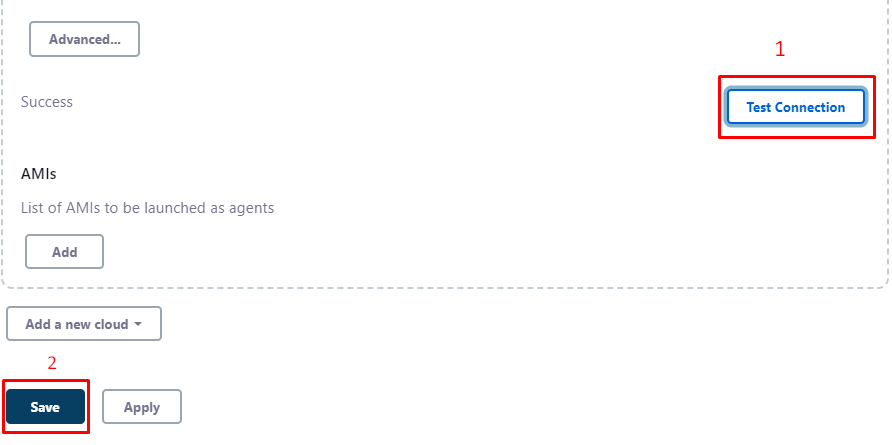
Click on the “Test Connection” button and press the “Save” button:
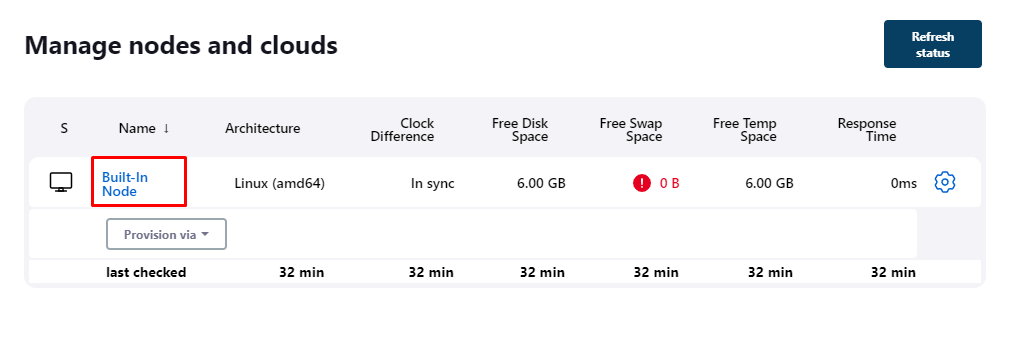
Built-In node has been created successfully:
This was all about setting up a Jenkins Build server with AWS service.
Conclusion
To set up a Jenkins Server, install Jenkins on the EC2 instance and then access it using the IP address with port 8080 on the web browser. After that, install plugins from the cloud configuration and configure EC2 settings. After the configuration, test the connection to get the success message which indicates that the setup has been created. This guide has demonstrates the process of installing the Jenkins on EC2 and then setting up Build server on it.
Source: linuxhint.com