Salesforce and Google Sheets Integration
Data Connector for Salesforce
Follow the following steps to this add-on:
First, you need a Google account. After logging into Google, the Google Sheets are available for free. You can open the blank sheet by opening this link: https://docs.google.com/spreadsheets/u/0/.

Now, you have all the permissions to install the Salesforce Data Connector. Choose the “Get add-ons” by navigating to the extensions and add-ons.

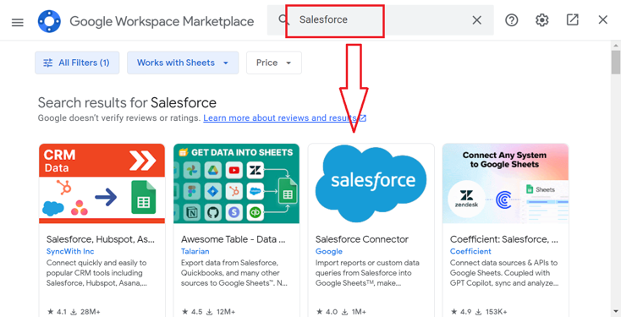
Search for “Salesforce” and choose the “Salesforce Connector”. Then, install it.
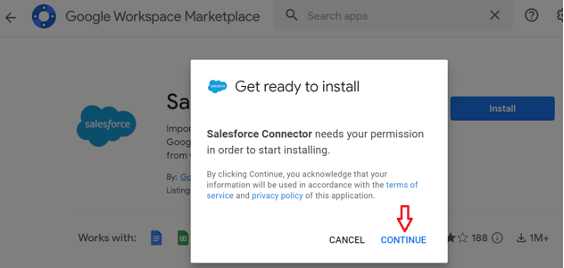
Give the permission to it and click on “CONTINUE”.
Allow the Salesforce Connector to access your Google account and click on “Done”.
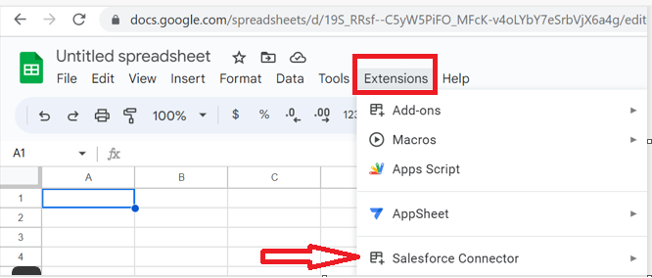
Your Salesforce Connector is ready. Go to the “Extensions” tab and open the Salesforce Connector.

Reports
Salesforce reports can be imported into your Google Sheet using this option. If a report already exists, there is no need to create it. We create a report on the “Campaigns” standard object.
In Salesforce, navigate to the “Reports” tab and click on “New Report”.

Now, select the object (here, we select “Campaigns”) and click on the “Start Report” button.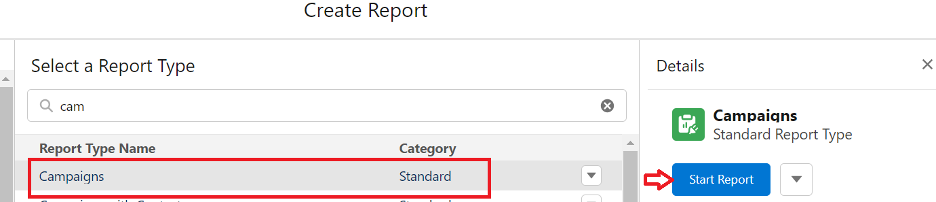
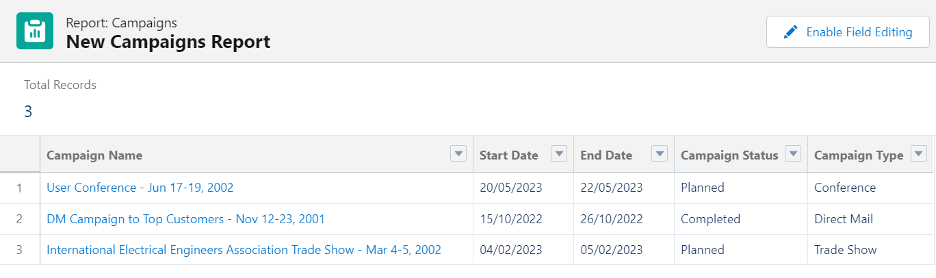
Add the fields (Campaign Name, Start Date, End Date, Campaign Status, and Campaign Type) and run the report. Here, the report name is “New Campaigns report”. My report holds three records.
Now, we will see how to import this report into our Google Sheet.
Steps:
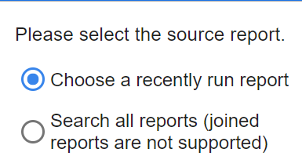
Select the operation as “Reports”. You need to choose a report that is run recently from your Salesforce Org.
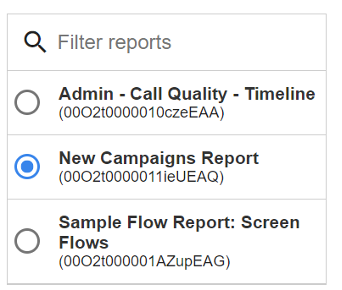
Under the “Filter” reports, you need to search the report that you want to import into the Google Sheet. Select your report. Here, we select the report that we created.
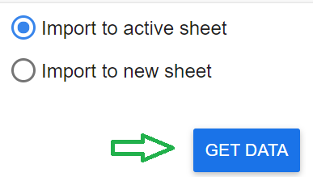
Next, you have two options to choose. If you want to import the report into the existing sheet, you can choose “Import to active sheet”. Otherwise, choose the “Import to new sheet”. Click on “GET DATA”. We import it into the existing sheet.
All the records that exist in the report are imported into our Google Sheet.

Import
We can import the data from the Salesforce objects (standard/custom) using the “Import” operation. This can be done in two ways. Let’s utilize the “Case” object.
Using the SOQL query, we can get the data into the Google Sheet by selecting the “Source” objects and fields.
With Source Object and Field Selection:
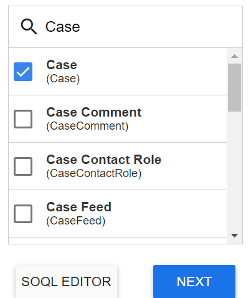
After selecting the “Import” operation, select the Source object as “Case” and click on “NEXT”.
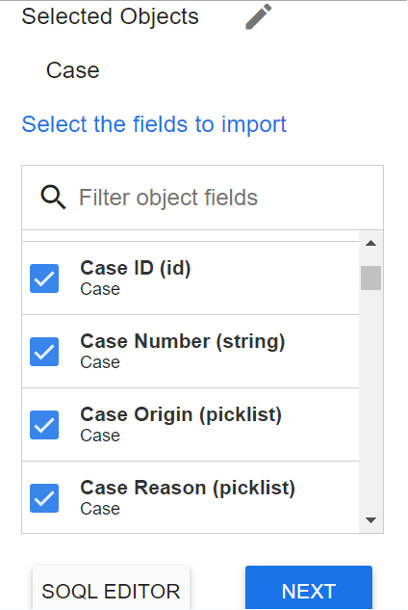
Select the fields to import and click on “NEXT”. Here, we select the four fields that are shown in the following:
You can filter the records by adding the filters. We need to import the records with the Case Origin as “Web”. So, this filter is specified. Don’t forget to click on “ADD”. Get the data by clicking on “GET DATA”.

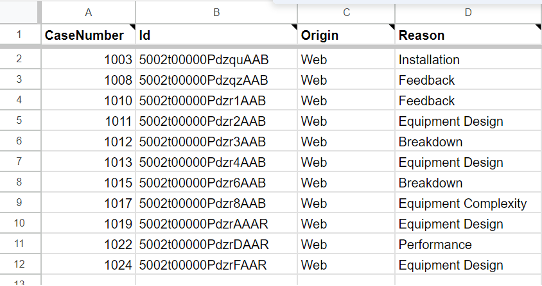
Now, your Google Sheet holds the records with the origin as “Web”.
With SOQL Editor:
Select the “Import” operation and choose the “SOQL EDITOR”.
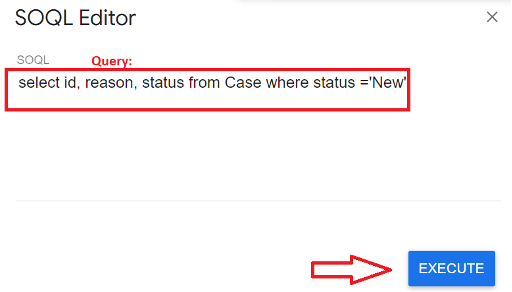
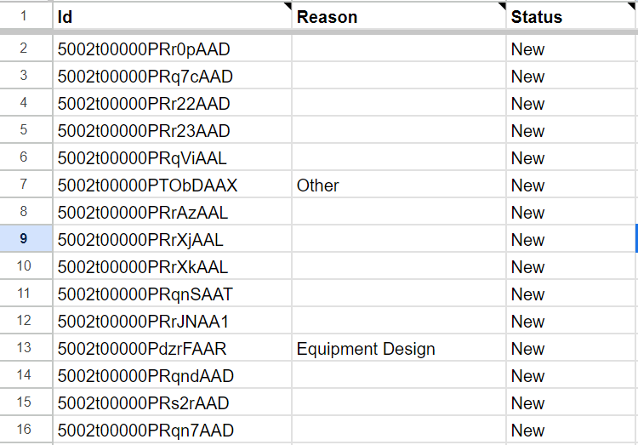
In the editor, write the SOQL query. Let’s get the “Case” records with the case status as “New”. The fields are Id, Reason, and Status.
The query is specified in the following. Now, execute it.
There are 15 records with the “New” status.
Insert
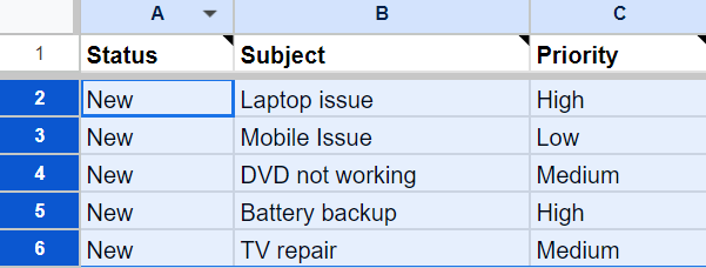
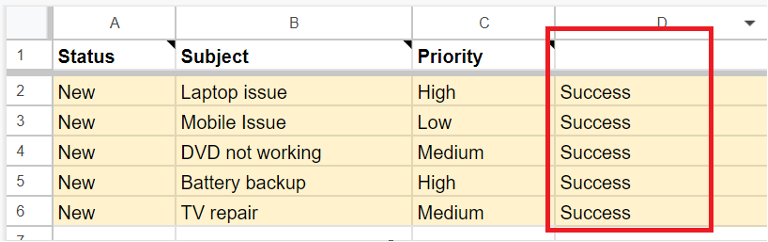
Let’s import the data into Salesforce from your Google Sheet. These are the five records (with three fields – Status, Subject, and Priority) that we insert into the “Case” object. Select these records and open the “Update” operation. Using this operation, we can insert, update, and upsert the data.
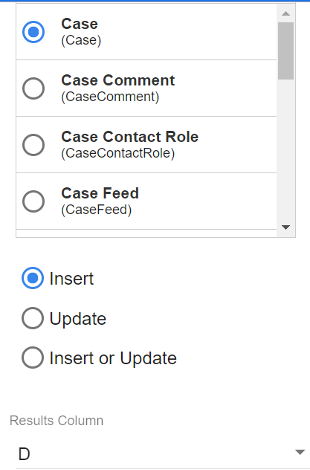
Now, we need to choose the object from the filter. Select the case and choose the “Insert” option. After inserting, the result is updated in your Google Sheet. Store that results in any of the column. Then, click on “NEXT”.
Check your records and specify the columns. Then, execute it.
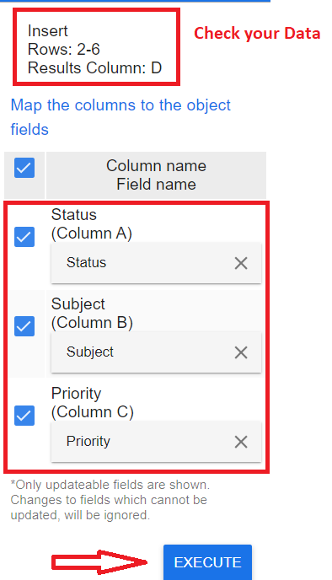
Five records are successfully inserted into the “Case” object.
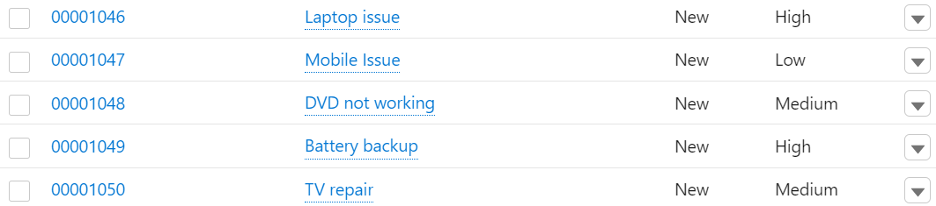
Open your Salesforce Org and you will see that all these five records are under the “Case” object.
Delete
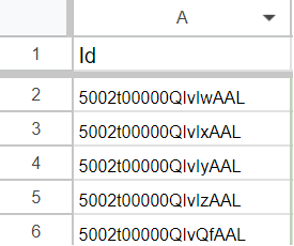
Let’s delete the data from Salesforce. These are the five records (created before) that we are going to delete from the “Case” object. Select these records and open the “Delete” operation.
Select the object as “Case” and select the column as “A” under the “Primary Key” column. Then, click on “Delete”.
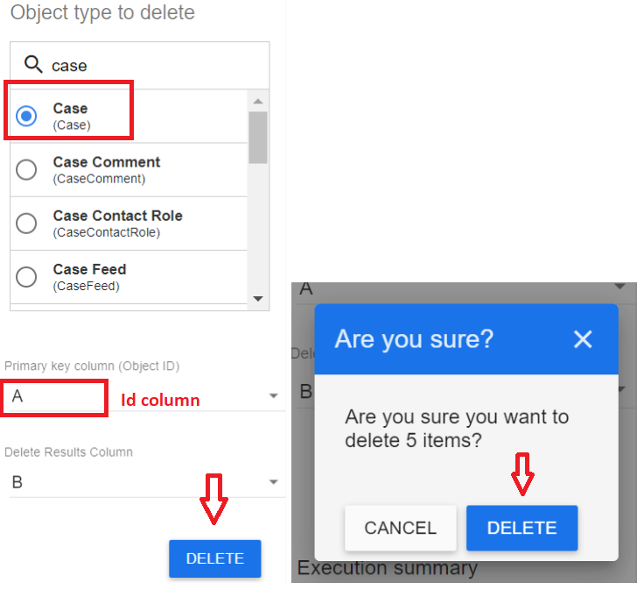
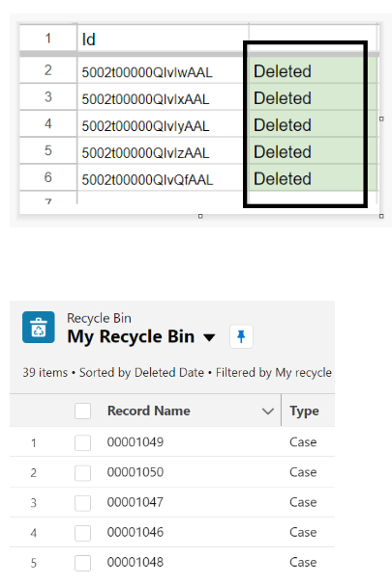
All five records are deleted from the “Case” object. They reside in the Salesforce Recycle Bin.
Update
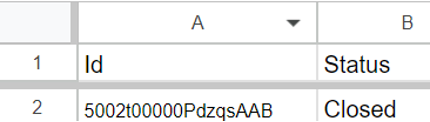
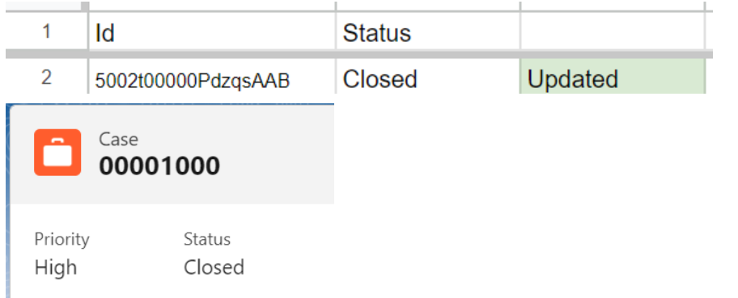
Let’s update the status of the following case record from “New” to “Closed”. We can do it using the “Update” operation.
Specify the ID and status in your Google Sheet. Select this record and perform the “Update” operation.
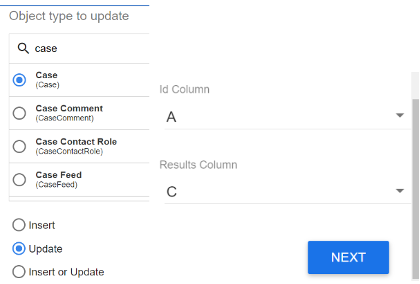
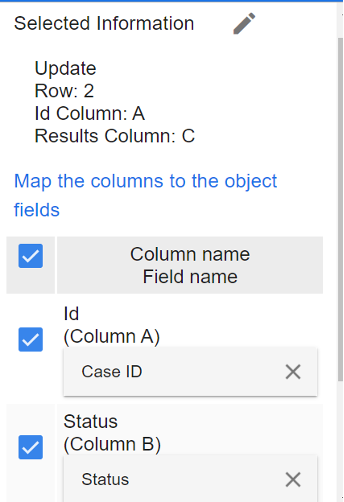
Select the object type as “Case” and choose the “Update” option. Specify the “ID” column (here, the Salesforce ID for the Case is in “A”) and “Results” column. Then, click on “Next”.
Check the selected information and map the columns to the fields. Then, execute it.
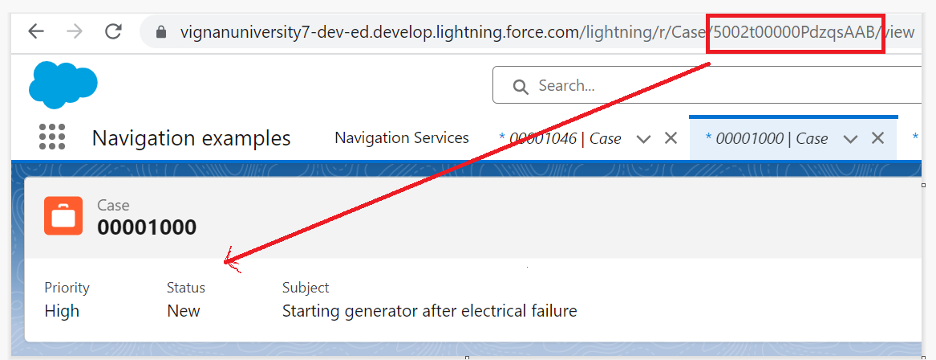
The row is updated. Then, go to the “Case” record and check the status.
Conclusion
We learned how to integrate the Google Sheets with Salesforce to import, insert, update, and delete the data. Other than these, we can directly get the report into our Google Sheet using the “Reports” operation. All the scenarios are explained step by step with screenshots. In the Salesforce Data Connector the insert, upsert (insert and update), and update are available under the “Update” operation.
Source: linuxhint.com