Salesforce and Google Form Integration
In some cases, you need to store the responses directly from Google Form to a Google Docs, Asana, Salesforce, etc. Is it possible? The answer is yes. By adding a workspace to your Google Form, we can directly save the submitted data into the Google Docs, Slides, Asana, Salesforce, etc. In this guide, we will discuss how to create or update the data in Salesforce that are automatically submitted through the form. Here, the data can be contacts, leads, or campaigns. This helps the Salesforce admins to insert the data manually or load the data by Data Load.
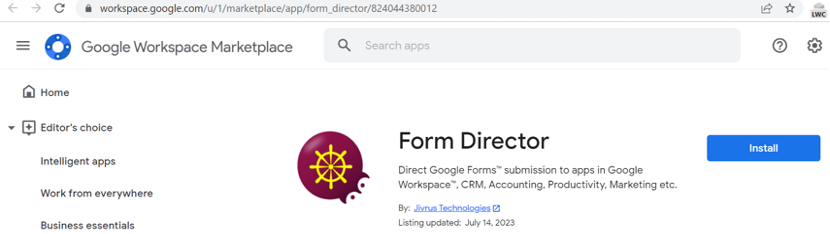
Form Director
The Form Director is an application for the Google Workspace which is used to send the Google Form submissions to the Google Workspace apps, Salesforce, and other apps. Get this from the Google Workspace Marketplace.
Setup the Form Director
Install it from the previous Workspace. Allow the Form Director to your Google account and click on “Continue”.
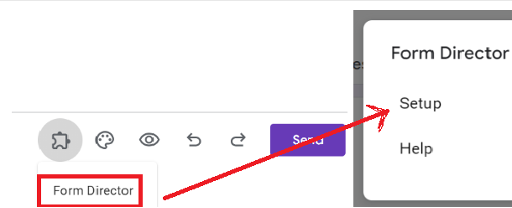
Let’s open the Google Form. The first icon is the Form Director that is automatically added to your Google Form. When you click on it, it will ask you to setup. Click on it.
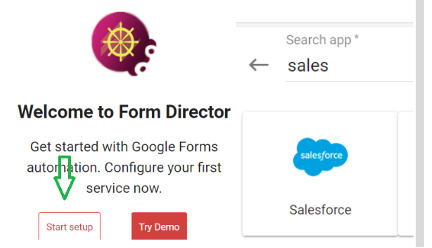
Start setting by clicking the “Start setup” button and search for the Salesforce app.
Basically, it supports two services. One is “Create” and the other one is “Update”. If you want to insert the records (through the Form data) into Salesforce, go with “Create”. If you want to update the existing record in Salesforce, choose “Update”.
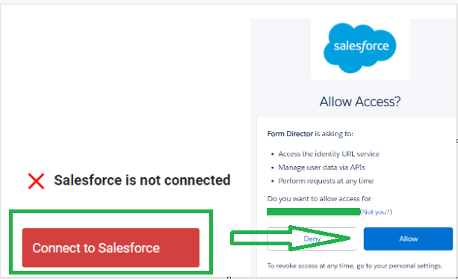
The next step is to connect the Form Director to the Salesforce Org. Click on “Connect to Salesforce” and allow its access.
Get back to the Form Director by closing the current window.
Next, we need to map the “App Fields” (Salesforce Object Fields) with the “Form Fields” using mapping. Mapping allows you to configure what you want as value for the “App Fields”. There are six types of mappings. As of now, we select the “Form Field”.

There is an option to notify your audience with a templated email message and attachments. It is an optional step. Lastly, you can save it.
Create a Service
In this scenario, we discuss how to create the records in Salesforce whenever the form is submitted by the user. The “Contact” object is utilized in this use case.
Step 1: Create a Google Form
Let’s create a Google Form that accepts the employee information.
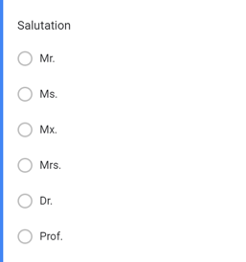
Form – Field 1: Salutation (Type – Multiple choice). It holds the following options:
Form – Field 2: Employee’s First Name (Type – Short answer)
Form – Field 3: Employee’s Last Name (Type – Short answer). It is required.
Form – Field 4: Employee’s Designation (Type – Short answer). It is required.
Form – Field 5: Employee’s Department (Type – Short answer). It is required.
Form – Field 6: Contact Phone (Type – Short answer). It is required.
Form – Field 7: Contact Email (Type – Short answer). It is required.
Now, your form is ready.
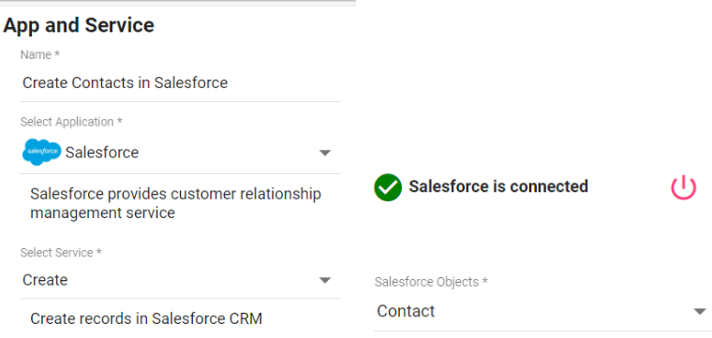
Step 2: App and Service
First, we need to specify the name for the service. Name it as “Create Contacts in Salesforce”.
Select the application as “Salesforce”.
Select the service as “Create”.
Choose the Salesforce Objects as “Contact” since we are storing the form data in the Salesforce “Contact” object.
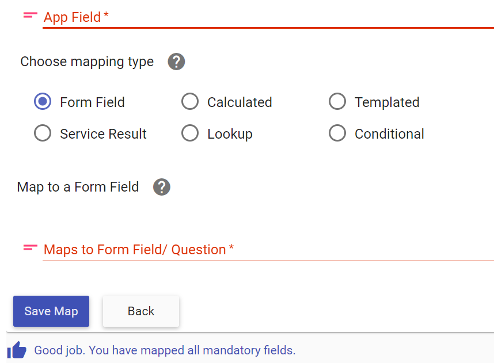
Step 3: Mapping
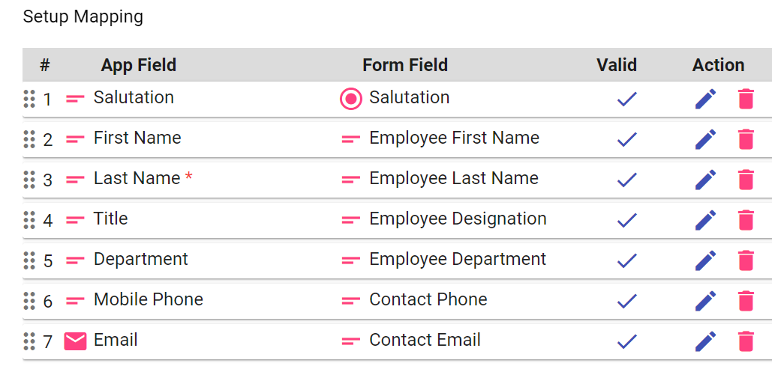
Here, you need to map the “Form Fields” with Salesforce “App Fields”. Click on the “Edit Mapping” button under the “Mapping” section.
The “App Field” is the Salesforce “Contact Field”. Choose the mapping type as the “Form Field”.
The “Form Field” is the field that exists in the form.
Click on “Save Map” and map the remaining fields (check the object fields in Salesforce before mapping).
The final mapping looks like the following:
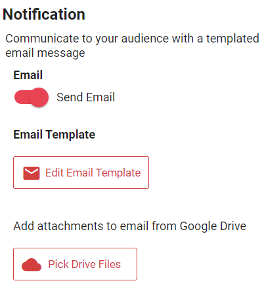
Step 4: Notification
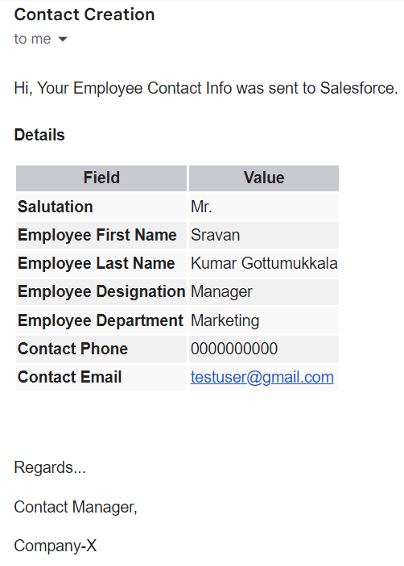
Enable the email to send the email to the owner of the form. An email is sent with the contact details every time after the form is submitted if it is enabled
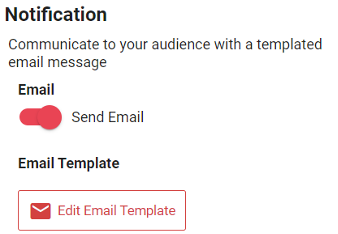
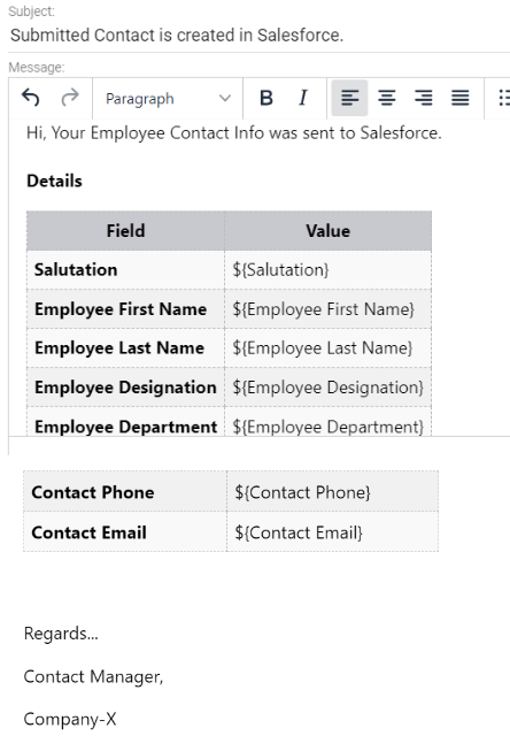
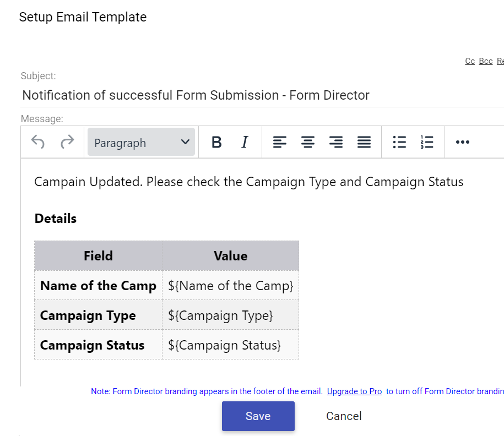
You can also create your own email template. To do that, click on “Edit Email Template” and make your own template. Click the “SAVE” button after the email template is done.
Test this scenario by submitting the form. The second field is mandatory as it is required in the Salesforce “Contact” object.
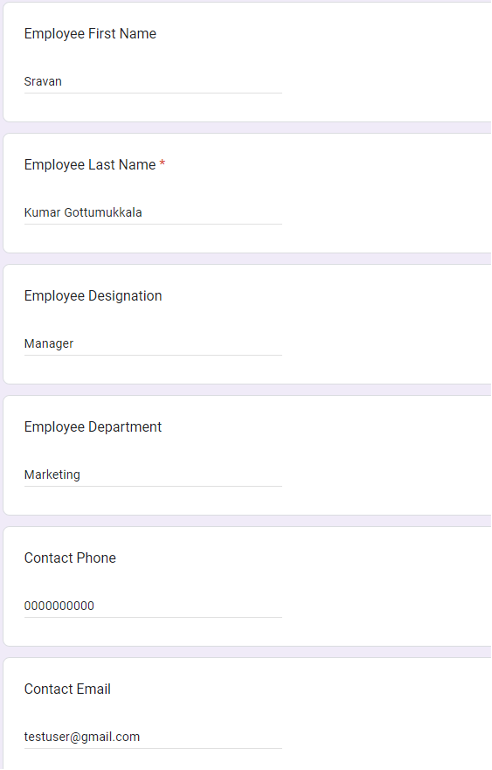
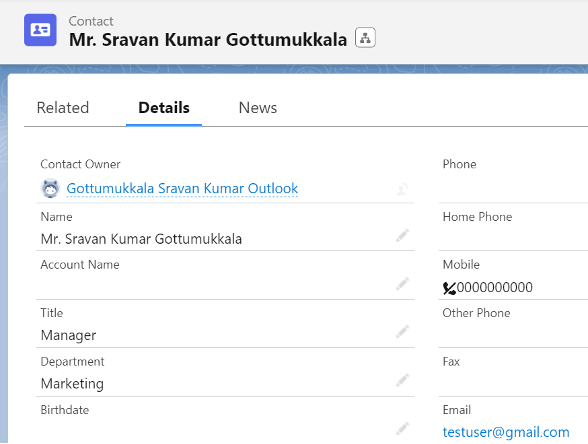
A contact is created in Salesforce with the previous details.
The mail is also sent to the admin.
Update the Service
Let’s see how to update the existing records in Salesforce with the “Update Service” option.
Step 1: Create a Google Form
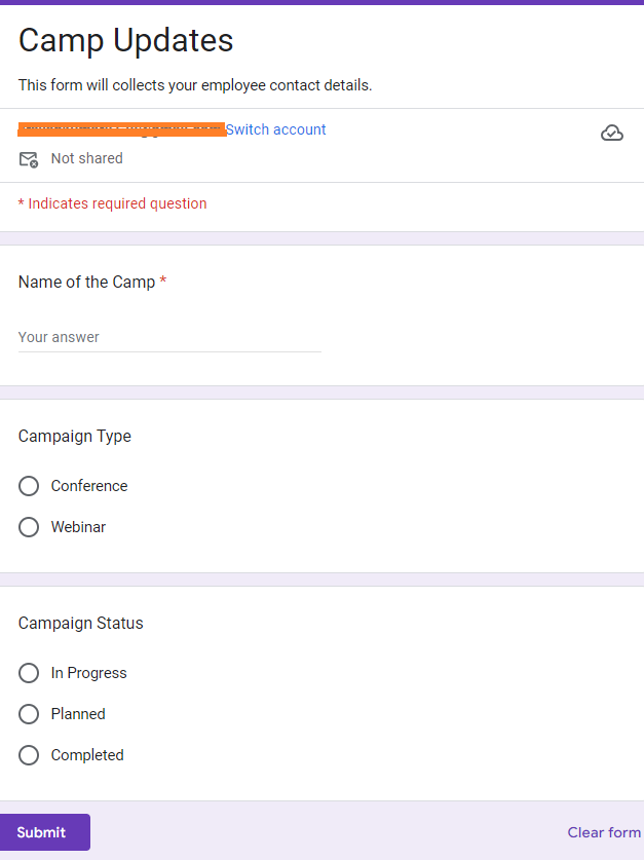
Let’s create a Google Form that updates the records in Salesforce. Here, we update the “Campaign Type” and “Campaign Status” fields in the Campaign object based on the Campaign name. So, this form accepts three values (name, type, and status).
Step 2: App and Service
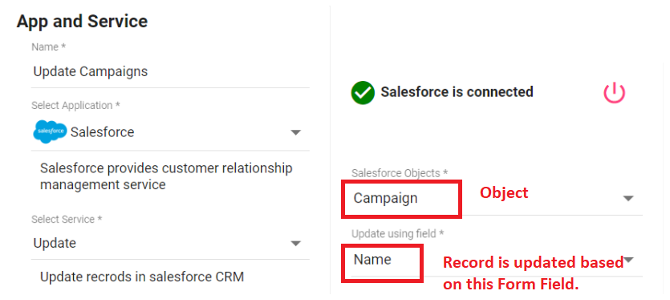
Similar to the “Create Service”, choose the Salesforce Application as the app. But the service is “Update”. Select the object after connecting to Salesforce (here, it is Campaign) and specify the “Form Field”. The Salesforce fields are updated (Campaign Type and Campaign Status) based on this “Form Field” (Campaign Name).
Step 3: Mapping and Notification
Map the “App Fields” with the following “Form Fields” and save it.

It is optional to send the email notifications. Let’s edit the existing email template and save the template. Test this scenario by submitting the form.
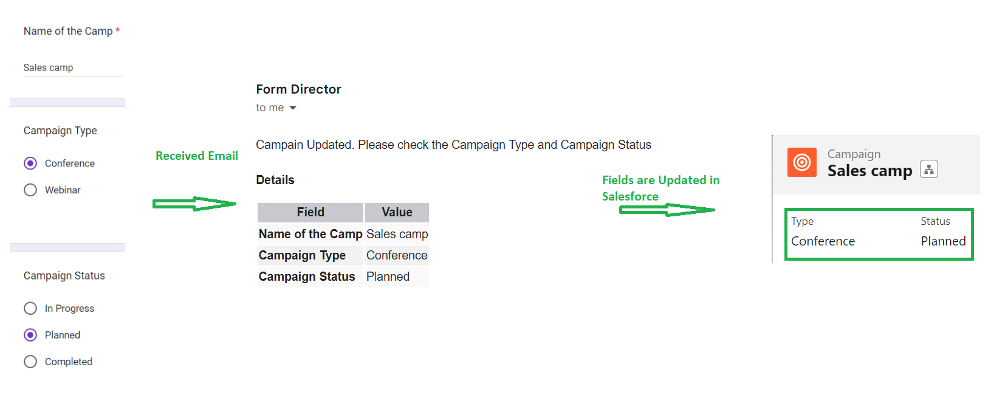
Let’s submit the form with the Campaign Name as “Sales camp”, the status as “Planned”, and the type as “Conference”. The status and type for the existing record is null.

Let’s update these two fields through form. You will receive an email with the updated fields. Go to the “Campaign” record and view the updated fields.
Conclusion
One of the easiest and most efficient ways to integrate the Google Form with Salesforce is by adding the Form Director to your Google account. It is free and simple to install (you just need a Google account). For Salesforce, the Form Director provides the “Create and Update” service to insert and update the records in Salesforce. In this guide, the contacts are created in Salesforce through Google Form and the existing Campaign fields are updated with the Google Form fields.
Source: linuxhint.com