Referencing in Arduino
Arduino is an electronic tool that is composed of both Hardware and Software. Using Arduino, some very amazing projects can be designed like home automation systems, obstacle avoidance robots, distance detectors, Fire alarms, and many more. Arduino is very easy to learn, users need to design a circuit and then upload the code through Arduino IDE.
If a user is a beginner, he/she might face difficulty while coding, so Arduino IDE does have a solution. By using references in Arduino, users can take help with the syntax, variables, and functions to be used while coding. This article is a guide about Referencing in Arduino.
Let’s Begin!
Arduino Board and Arduino IDE
To Start with Arduino, the initial requirements are that you need to have an Arduino Board (Hardware) and an Arduino IDE (Software).
Once you have fulfilled both these requirements, you can move towards the next step.
Referencing in Arduino
In Arduino coding, the “&” is used for referencing and is something particularly associated with pointers. Pointers are just like variables; the only difference is that instead of a value they store the address of a variable.
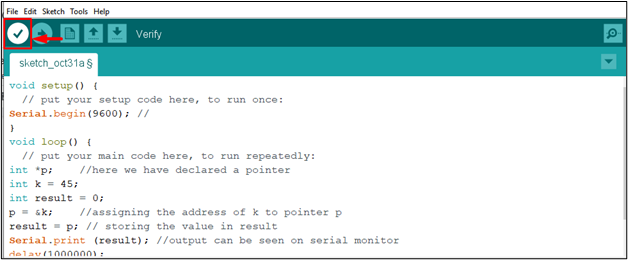
To start referencing a code, I am sharing an example where a variable k is initalized with a value 45 and a pointer is created *p with an integer data type. The newly created pointer is able to store the variable’s address.
To begin writing this type of example as a guide for referencing, you should first open the Arduino IDE on your PC or Laptop.
Then paste the below-motioned code inside the IDE.
Serial.begin(9600); //
}
void loop() {
int *p; //here we have declared a pointer
int k = 45;
int result = 0;
p = &k; //assigning the address of k to pointer p
result = p; // storing the value in result
Serial.print (result); //output can be seen on serial monitor
delay(1000000);
}
To compile the code, click on the “Verify” option present at the top left of Arduino IDE interface.
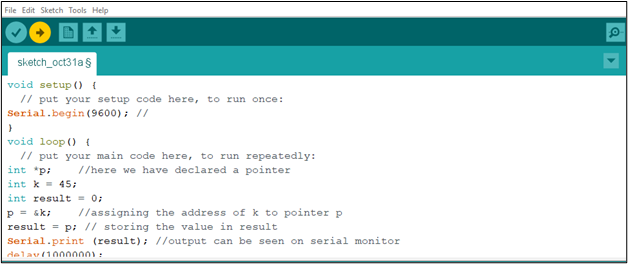
Now attach your Arduino board to your PC through a USB cable and click on the “Upload” option to upload the code into Arduino.
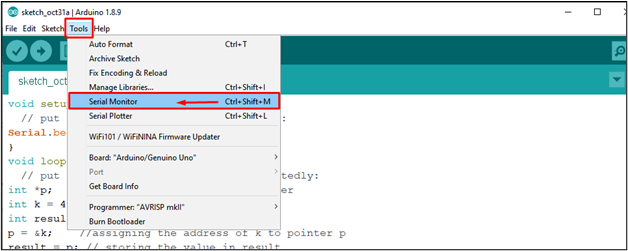
The output of the above code appears on the serial monitor. To open the serial monitor, go to the “Tools” option from the menu bar and select the “Serial Monitor” option or use the shortcut key “Ctrl+ Shift + M”.
Output
The output will be displayed on the serial monitor and it will display the address of the variable k.

In this way, you will perform referencing in Arduino.
That’s it for this guide!
Conclusion
Arduino is a device that let users create some amazing projects through an Arduino IDE. The above guide helps you in getting used to referencing in Arduino through the reference operator “&”, which is used to store the address of a variable in the code. You will find help regarding referencing in Arduino through a simple code provided in the above guidelines and you must execute this code in your IDE to learn about referencing.
Source: linuxhint.com