plotly.io.templates
By default, Plotly will provide a set of built-in themes and color schemes that can be exported and applied across diagrams and various environments.
This tutorial will explore how we can use the Plotly templates object to view and apply various themes. You can also use this object to create and export your themes. You can check the document for more on how to do that.
Plotly Themes Object
Plotly themes are stored and customized by the templates object in the plotly.io module.
Let us explore various aspects we can do with the template object.
Viewing the Available Themes
The first thing we can do is view the available themes in your current Plotly environment.
To do so, start by importing the plotly.io module and call the templates object.
An example code is as follows:
io.templates
Running the previous code should display the available and currently selected themes.
An example output is as follows:
Available templates:
['ggplot2', 'seaborn', 'simple_white', 'plotly',
'plotly_white', 'plotly_dark', 'presentation', 'xgridoff',
'ygridoff', 'gridon', 'none']
The previous output shows that the default theme is set to Plotly. Additional themes are also listed in the previous output.
Remember, the previous output may vary depending on your environment and the installed versions.
Plotly Set Default Theme
You can also set a default theme for all your plots by editing the value of the templates.default object.
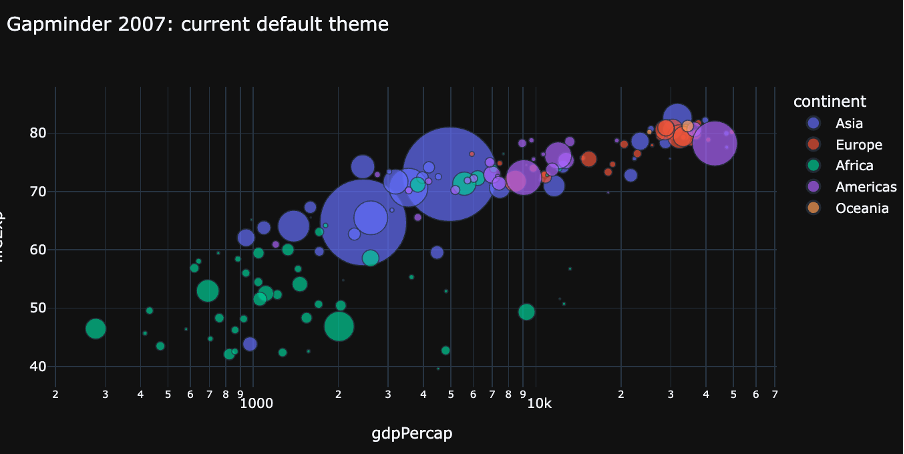
For example, to set the dark mode theme as the default, we can run the following code:
io.templates.default = 'plotly_dark'
This template will be used in all Plotly figures created with Plotly Express or Plotly Graph_Objects, provided the template parameter is not specified during figure creation.
To test this, we can create a simple scatter plot as follows:
df = px.data.gapminder()
df_2007 = df.query("year==2007")
fig = px.scatter(df_2007,
x="gdpPercap", y="lifeExp", size="pop", color="continent",
log_x=True, size_max=60,
title="Gapminder 2007: current default theme")
fig.show()
You can see from the previous code that we do not specify the template we wish to use when creating the figure. The resulting figure will use the Plotly_dark template we defined earlier.
An example output is as follows:
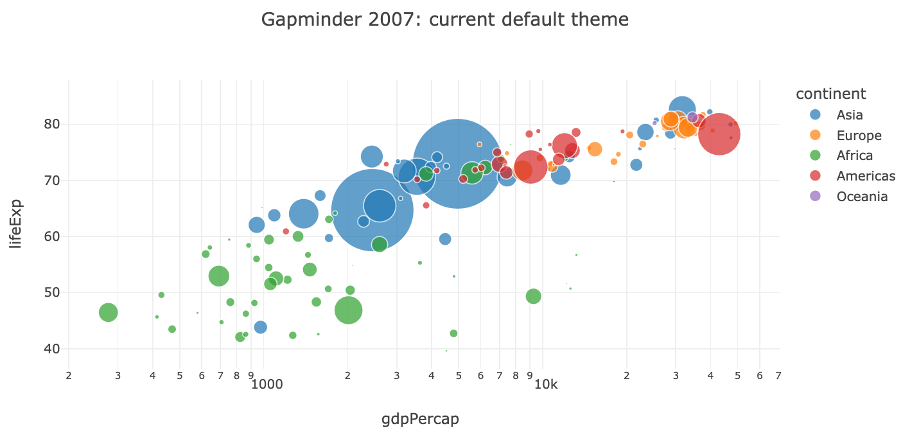
Disable Default Theme
In some cases, you may want to disable default theming. This allows you to provide your custom themes using the default parameter.
To disable default themes, you can set the templates.default value to “none” as shown in the following code:
io.templates.default = 'none'
This time, when you create a figure without setting the template parameter, the figure will use a white background as follows:
Conclusion
This article explored the fundamentals of working with Plotly themes using the plotly.io.templates object. We learned how to view the available themes, set the default themes, and disable the default themes.
Thanks for reading, and feel free to check the docs for detailed analysis.
Source: linuxhint.com