Pandas Display Max Rows
Pandas are among the most popular tools used today by data scientists to analyze tabular data. To deal with tabular content, it offers a quicker and more effective API. Whenever we view data frames during analysis, Pandas automatically sets various display behaviors to default values. These display behaviors include how many rows and columns to show, the accuracy of floats in each data frame, column sizes, etc. Depending on the requirements, we may occasionally need to modify these defaults. Pandas have a variety of approaches for altering default behavior. Leveraging the “options” attribute of pandas enabled us to change this behavior.
Pandas Display Maximum Rows
Whenever you attempt to print a huge data frame that contains more rows and columns than the predefined threshold, the output will be trimmed. To show all rows in the DataFrame, you’ll learn how to modify Pandas’ display options in this tutorial. Pandas by default impose a limit on the number of columns and rows it exhibits. While this might be useful for reading content, it frequently causes frustration if the information you need to view isn’t shown. Here, we will be using the methods given below with their syntax to display all the columns of the dataframe.
to_string()

set_option()

option_context()

We will learn the utilization of all these methods with practical implementation to display maximum rows in the provided dataframe.
Example # 1: Utilizing Pandas to_string() Method
This demonstration will teach us to display maximum rows in a dataframe on the terminal by using the pandas “to_string()” method.
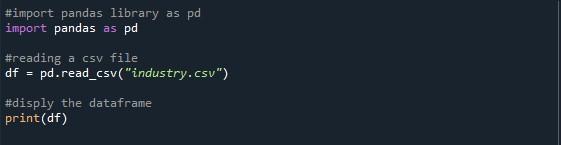
For the compilation and execution of the sample programs, we have picked the “Spyder” tool. In this guide, we will use this tool for the execution of all of our examples. We have launched the “Spyder” tool to start writing the python script. Beginning with the code, we first need to load the necessary libraries into our python file so we would be allowed to use its features. The module library we need here is the “Pandas”. So, we imported it into our python file and aliased it to “pd”.
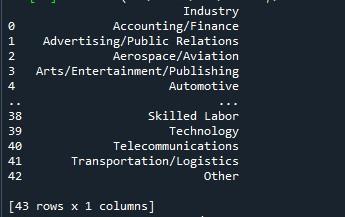
As the main operation of this article is to display the maximum rows of a dataframe, we first need a dataframe. It is now up to you whether you prefer to generate a dataframe or import a CSV file. We have imported a sample CSV file. For reading a CSV file into the python program, we have utilized the pandas “pd.read_csv()” function. Between the parentheses of this function, we have provided the CSV file we want to read the display, which is “industry.csv”. We have constructed a variable “df” to store the output generated from reading the provided CSV file. Then, we invoked the “print()” method to display the dataframe.
When we run this python program by hitting the “Run file” option, a dataframe is exhibited on the console. You can observe that there are 43 rows in the result below but only ten are displayed. This is because the Pandas library’s default value is only 10 rows.
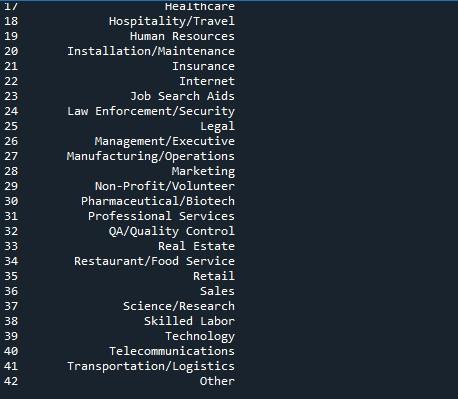
We will use the pandas method “to_string” to display all rows here. The most straightforward way to show maximum rows from a data frame is with this technique. However, since it turns the full data frame into a single string, it is not recommended for very large datasets (in the millions). Nevertheless, this works effectively for datasets that are in the length of thousands.
We have followed the syntax provided above for the “to_string()” function. We simply invoked the “to_string()” method with the name of our dataframe. Then we placed this method into the “print()” function to display it when called.

The output snapshot shows us a dataframe with all the rows being displayed on the terminal.
Example # 2: Utilizing Pandas set_option Method
The second method we will practice in this guide is the pandas “set_option()” to display the maximum rows of the provided dataframe.
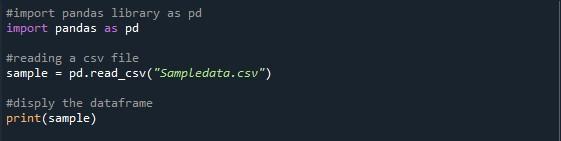
In the python file, we have imported the pandas library to access the above-mentioned function. We have used the pandas “pd.read_csv()” to read the provided CSV file. We invoked the “pd.read_CSV()” function with the name of the CSV file we want to use between its parentheses which is “Sampledata.csv”. When importing the CSV file, keep the current working directory of the Python program in mind. Your CSV file must be placed in the same directory; otherwise, you will get an error message “file not found”. We have created a variable “sample” to store the dataframe from the CSV file. We called the “print()” method to show this dataframe.
Here, we have our output where only ten rows are displayed. The maximum number of rows indicated is 99. All the other rows between the first 5 and last five rows are truncated.
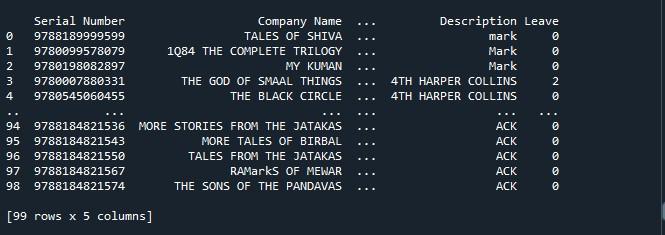
To display the maximum rows which are 99 for this dataframe, we will use the “set_option()” function of the pandas module. Pandas come with an operating system that allows you to change the behavior and display. This method enables us to set the display to exhibit a full data frame rather than a truncated one. Pandas provide the function “set_ option()” for displaying all rows of the data frame.
We have invoked the “pd.set_option()”. This function has parameters “display.max_rows”. The “display.max_rows” specifies the max number of rows that will be exhibited when displaying a dataframe. The value of “max_rows” is set to 10 by default. If ‘None’ is selected, it signifies all rows in the data frame. As we want to display all the rows, so we set it to “None”. Lastly, we used the “print()” function to display the dataframe with max rows.

This yields the outcome provided in the snapshot below.
Example # 3: Utilizing Pandas option_context() Method
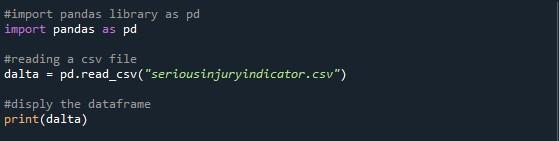
The last method we are discussing here is the “option_context()” to display all the dataframe’s rows. For this, we imported the pandas package into the python file and started writing the code. We have used the “pd.read_csv()” function to read the CSV file we have specified. We created a variable “dalta” to store the dataframe from the specified CSV file. Then, we simply printed the dataframe with the “print()” method.
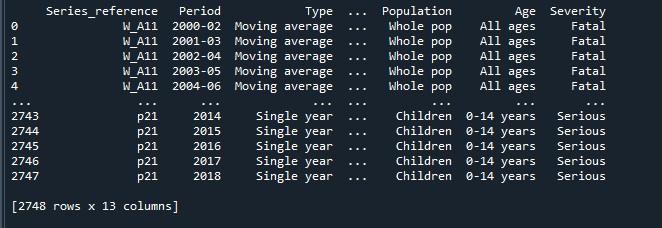
The outcome we obtained from executing the above code shows us a dataframe with truncated rows.
We will now apply the pandas “pd.option_context()” on this dataframe. This function is identical to “set_option()”. The only difference between the two approaches is that “set_option()” changes the settings permanently, whereas “option _context()” just changed them inside its scope. This method also takes display.max rows as a parameter, which we set to” None” to render all rows of the data frame. After invoking this function, we just displayed it through the “print()” method.

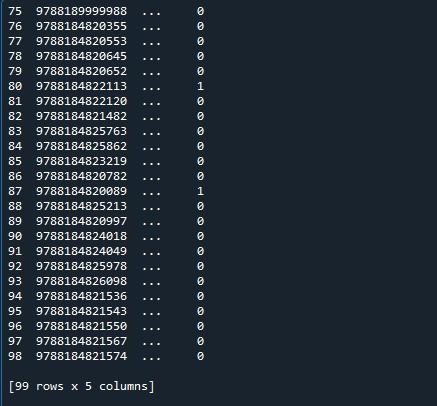
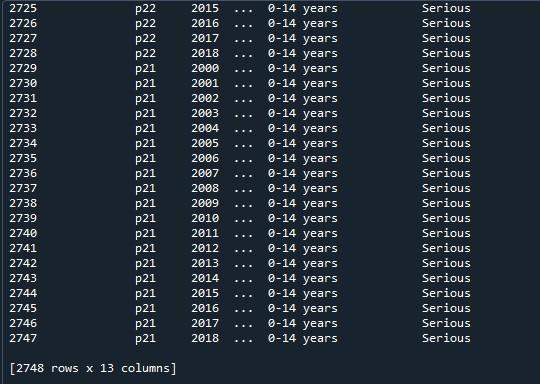
Here, we can view the complete dataframe with its maximum rows which are 2747.
Conclusion
This article focuses on the display options of the pandas. We might sometimes need to view the full dataframe on the terminal. Pandas give us a variety of options for that purpose. In this guide, we have used three of these strategies. The first example was based on using the “to_string()” method. Our second instance teaches us to implement the “set_option()” while the last illustration executes the “option_context()” method. All these techniques are demonstrated to make you familiar with the alternative ways pandas provide us to achieve the required outcome.
Source: linuxhint.com