Page Break in Google Docs
Techniques to Apply Page Break
Google Docs facilitates us with four unique techniques that we utilize to achieve the page break in our document. We will learn all four techniques here, and these techniques are:
- Utilizing the “Insert” -> “Break” -> “Page Break” option
- Utilizing the “Ctrl+Enter” shortcut
- Utilizing “Line and paragraph spacing” -> “Add Page Break Before”
- Utilizing the “Format” -> “Line and paragraph spacing” -> “Add Page Break Before”
There are practical demonstrations of all these techniques to add page breaks in our document.
Example 1: Utilizing the “Insert” Menu Option
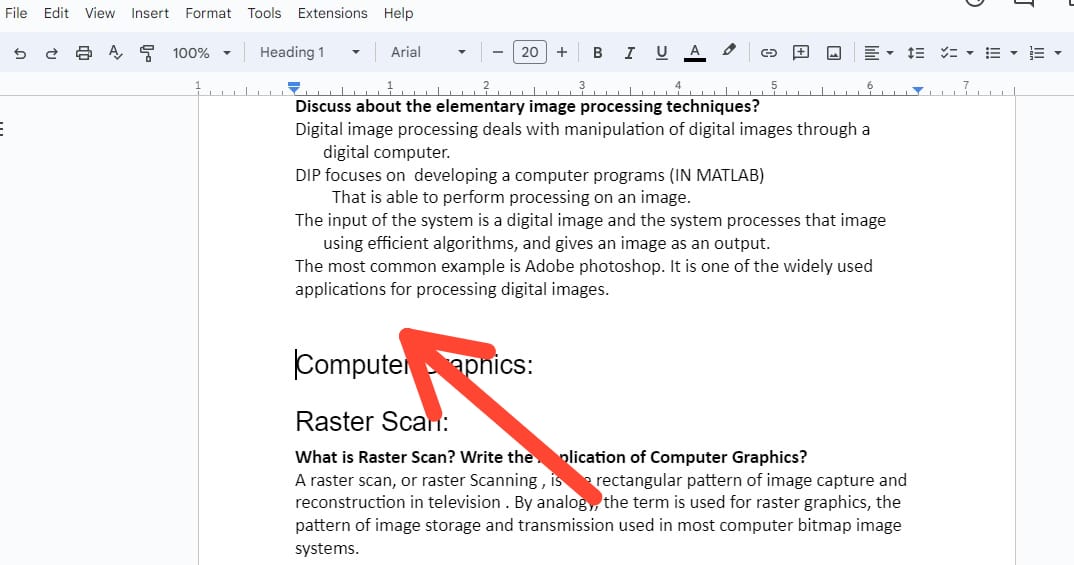
Here is the document to which we add the page break. The arrow in the image shows that we have to insert the page break at that point. As shown in the following image, we point our cursor where we must add the page break in the document.

After pointing the cursor to the specific position, we press on the “Insert” menu as we have to insert the page break here. This menu contains many insertion options.

Here, we see the “Break” option in this menu and we also need to add the page break. So, we click on the arrow of this option. After this, one more menu appears from which we select the “Page Break” option.

After selecting the “Page break” option, we now notice that the page break is added to that point where we position our cursor and the text after that is now shifted to the next page.

Example 2: Utilizing the “Ctrl+Enter” Shortcut
Here, we want to move the second heading, “Raster Scan”, to the next page and apply the page break. For this, we place the cursor after that paragraph from where we have to shift the next text to the next page. After placing the cursor at the end of the paragraph, we utilize the shortcut technique here and press “Ctrl+Enter” to add the page break here.

Here, we have seen that the second heading is now shifted to the next page. This is because we add the “Page Break” here using “Ctrl+Enter”.

Example 3: Utilizing the “Line and Paragraph Spacing”
Now, there is another heading which is “Application of Computer Graphics” and we wish to add the page break at this point and move this heading to the next page. Here, we have to point the cursor before the text that we want to move to the next page. So, we position the cursor or pointer before the heading.

After this, we move towards the “Line and paragraph spacing” icon and open the drop-down menu.

This “Line and paragraph spacing” icon has an option that says, “Add page break before”. It means that it adds the page break before the text where we position the cursor. So, pressing that option adds the page break to the desired position.

Here, we can see that it separates the document into two pages and also adds the page break where we position the cursor on that document.

Example 4: Utilizing the “Format” Menu Option
In this document, we have a “Computer Graphics” heading and we wish to add the page break here and shift the text of this heading to the next page along with that heading. We position the cursor before the “Computer Graphics” heading here.
We select the “Format” menu after placing the cursor in the required location since we need to insert a page break at this location. This menu offers a variety of formation possibilities. We need to add a page break here, so we click on the arrow next to the “Line and paragraph spacing” option in this menu. After that, a further menu with the “Add Page Break before” option is displayed. We choose this “Add Page break before” option here as we have to insert the page break before the heading.

Here, the specified heading is now moved to the document’s next page where the cursor is located on the document. It separates a one-page document into a two-page document here with the aid of “Page break”.

Example 5: Page Break on Android in Google Docs
As we also work in Google Docs on Android, we were sometimes required to utilize the page break on Android. Now, here is an example in which we add a page break on Android in a Google Docs document. The document is shown where we position our cursor on the required position where we have to insert the page break.

Now, after this, we chose “+” which is the insert menu here on Android to open the insertion option. So, we insert the page break using the “page break” option from those options.

Some more options are displayed after clicking the “+” insert icon. We scroll down and see the “Page break” option available in it. We now click on it.

Following our selection of the “Page break” option, we can see that the text after the point at which we placed our pointer is now moved or we can say that the page break appears. The content that follows the page break is printed on the next page when this document is printed.

Conclusion
We inserted the page break in Google Docs by utilizing four unique techniques in this guide and showed all these four techniques with the help of practical demonstrations. We explained them thoroughly and showed the documents before and after inserting the page break in Google Docs. We also inserted this Android page break in the Google Docs document.
Source: linuxhint.com