OProfile Tutorial
Performance monitoring is crucial to get a view of how the various tasks perform on your system. There are plenty of performance monitoring tools, but OProfile stands out. It is a system-wide performance monitoring tool that comes with the oprofile package. Besides, it has low overhead, making it perfect for retrieving information about executables and other tasks on your system, such as determining the total hardware interrupts received on your kernel.
Ideally, OProfile utilizes its system daemon and loadable kernel modules to collect the data for various running tasks to monitor their performance. If you haven’t used OProfile before, this guide covers everything you should know. Take a look!
Getting Started with OProfile
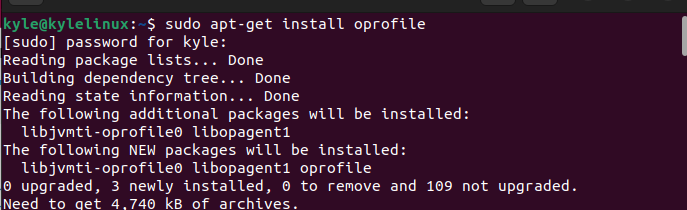
OProfile allows you to profile all the running codes on your system at low overhead. You can easily install the oprofile package using the following command for Ubuntu:
With OProfile installed, let’s discuss its various utilities for various tasks.
1.operf – It is a profiling tool that utilizes the Linux event subsystem to monitor your system hardware.
For instance, let’s create a new file using the touch command. In this case, profile the process using the following command:
Once profiling is done, you should get an output such as the one in the following illustration. This means that our profiling was successful, and we can now use the opreport utility to generate a summary of the report.

If you want to profile your entire system, you can run the following command:

Kill the process by pressing ctrl + c to end the profiling, as monitoring the entire system could take time.
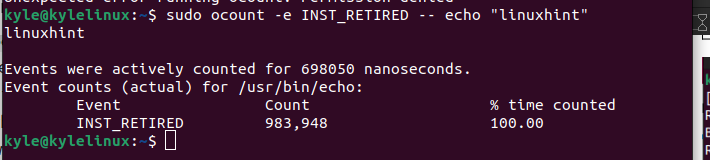
2. ocount – It is used to keep a tab on the total event occurrences for a process, thread, or entire system.
For instance, we could run the following command if we want to count the number of events that occur when executing a process or utility such as the echo command.
Note how we get the total event counts and the percentage of the time count.
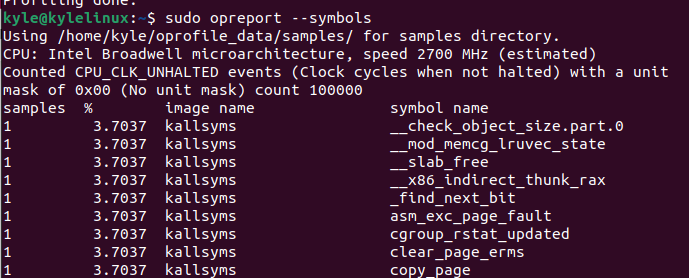
3. opreport – After recording the performance data, you invoke the opreport to generate a summary based on the profile that you specified.
For this case, let’s use the profiling data that we recorded using the operf command in the first example to generate a summary of the performance data. In that case, run the following command:
You will get a summary which is similar to the one in the following:
- opannnotate – It is used when you have an application compiled with debugging symbols. Its purpose is to create an annotated source for it. Note that you must specify the directory for the source code and for the executable which you want to analyze.
- oparchive – It gathers executable, profile data, and libraries required in analyzing the profiling sessions.
- opimport – It is used when you want to convert a given database file to native format if it’s currently in foreign binary format.
- ophelp – It displays the available system processor events and their description.
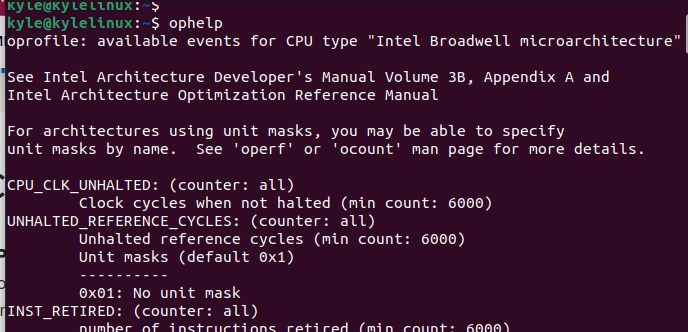
In the previous output, you will get all the descriptions for various utilities and the options you can add to achieve more functionality.
Conclusion
The OProfile package offers various utilities that allow the users to monitor their system performance. We discussed most of the available utilities, giving an example on how you can use the utility in your monitoring system for profiling. Hopefully, you can apply the same concept when monitoring your system’s performance using OProfile.
Source: linuxhint.com