Nodejs MongoDB Find

After updating your Linux system, you have to install the software-properties-common bundle that contains the set of different repositories used to install different software via the Ubuntu 20.04 shell. To install this, you need to try out this installation command with the apt-get keyword.

After the installation of necessary packages and modules for further installation, we will be moving towards the installation of an “npm” package manager for Nodejs first. To install it, try out the apt-get installation instruction along with the keyword “npm.” Add your password, if asked at the shell, and continue.

Tap “y” to continue moving forward in the processing upon being asked: “Do you want to continue?”.

Wait until the progress reaches 100 percent on the processing of this query. You can also try out the same command with the keyword “nodejs,” as shown below.

After the successful installation of the “npm” package, we will be installing the Nodejs JavaScript environment package on our Ubuntu 20.04 system with the “apt-get” package in the installation instruction. Make certain to indulge the “sudo” privileges to do so. Use the keyword “nodejs” in the command. It will be installed in no more than 2 minutes.

Let’s check out the “npm” version just installed at our end with the version command. So we have been using the keyword “npm” with the “-v” option and got version 6.14.4.

To check if the nodejs has been successfully installed in our system, we need to use the dpkg command with the –get-selections option. It will list down all the mounted packages.
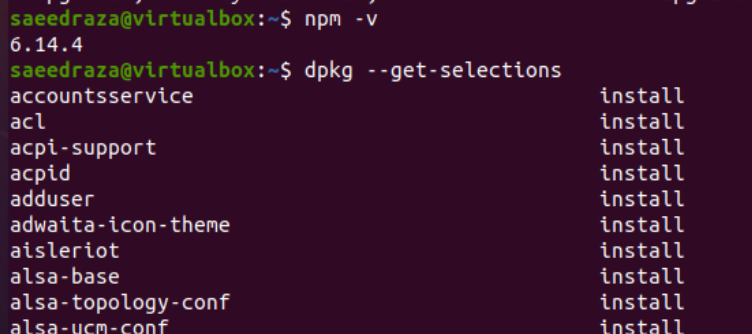
Roll down a little, and you will see “nodejs” in this list.

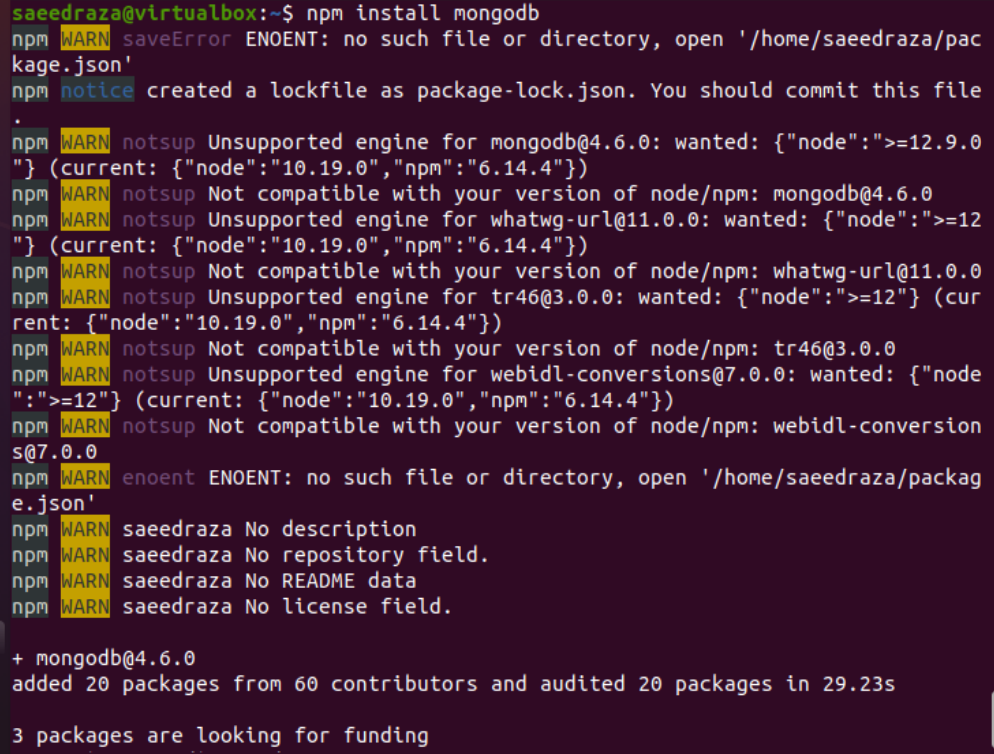
It’s time to install “MongoDB” at our end with the use of the “npm” package at the shell. So, we have tried the installation command with the keyword “MongoDB” via the “npm” package. Wait until it collects the information and install it fully.

After the installation, it will show the following output, i.e., the installed version of MongoDB. It is also stating that 3 packages might require funding to fully configure them.
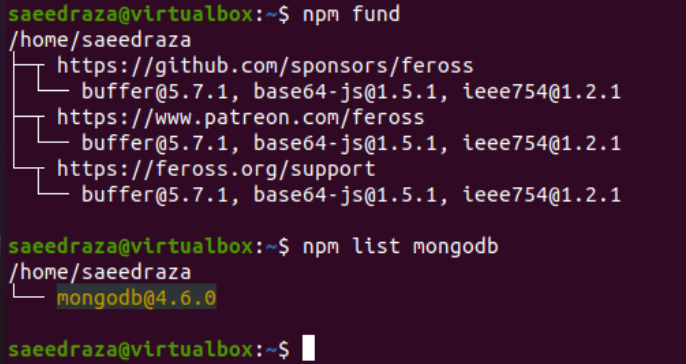
You can also try out the “npm” package within the list command along with the keyword “MongoDB” to display the versions of MongoDB installed by the “npm” package. Right now, we have only one version of mongo dB installed on our system, i.e., 4.6.0.
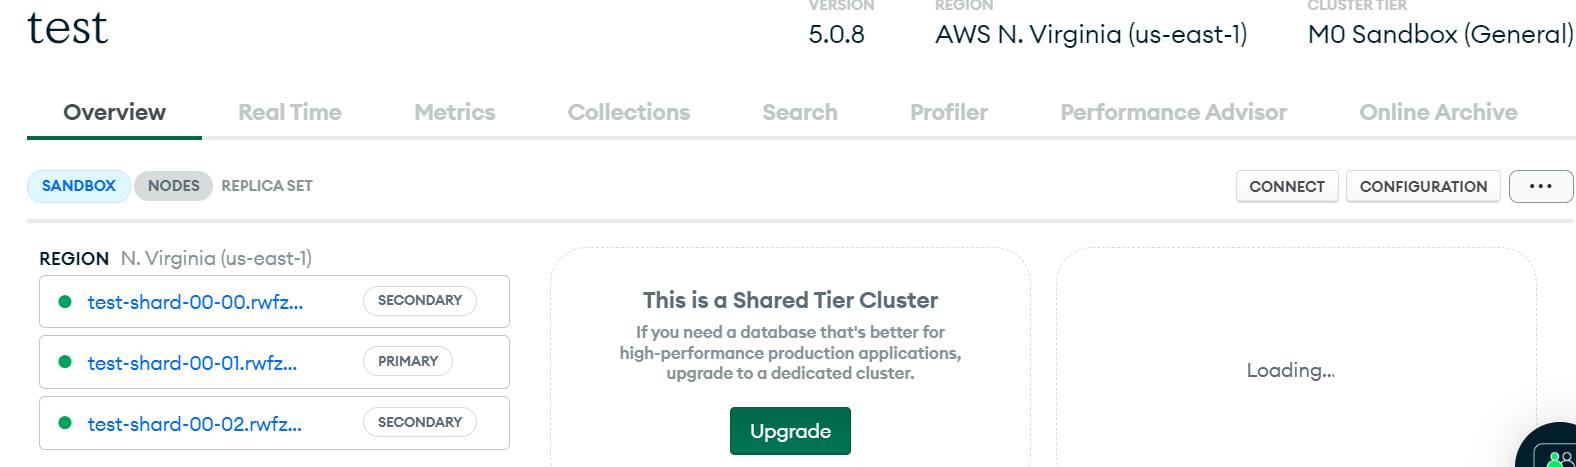
After the successful configurations of npm, nodejs, and mongo dB at the Ubuntu 20.04 Linux system, it’s time to set up the cloud server now. So, you need to open the MongoDB cloud site in your browser and register from the authenticated email. After the successful registration, log in from the cloud MongoDB and create a new cluster. You need to select the location while creating a cluster and label it. For instance, we have named it “test,” as you can see from the “All Clusters” page.

Tap on the cluster name “test” to see its data and servers. You have to make a new user and its password for this cluster “test.” To connect the Linux machine with the cloud server, you need to add the IP address of your Linux machine to the Database Access panel and save it. We have created a user name with “saeed” and given it a new password. You need to create a new database in the cloud as well.
We have created a database “test” and added a new collection “Data” within it. Within the “Data” collection, we have added a single record for columns “id” and “title.” The shown-below output is all about your test server. Tap on the “connect” button shown on your below screen to connect this cloud server with the Linux system via Nodejs. You will be provided with 3 different ways to connect your cloud server with the local database, i.e., via terminal shell, via the application, and others. Copy the URL provided to connect a local database with the cloud server. Note that the URL will be different according to the Nodejs versions.
Create a new JavaScript file using the touch instruction, i.e., node.js. Add the shown-below code within it. The variable “URL” must contain the copied URL from the cloud. Add your username and password for the “test” server within this URL provided and paste it. This JavaScript code will be used to connect the “test” database of MongoDB with the cloud and display the data of collection “Data” at the shell. If the connection got unsuccessful, it would throw an error.

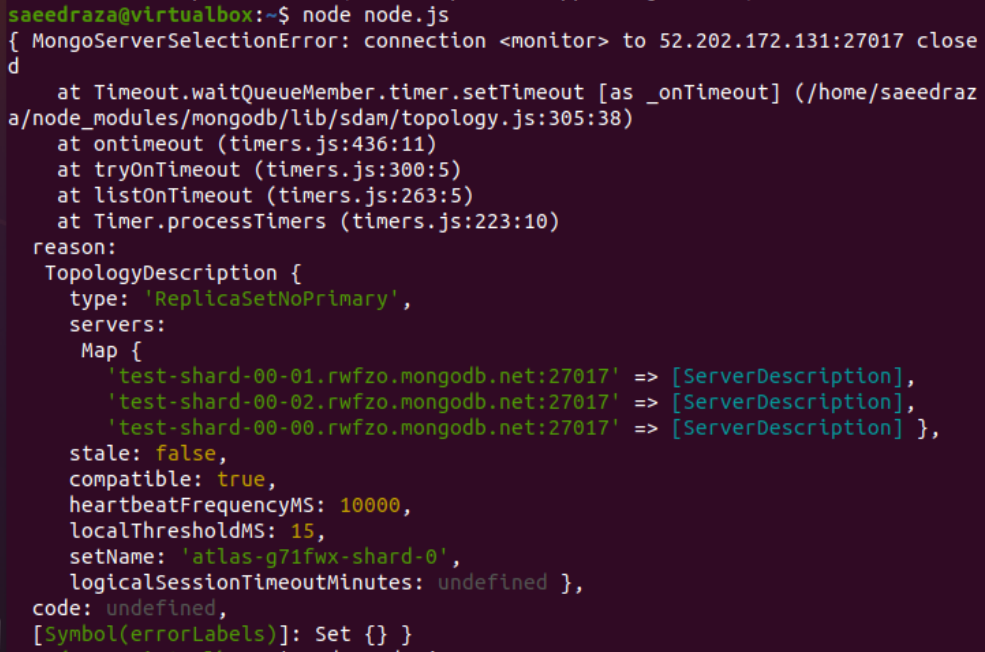
If you have tried the above code for connectivity, run the node.js file at the shell using the “node” command as shown.
You can also use the URL provided for the option of connecting through the MongoDB shell, as shown.

Conclusion
This tutorial briefly illustrates using the Nodejs to find the MongoDB cloud server data at the local server. You need to create an account on a cloud server, generate a new database and its collection, and add a username, password, and Ip address. After that, you need to use the URL provided at your cloud on the MongoDB shell or Nodejs file to connect. The database collection data will be displayed at the shell, i.e., added in the cloud database and shown on the local MongoDB shell.
Source: linuxhint.com