MongoDB Compass Installation and Usage
Installation of MongoDB Compass on Ubuntu 22.04:
For installing the GUI of MongoDB and MongoDB Compass on Ubuntu 22.04 system, you will have to perform the following steps:
Step # 1: Updating the System Index:
First, you need to update your system’s index with the command given below:
![]()
Step # 2: Downloading MongoDB Compass on Ubuntu 22.04:
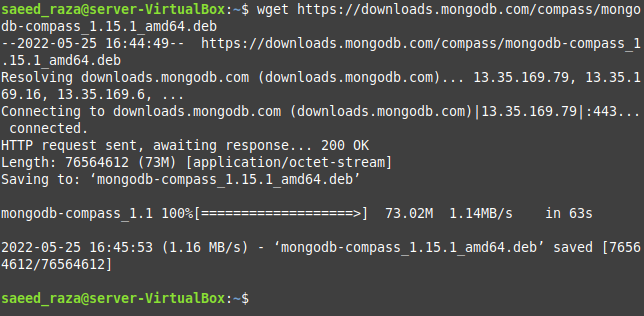
Once your system’s index has been updated successfully, you need to download the “.deb” file of MongoDB Compass by running the following command or you can even download it from the official site of MongoDB manually.
![]()
When this command will finish its execution, the output shown below will be presented to you:
Step # 3: Installing MongoDB Compass on Ubuntu 22.04:
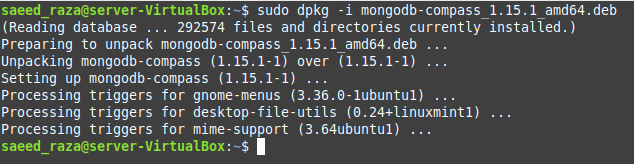
Then, you can install MongoDB Compass on your Ubuntu 22.04 system with the help of the following command:
![]()
Upon a successful installation of the MongoDB Compass on Ubuntu 22.04, the output shown below will appear on the terminal:
Usage of MongoDB Compass on Ubuntu 22.04:
Before starting to use the MongoDB Compass, you need to ensure that the MongoDB server is running on your Ubuntu 22.04 system. Otherwise, you will not be able to connect to the MongoDB database. Eventually, you will not be able to work with the MongoDB Compass. You can run the MongoDB server by executing the “mongo” command in your system’s terminal. Once the MongoDB server starts running on your system, you can carry out the following steps:
Step # 1: Launching MongoDB Compass on Ubuntu 22.04:
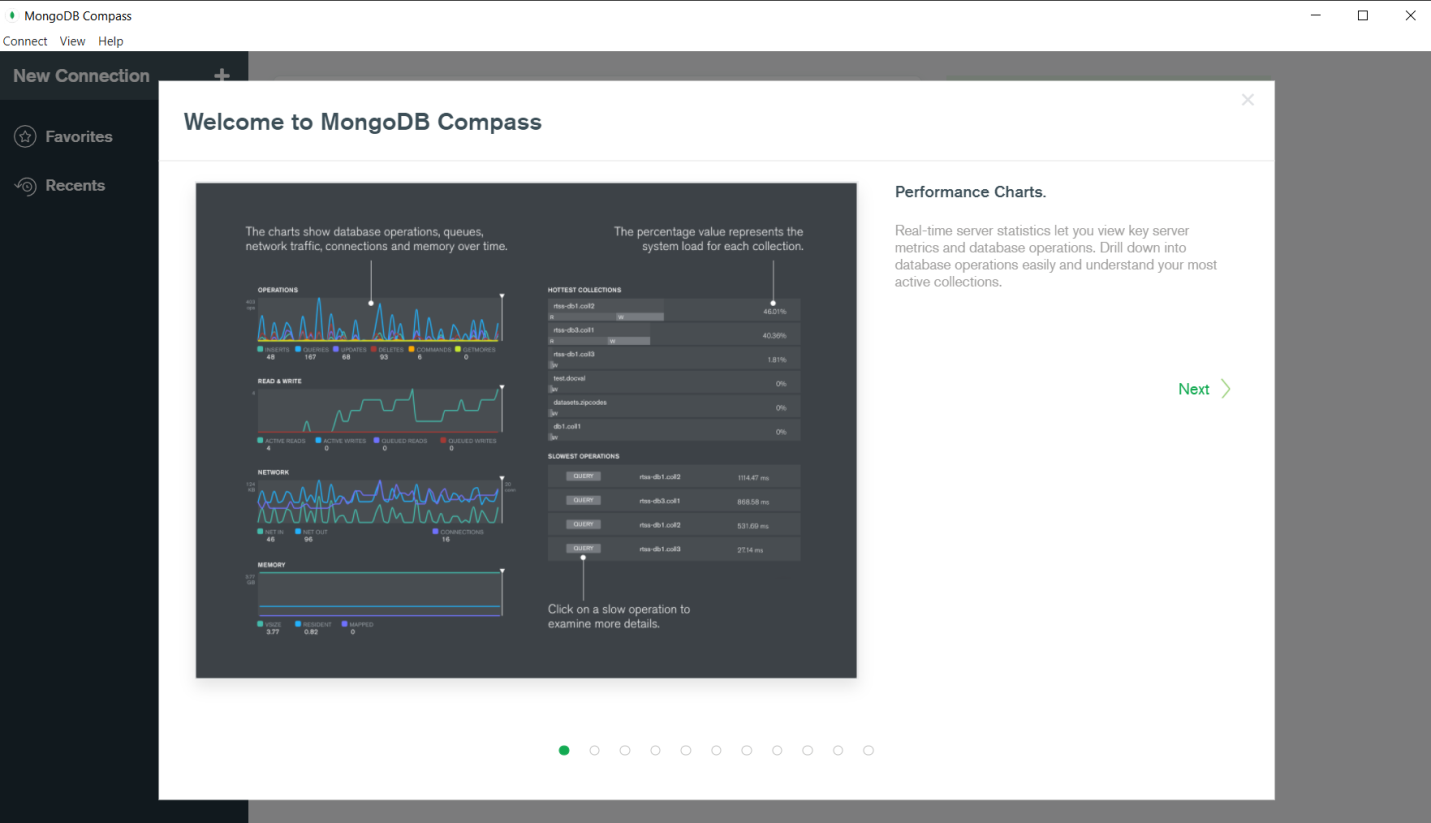
You can launch the MongoDB Compass by looking for it in the Application Menu’s search bar of your Ubuntu 22.04 system and clicking on the relevant search result. The welcome interface of the MongoDB Compass tool is shown in the image below:
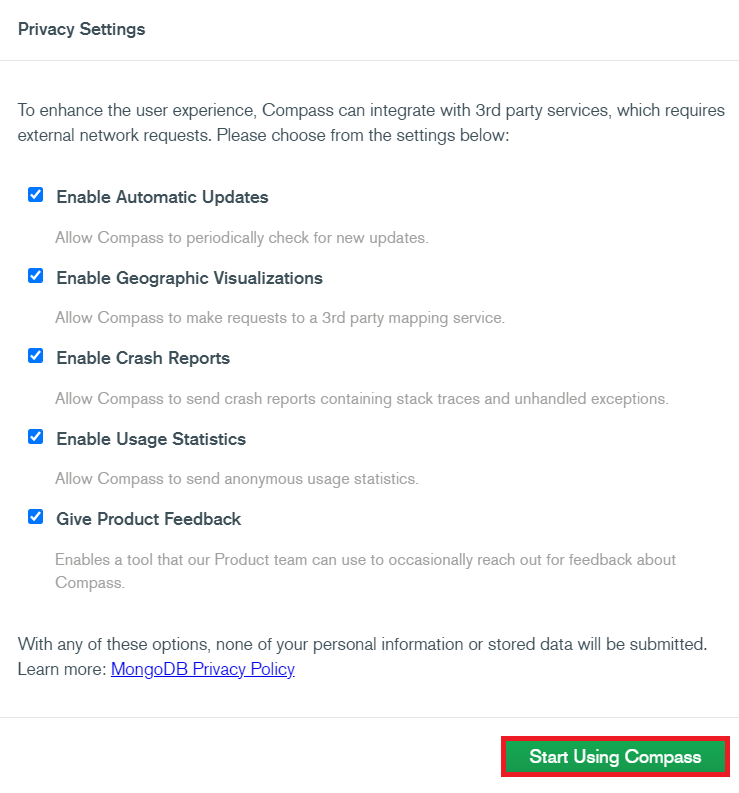
When you close the welcome message dialogue box, you will be presented with the Privacy Settings dialogue box as shown in the following image. From here, you need to click on the Start Using Compass button for proceeding further.
Step # 2: Connecting to the MongoDB Database in Ubuntu 22.04:
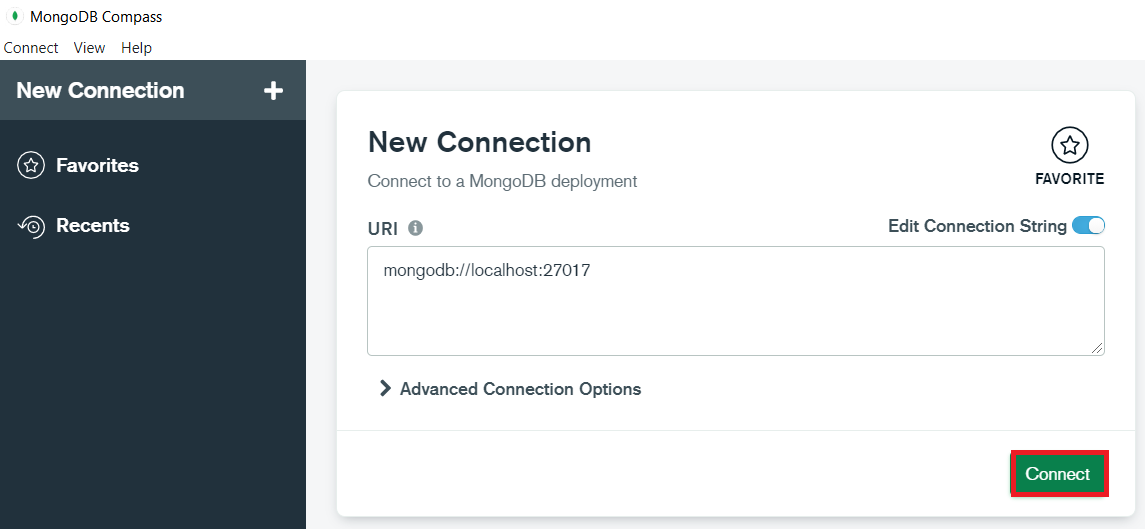
Now, you need to connect to the MongoDB database. For that, you will have to type in your Local Host Address in the space provided and click on the Connect button as shown in the image below:
Step # 3: Creating a Database and a Collection in MongoDB Compass:
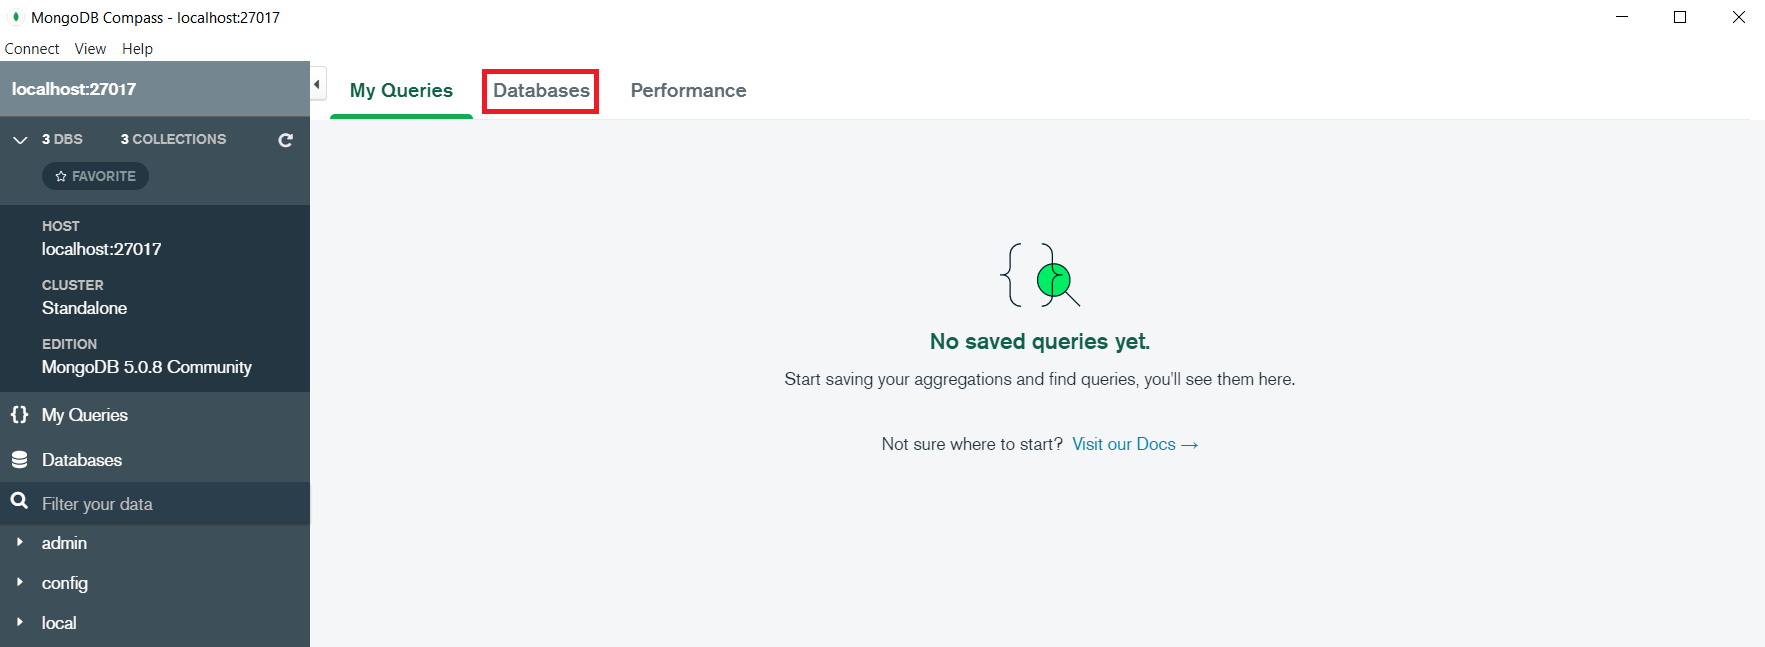
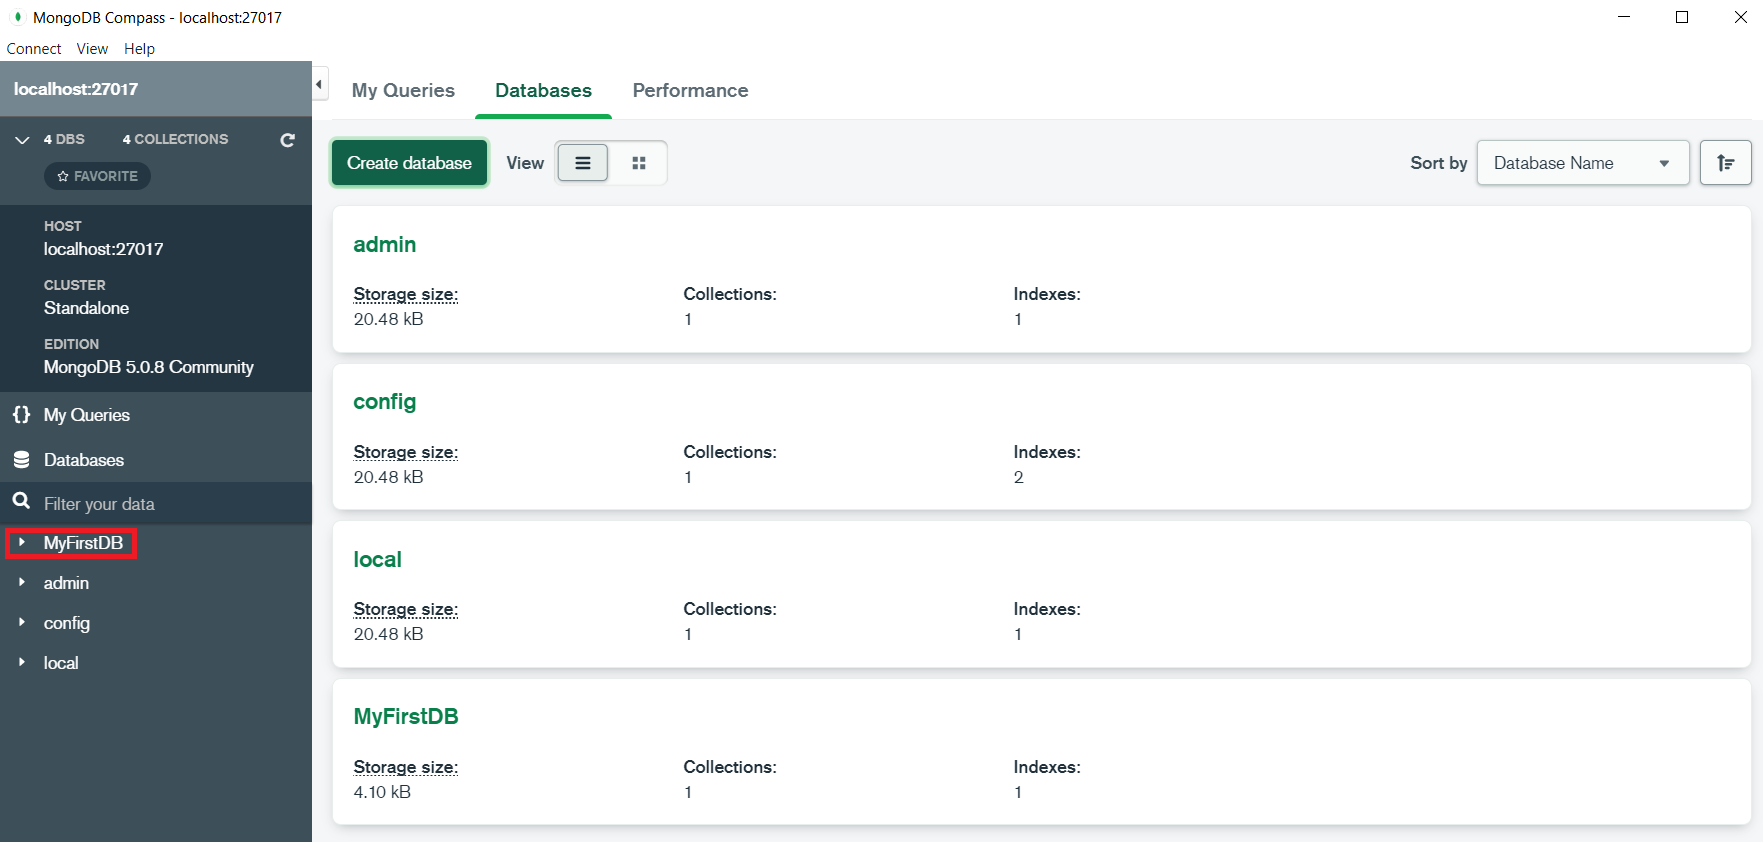
After connecting to the MongoDB database, you can create a database and a collection in MongoDB Compass very easily. You should click on the Databases tab for creating a new database.
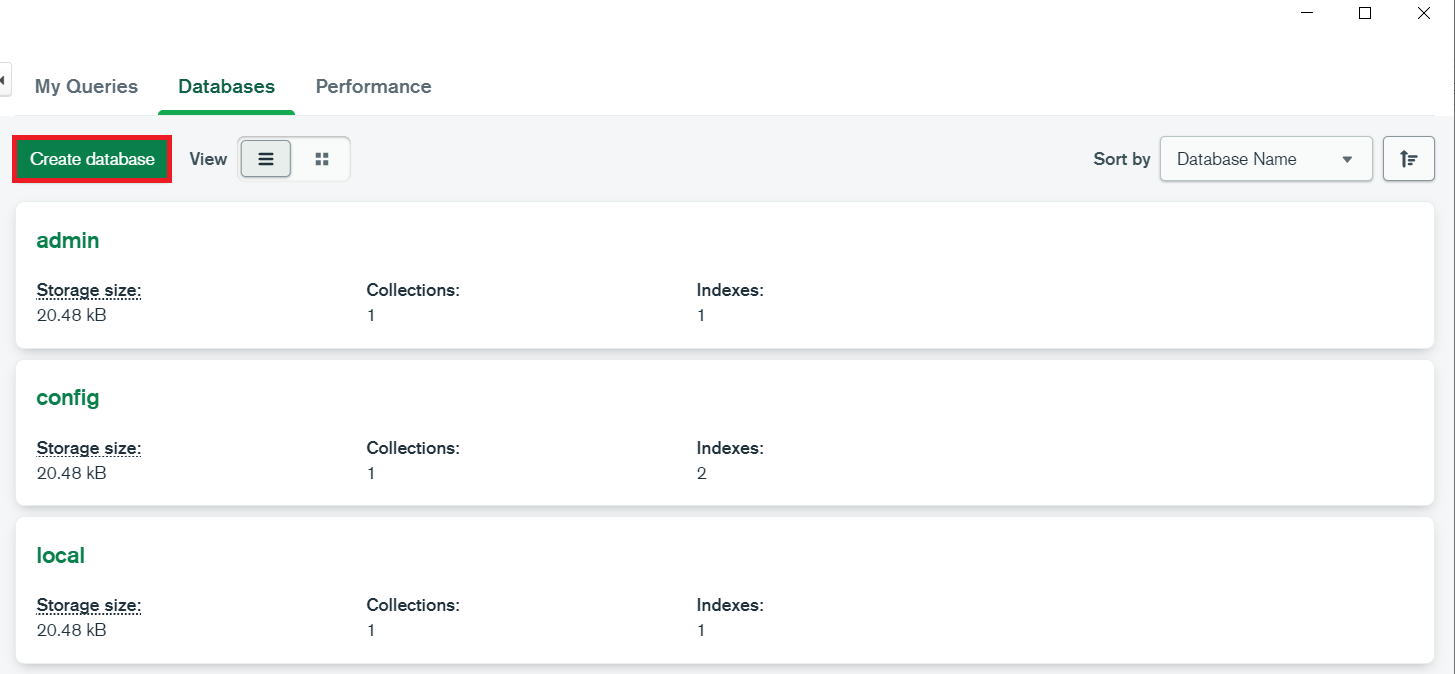
Here, all the three default databases will be presented to you. You can create a new one by clicking on the Create database button.
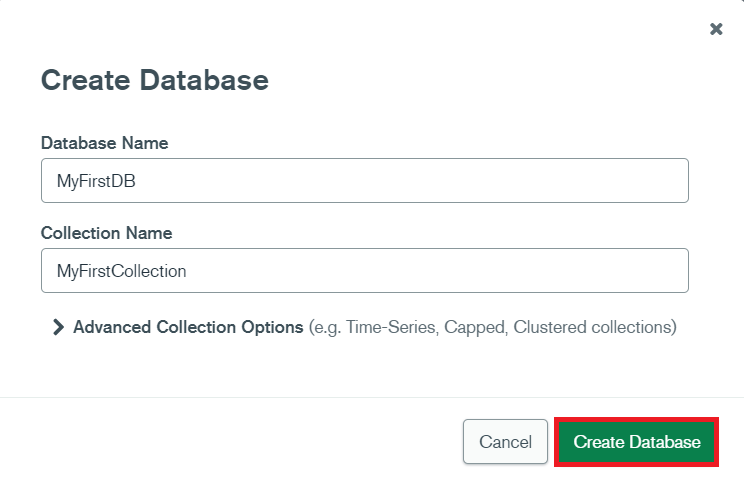
Upon clicking this button, you will be asked to type in the name of your database as well as the name of the collection that you want to create inside this database (you can even create more collections inside the same database later). After providing the names of the database and the collection, you have to click on the Create Database button as shown below:
Step # 4: Inserting a Document in the Collection in MongoDB Compass:
Now, you will be able to see your newly created database within the list of MongoDB databases. For inserting a document inside the newly created collection in your MongoDB database, you first need to expand the database tab by clicking on the name of your particular database as highlighted in the following image:
From here, you need to click on the name of your specific collection as shown below:
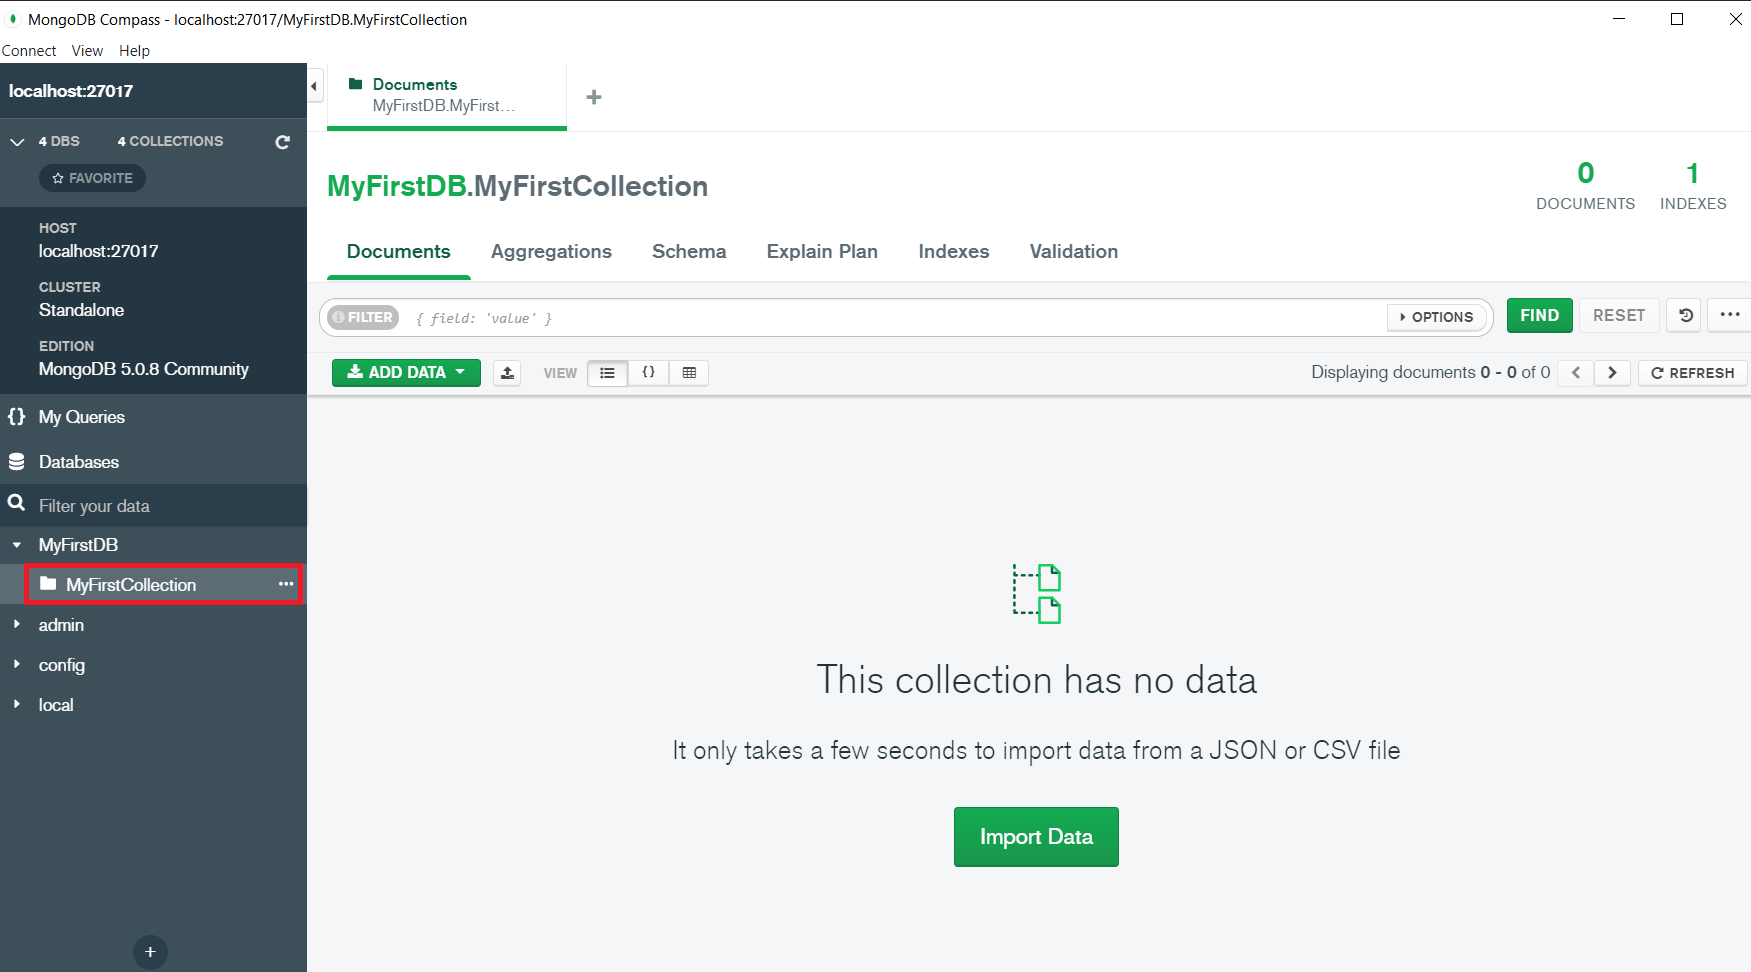
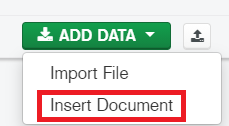
Once you are inside your new collection, you need to click on the ADD DATA button and then select the Insert Document option.
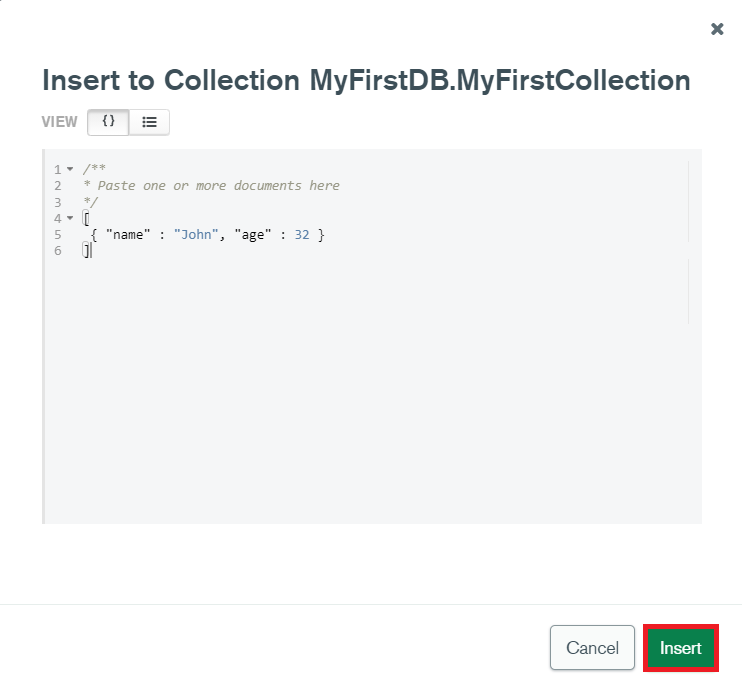
After doing this, you will be presented with a sample document as shown in the following image:
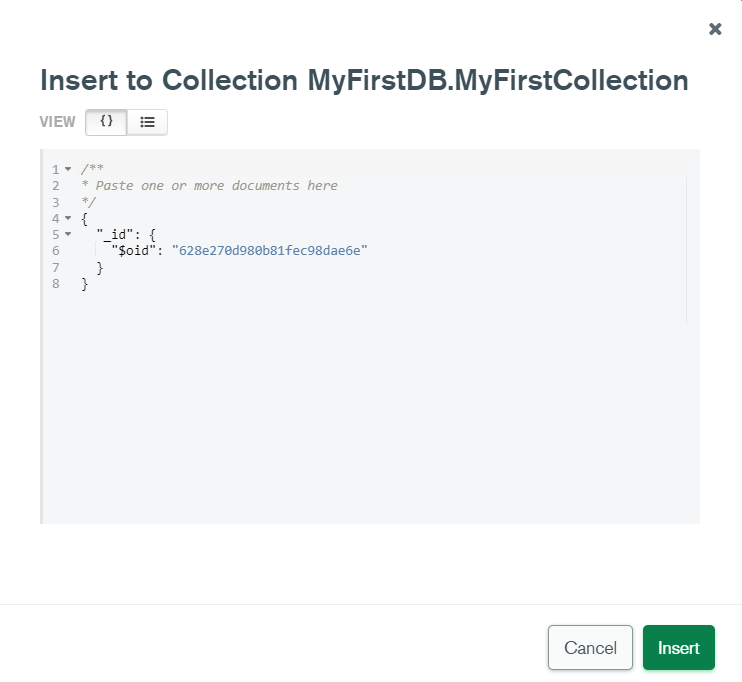
You can remove this sample document and add your own as shown in the image below. In the same manner, you can even insert multiple documents at a time separated from each other by commas. You need to be careful about the syntax of the query. After inserting the document[s], you have to click on the Insert button.
Now, you will be able to see the inserted document[s] inside your collection as shown below:

Step # 5: Deleting the Document in the Collection in MongoDB Compass:
For deleting a document, you need to hover over it and then click on the remove icon as highlighted in the following image:

Then, you need to confirm its deletion by clicking on the DELETE button.

Step # 6: Deleting the Collection in MongoDB Compass:
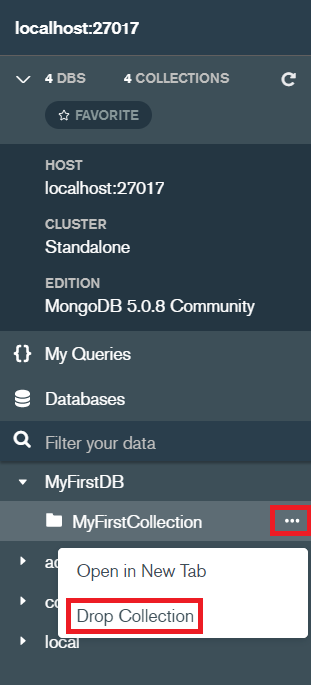
Finally, click on the three dots located with its name and then select the Drop Collection option.
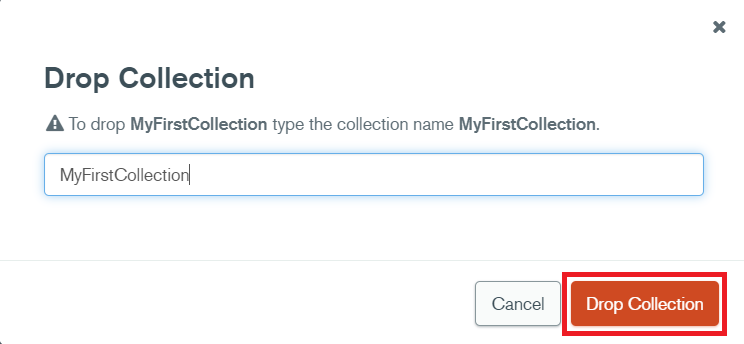
After that, you can provide the confirmation by clicking on the Drop Collection option highlighted in the image shown below:
Conclusion:
This guide was primarily written to deliver two functions: the installation of MongoDB Compass and the use of MongoDB Compass on Ubuntu 22.04. We first talked about the installation of this tool on Ubuntu 22.04 by explaining each. It is followed by the very basic usage of this tool. By following this tutorial, you will easily be able to use MongoDB Compass for creating a database and a collection, inserting documents inside a collection, deleting documents from a collection, and deleting a MongoDB collection.
Source: linuxhint.com