Merge Development Branch With Master
Git developers use Git branches to maintain DevOps project source code. They work on different branches, such as feature branches that include features. Then, these branches are merged into the “development” branch, which acts as a pre-production branch. After integrating all branches in the development branch, the Git users merge the development branch into the default branch, such as the “master” branch.
This blog will demonstrate the method for merging the development branch completely with the master.
How to Merge the Development Branch With Master Branch?
The master branch includes all project source code and development branch code, while the development branch contains pre-production code.
To merge the development branch completely with the master branch, first, merge the development branch into the master merge. Next, merge the master branch into the development branch. To do so, check out the below-listed procedure.
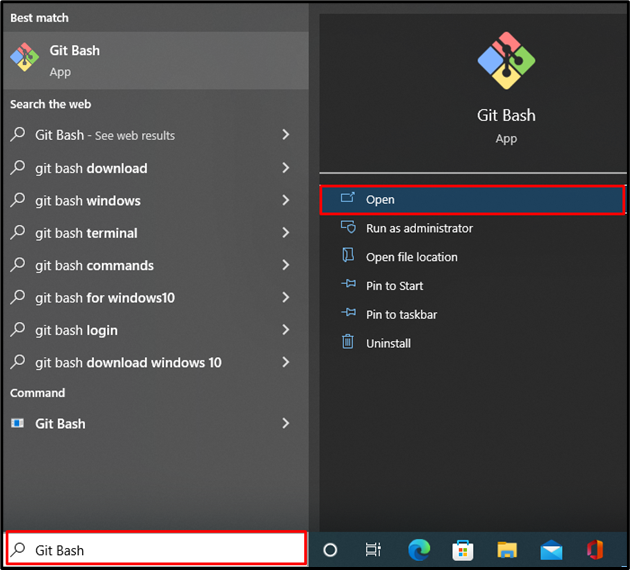
Step 1: Open Git Terminal
From the Startup menu, launch the “Git Bash” Git terminal:
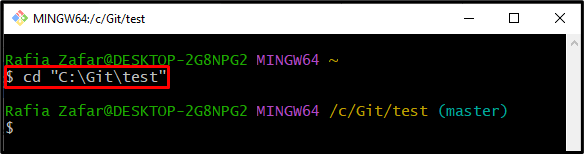
Step 2: Open the Git Repository
Next, utilize the “cd” command to open the Git repository:
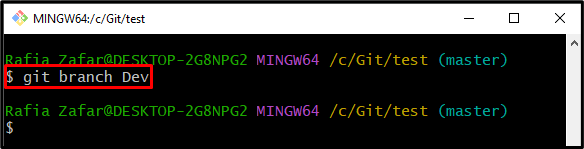
Step 3: Create Development Branch
In order to create the development branch, utilize the “git branch <branchname>” command. For instance, we have created the “Dev” branch as a development branch:
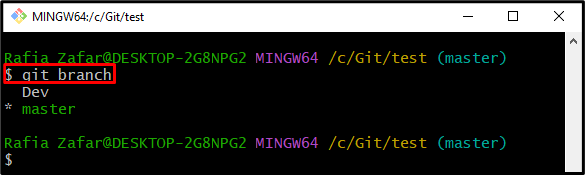
Next, verify whether the branch is created or not again by executing the “git branch” command:
Here, you can see we have successfully created the “Dev” branch:
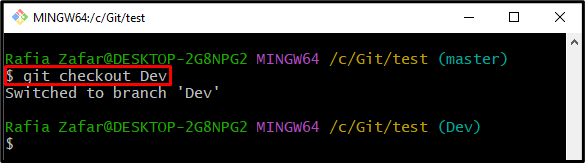
Step 4: Move to Development Branch
Move to the development branch through the “git checkout” command:
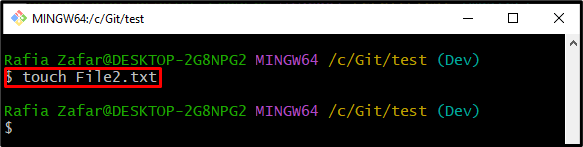
Step 5: Generate New File
Generate a new file through the “touch” command:
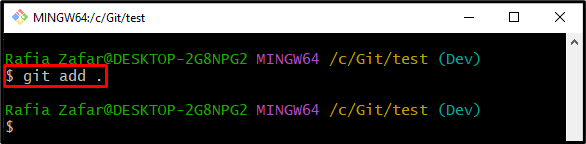
Step 6: Add Untrack Changes to Tracking Index
Add the untracked changes to the tracking index(staging area) with the “git add” command:
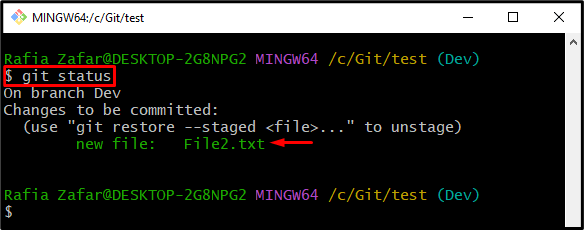
Now, check the repository state using the “git status” command for verification:
Step 7: Commit Git Tracked Changes
Using the “git commit” command, commit the tracked changes and store them in the local repository:

Step 8: Move to Master
After that, move to the master branch:

Step 9: Merge Development Branch into Master
Merge the development to the master branch with the help of the “git merge” command:

Step 10: Verify If Development Branch is Merged
Now, check whether the development branch is merged into the master branch by viewing the one-line Git logs graph:
The below output shows that the “Dev” branch is successfully merged into the master:

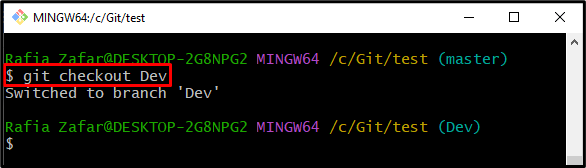
Step 11: Move to Development Branch
In order to merge the master branch with the development branch, move to the development branch using the provided command:
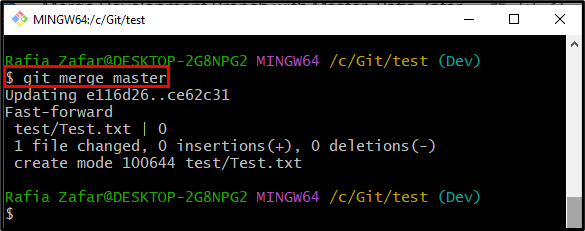
Step 12: Merge Master in Development Branch
To completely merge the development branch with the master, run the “git merge” command:
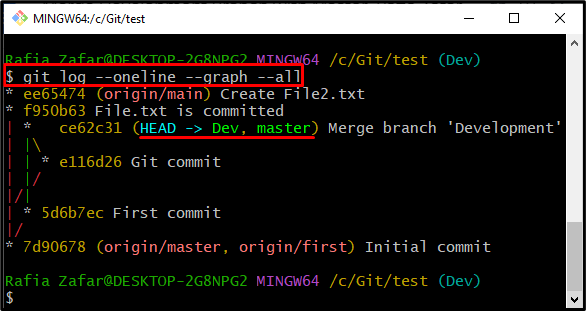
Again, view the git logs one-line graph to verify whether the development branch is completely merged with the master branch or not:
It can be observed that the development branch is completely merged with the master branch:
We have elaborated on the method for merging the development branch with the master branch.
Conclusion
To merge the development branch completely with the master branch, first, open the Git repository. Switch to the master branch through the “git checkout master” command. Then, merge the development branch in the master branch using the “git merge <Development branch-name>” command. After that, move to the development branch and merge the master branch with the development branch using the “git merge master” command. This article has elaborated on how to merge the development branch with the master.
Source: linuxhint.com