Make Dynamic IP to Static IP using No-IP on Raspberry Pi
Want to host a server on Raspberry Pi or need a static IP address to link any domain, there are several applications but not all of them are free to use. The No-IP application is specifically designed to work with Linux based systems including Raspberry Pi OS and is a dynamic DNS service provider that links the desired domain to your IP address and removes the hassle of creating a static IP address.
In the free package one can only create a DNS server that includes only 1 hostname whereas in the paid package one can create more than 80 DDNS (Dynamic DNS), read this guide to download and install it on Raspberry Pi.
Installing No-IP on Raspberry Pi
To download and install the No-IP there are the following steps that one needs to follow:
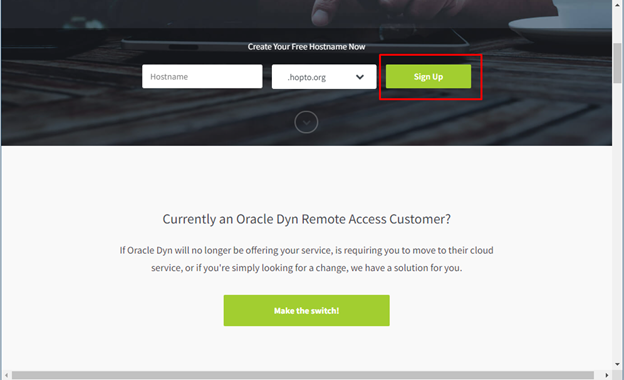
Step1: Open the No-IP website and click on sign up to create an account:
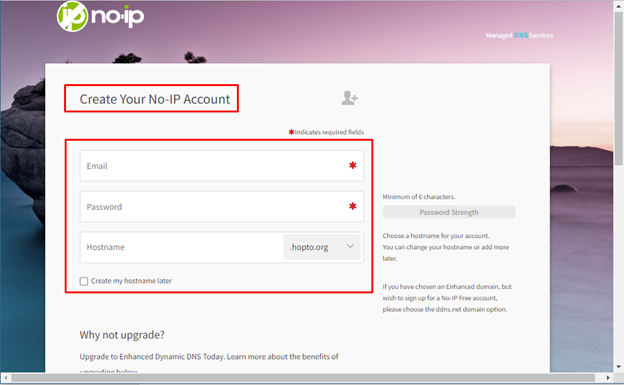
Next, enter the relevant details like username, password, and hostname:
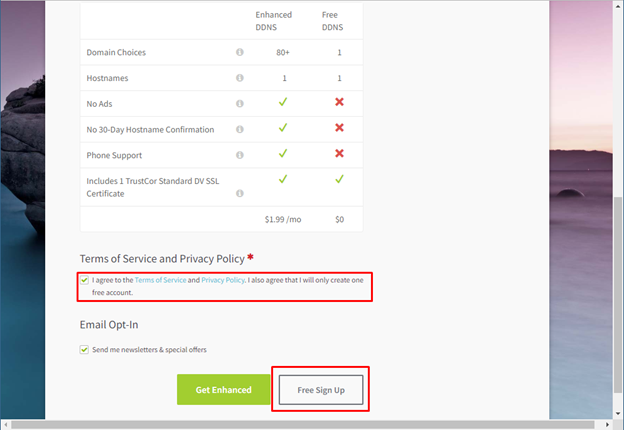
After that agree to the terms and conditions of the No-IP and click on the Free Sign up:
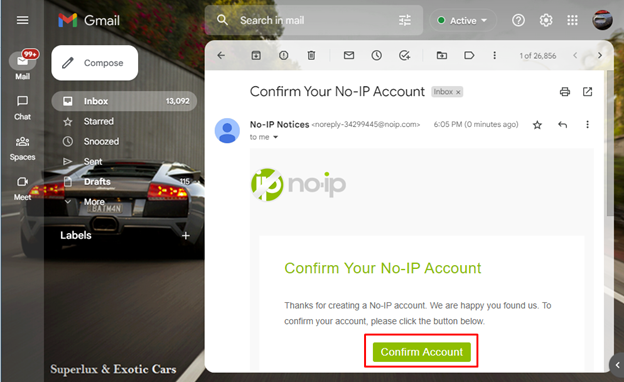
Step 2: After the account is created you will need to activate the account by clicking on the Confirm Account in the received email:
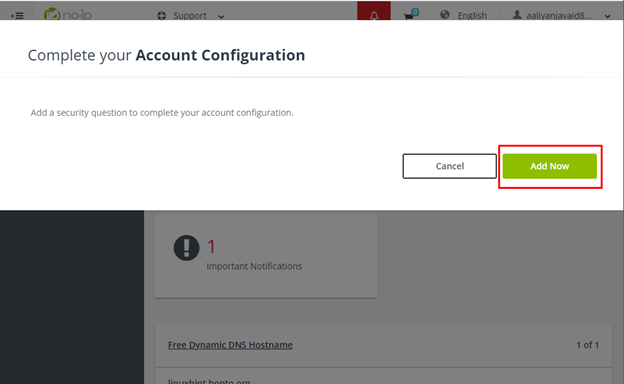
Next login to your No-IP account and complete the account configuration by clicking on the Add Now icon on the pop-up:
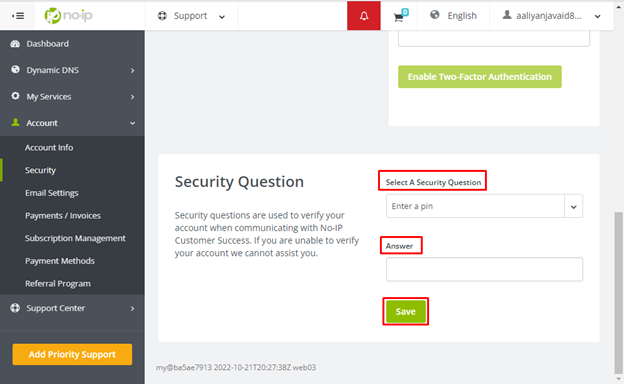
In the account configuration you need to add a security question and save it in case you forget the password:
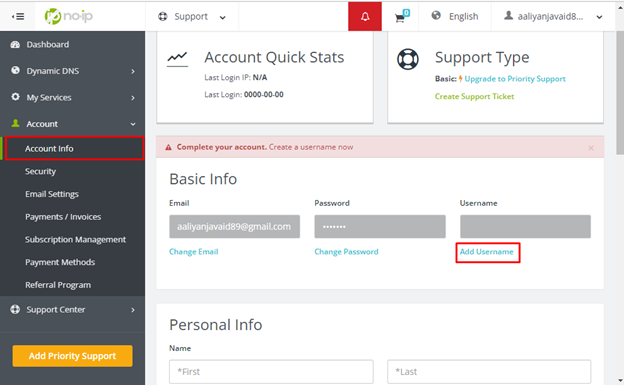
After that enter a username by clicking on Add Username in the Account Info option and this completes your account configuration:
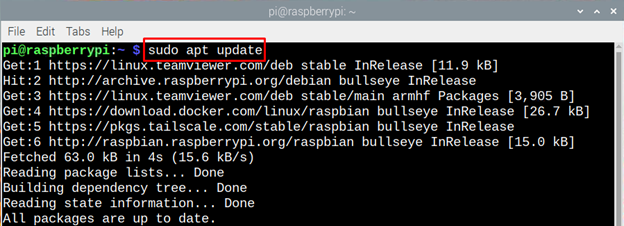
Step 3: Now open the Raspberry Pi terminal and update the packages list by using:
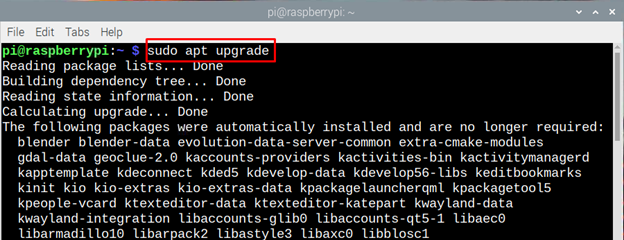
Also run an upgrade command:
Step 4: Next, install the Apache web server as it is a prerequisite for the No-IP application:

Now create a directory in which the No-IP application will be installed:

Now, move into the directory created previously for No-IP application:

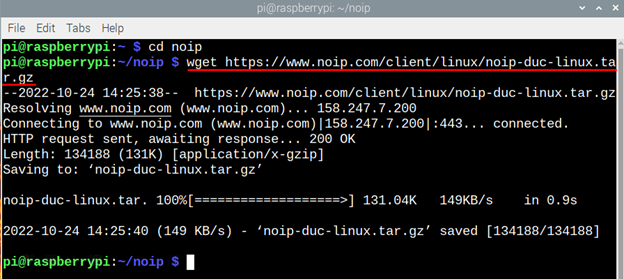
Step 5: Next execute the following command to the download the No-IP on the Raspberry Pi:
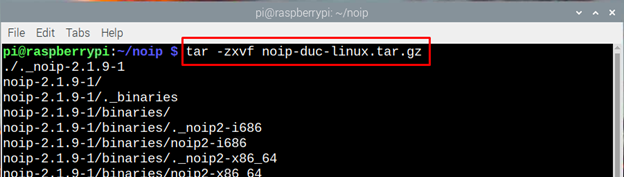
Now extract the file in the same directory:
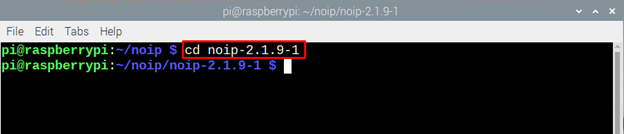
Next, move to the folder of extracted file, in our case the version is 2.1.9-1 it might be different in your case so use the command appropriately:
Step 6: Next compile the extracted file of No-IP application:

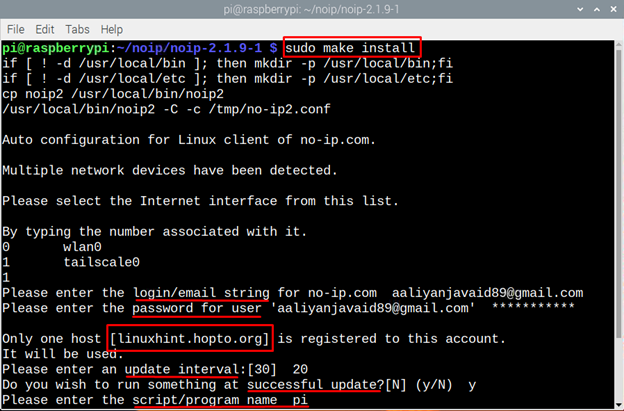
Next install the No-IP and enter the details of the account along with the hostname, update interval and program name:
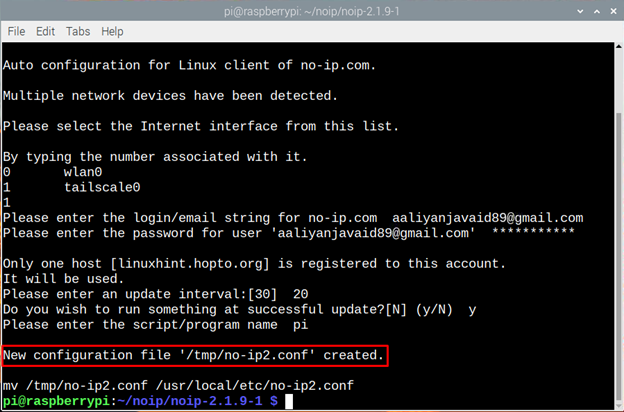
Upon the successful completion a message will appear of file creation, so this is how No-IP can be installed on Raspberry Pi. You can change the username and the hostname as well from your account settings:
Conclusion
No-IP is a DNS client tool that creates one DNS under its free program which can be used to link a domain name to an IP address or to set a public static IP address. To get it on Raspberry Pi one needs to create an account on No-IP, after that download the application file and install it using make command.
Source: linuxhint.com