Installing Plugins in tmux
In this article, we are taking a look at how to install different plugins in tmux. You can install plugins manually or use a plugin manager like tpm to install and manage plugins automatically.”
Manual Plugin Installation
Manual installation of plugins in tmux is comprised of two main steps. Step 1 is to download the plugin script in an appropriate location in the user directory. Step 2 is to enable the plugin by adding its shell command to the bottom of the .tmux.conf file. For example, if you want to install the nord-tmux plugin from arcticicestudio, you can manually clone the git repository of the plugin with the following command:
Then you can add the following line to the bottom of your .tmux.conf fileThen you can add the following line to the bottom of your .tmux.conf file:
If you are not running tmux on a compatible terminal emulator, you will have to install the appropriate terminal theme as well. For example, if you are using Ubuntu 22.04 distro, which ships with GNOME terminal emulator, you will have to install the nord-GNOME-terminal theme for nord-tmux to work. More information about this can be found at the GitHub repository of nord-tmux. After you’ve installed all the dependencies, you can refresh your tmux windows by sourcing the config file or relaunching tmux. After sourcing the config file, or the next time you run tmux, you will see the following:
Notice how the status bar and the rest of the tmux terminal window have changed colors from default tmux colors.
Installing Plugins Through tmux Plugin Manager
While manually installing plugins is a straightforward process, it still involves downloading or cloning repositories, ensuring compatibility, and adding each plugin to the tmux.conf file for running it within the tmux shell. Fortunately, there is a better way to install plugins in tmux. You can use plugin managers to automate most of the process. The first plugin manager we are looking at is called tmux Plugin Manager or TPM for short. TPM enables the user to install any plugin from a well-maintained list of compatible plugins. For example, if you want to install nord-tmux through TPM, you can take the following steps:
Step 1 is to clone the TPM repository in your HOME folder by using the following command:
After the repository is cloned, you have to edit the tmux.conf file in the next step to enable tpm to work within the tmux shell. This is achieved by adding the following lines at the end of tmux.conf file:
set -g @plugin “tmux-plugins/tpm”
set -g @plugin “tmux-plugins/tmux-sensible”
# Other examples:
# set -g @plugin “github_username/plugin_name”
# set -g @plugin “github_username/plugin_name#branch”
# set -g @plugin “git@github.com:user/plugin”
# set -g @plugin “git@bitbucket.com:user/plugin”
#——————————————#
# Initialize TMUX plugin manager (keep this line at the very bottom of tmux.conf)
run “~/.tmux/plugins/tpm/tpm”
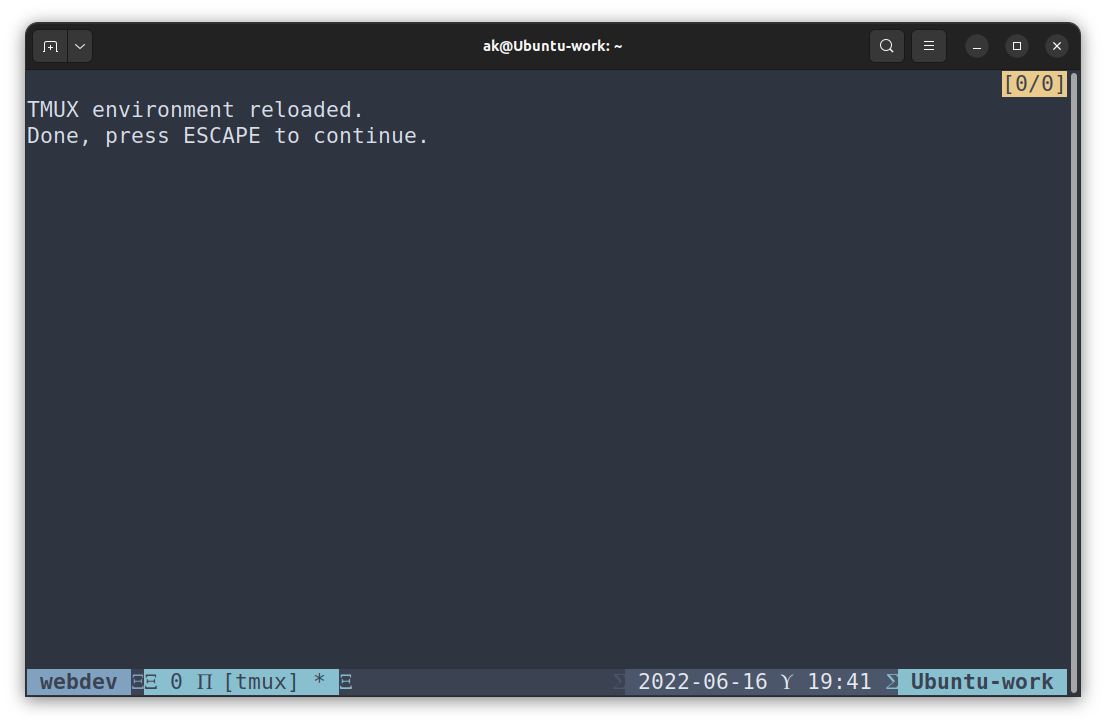
After finishing this step, if you have tmux already running, you can reload the tmux environment by using the following command:
Then, installing the nord-tmux plugin is relatively simple afterward. First, you need to edit the tmux.conf file to include arcticicestudio/nord-tmux plugin as follows:
set -g @plugin “tmux-plugins/tpm”
set -g @plugin “tmux-plugins/tmux-sensible”
set -g @plugin “arcticicestudio/nord-tmux”
Then you can fetch the plugin through Prefix + I (capital letter i), and tpm takes care of installing the plugin itself.
This is shown in the screenshot below:
Tpm clones the github repository to ~/.tmux/plugins/nord-tmux. And after reloading, this is what it looks like:
Uninstalling a Plugin From tmux Plugin Manager
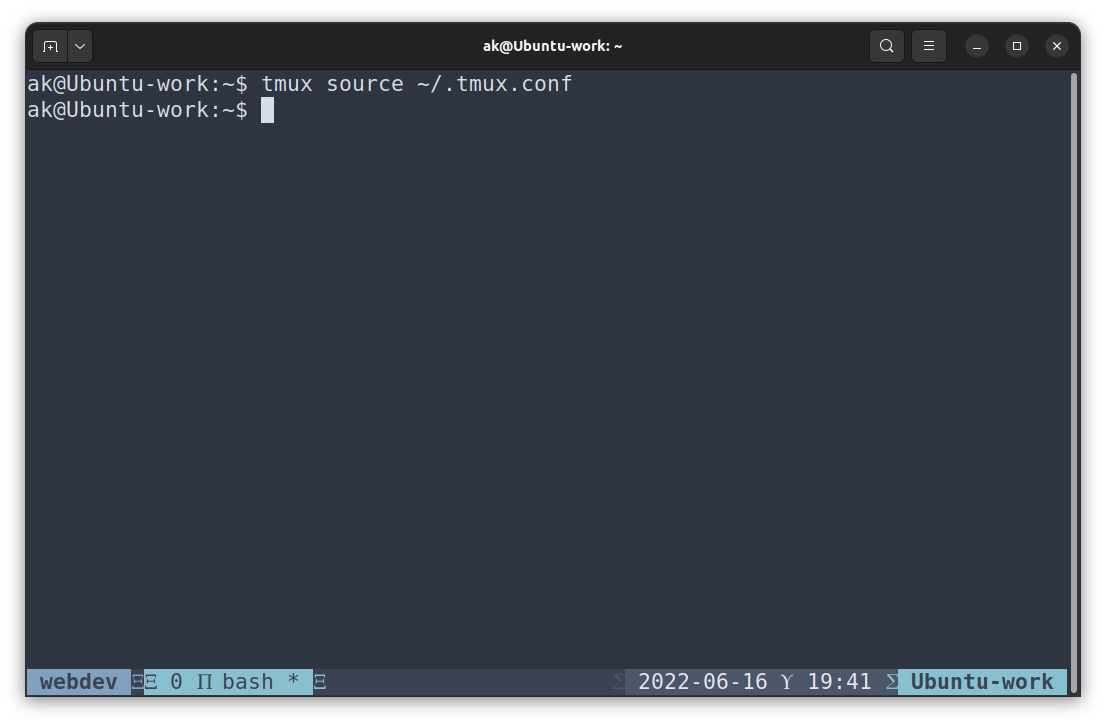
Similar to installing a plugin, tpm supports easy uninstallation of plugins as well. The first step in uninstalling a plugin is removing the plugin declaration line in tmux.conf file, or commenting it out. Then, pressing Prefix + Alt + u refreshes the config changes in the current tmux environment, and the plugin is removed.
For example, if you want to uninstall nord-tmux from tmux through tpm, you can comment on the following line in tmux.conf:
By putting a # sign before it. Then, after you press Prefix + Alt +u, this is what the tmux terminal looks like:
Installing Plugins That Customize the Status Bar
Not all plugins provide aesthetic enhancements for tmux. There are many plugins that add more information to the status bar, such as weather reports, memory and CPU usage, system battery percentage, etc. Installing such a plugin requires a bit more work than aesthetic plugins, even through tpm.
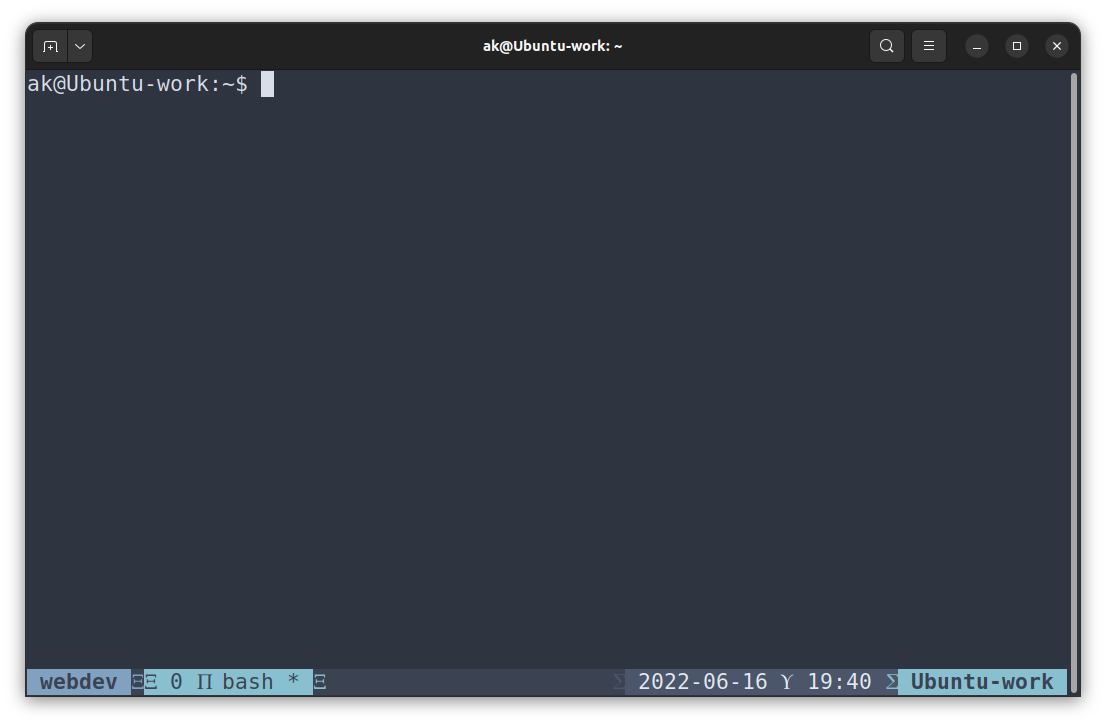
For example, if you want to install tmux-cpu by tmux-plugins on GitHub, you have to add the plugin to the tmux.conf file for tpm to install. First, add the following line to tmux.conf file:
Then press Prefix + I (capital letter i) to fetch the plugin and source it automatically. As you can see in the screenshot below, there is no CPU information available on the status bar yet.
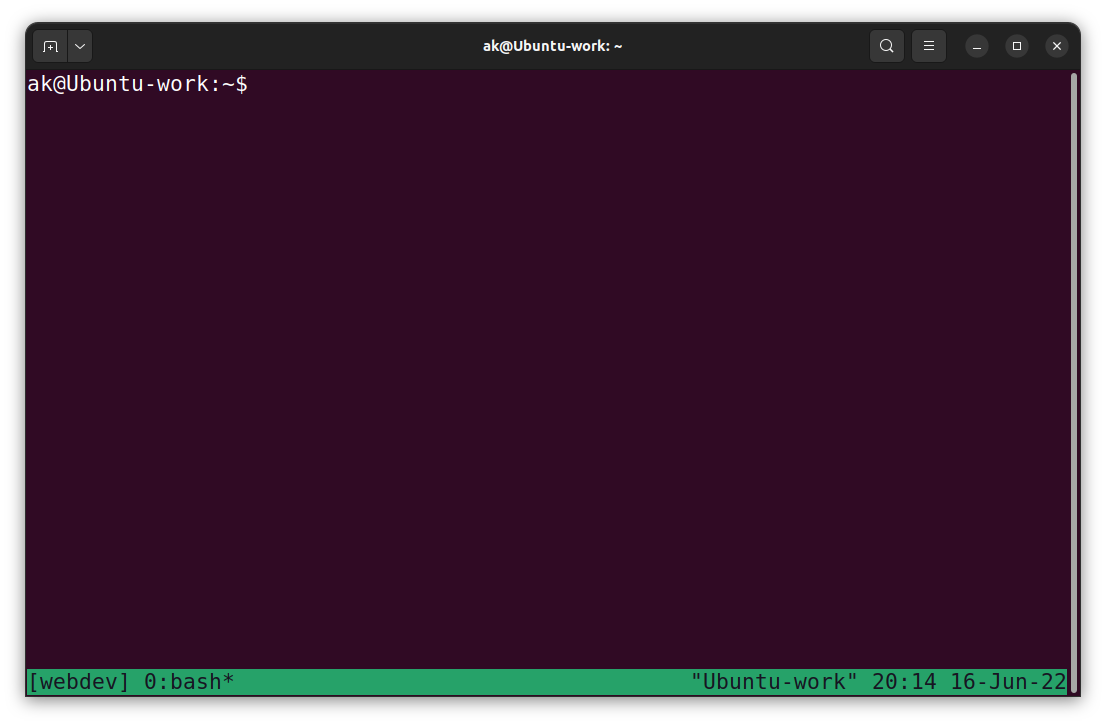
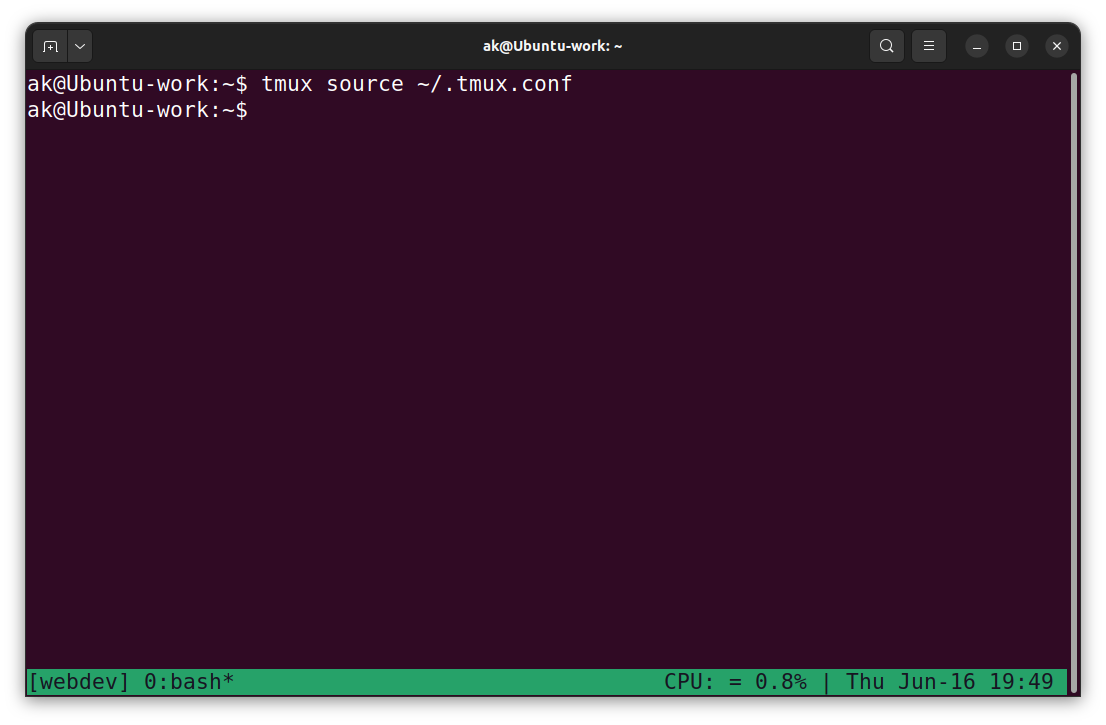
This is because you have to add an option to the status-left or status-right section of status bar in tmux.conf file. This option takes tmux-cpu formatted string as follows:
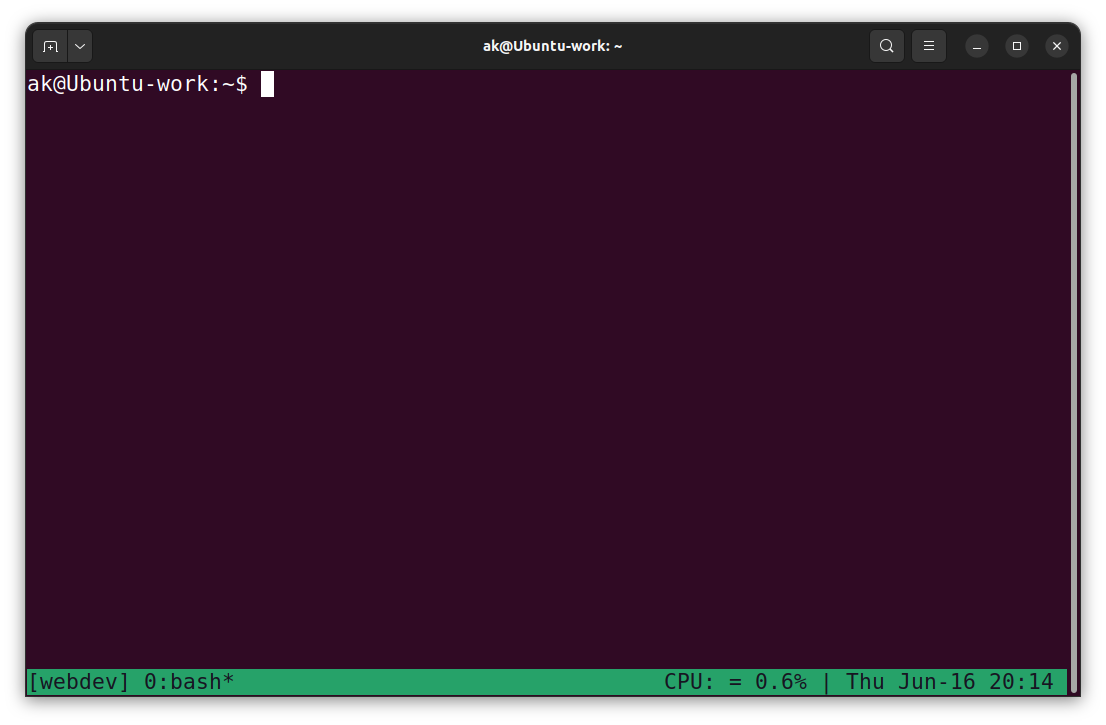
After adding it to the tmux.conf file, when you start a new tmux session or reload the current session, you can see CPU usage on the status bar, as shown in the screenshot below:
Conclusion
There are many high-quality plugins for tmux which provide a variety of utilities for users, ranging from aesthetic themes to system information and even process information. These plugins can be manually installed and added to the tmux.conf file to be used at the user’s discretion. Also, the user can install a plugin manager like tmux Plugin Manager.
Source: linuxhint.com